
Last updated November 17, 2026
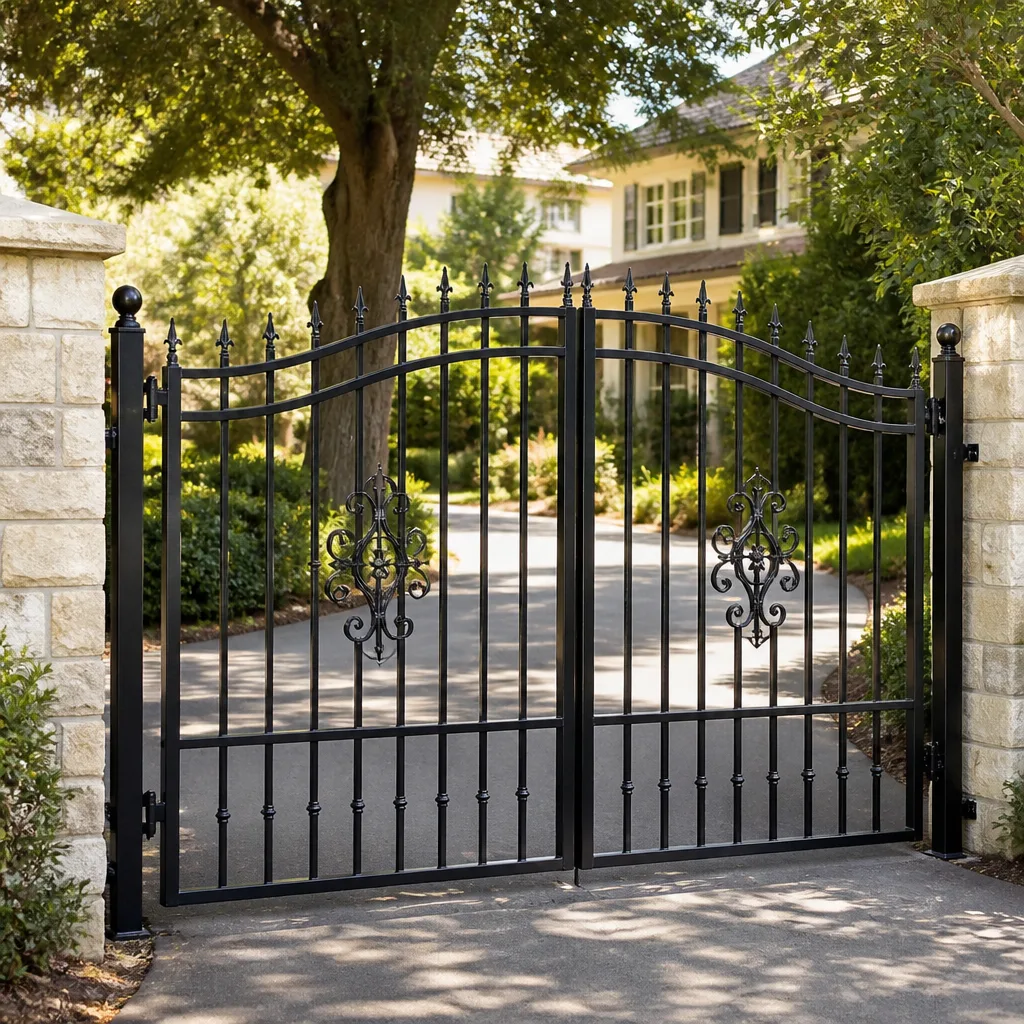 Wrought iron
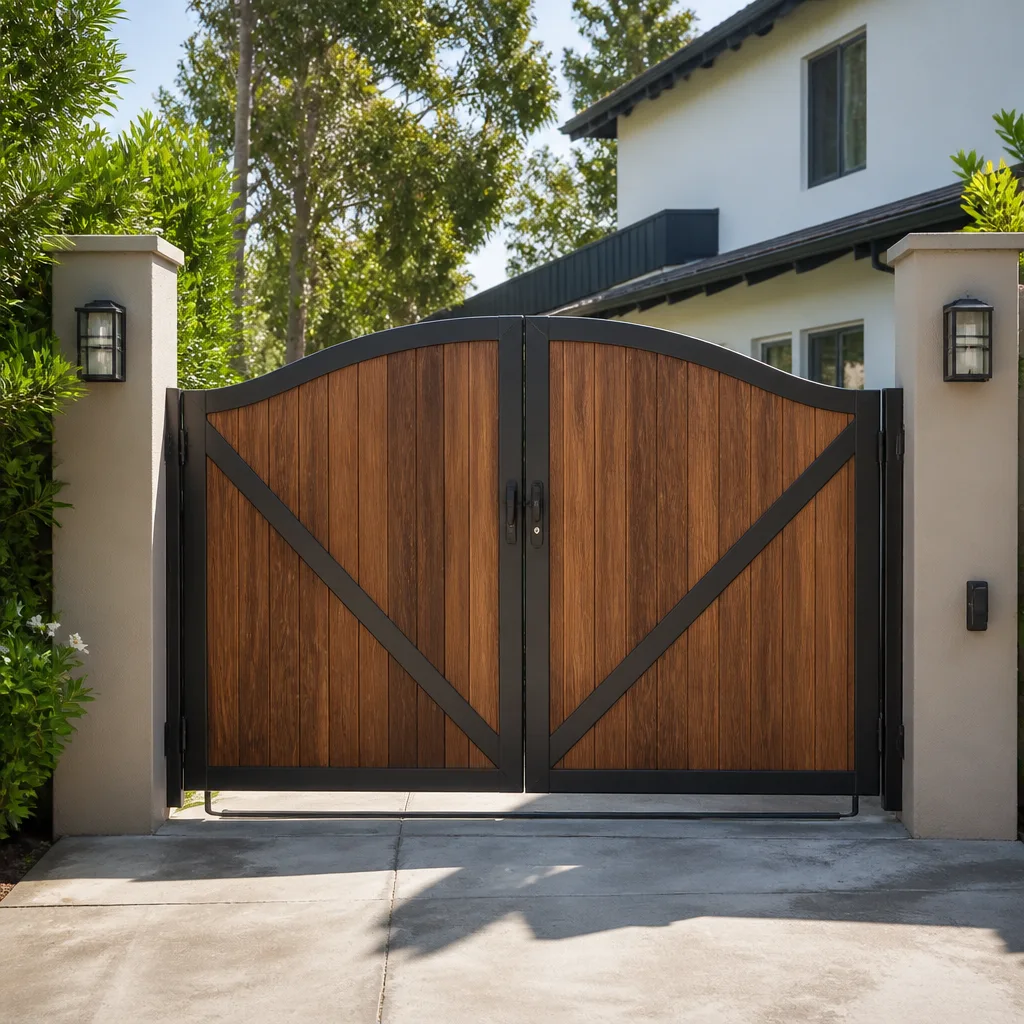 Wood & steel frame
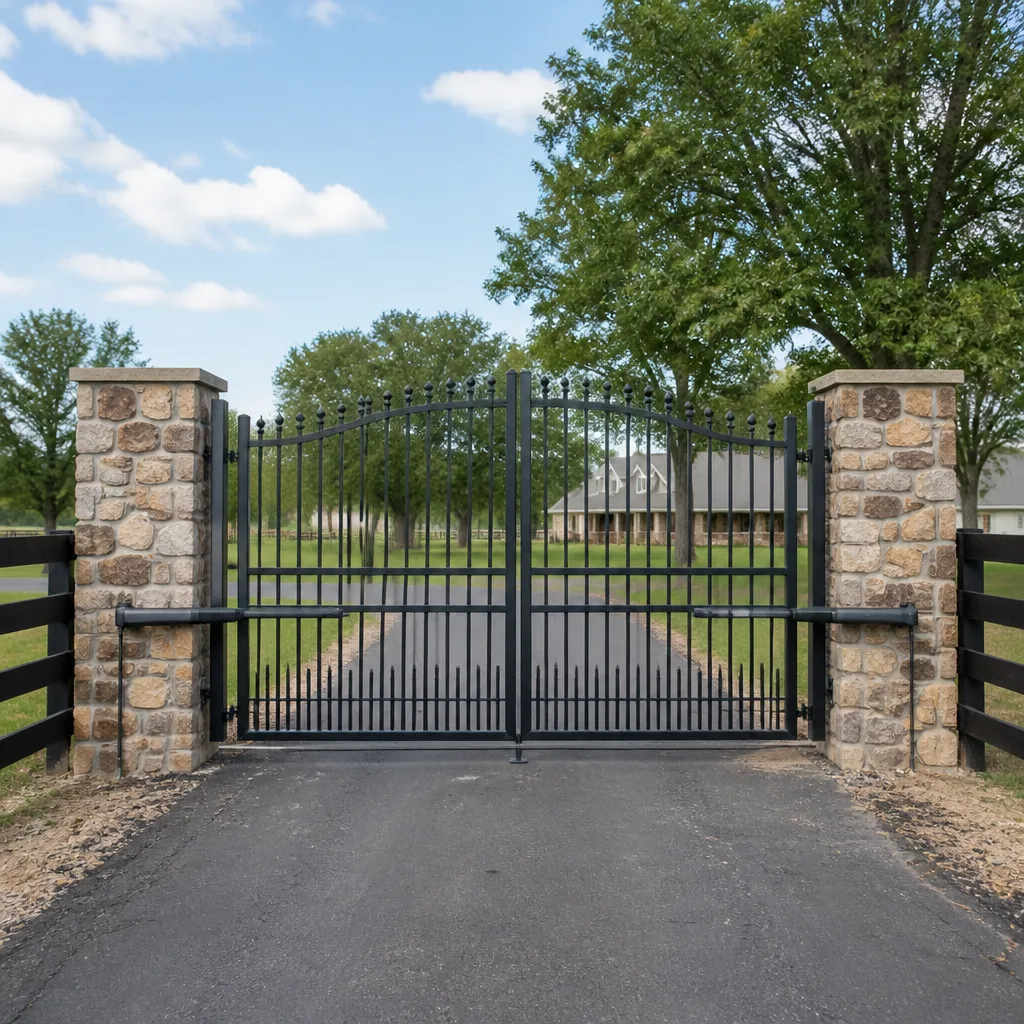 Farm & ranch
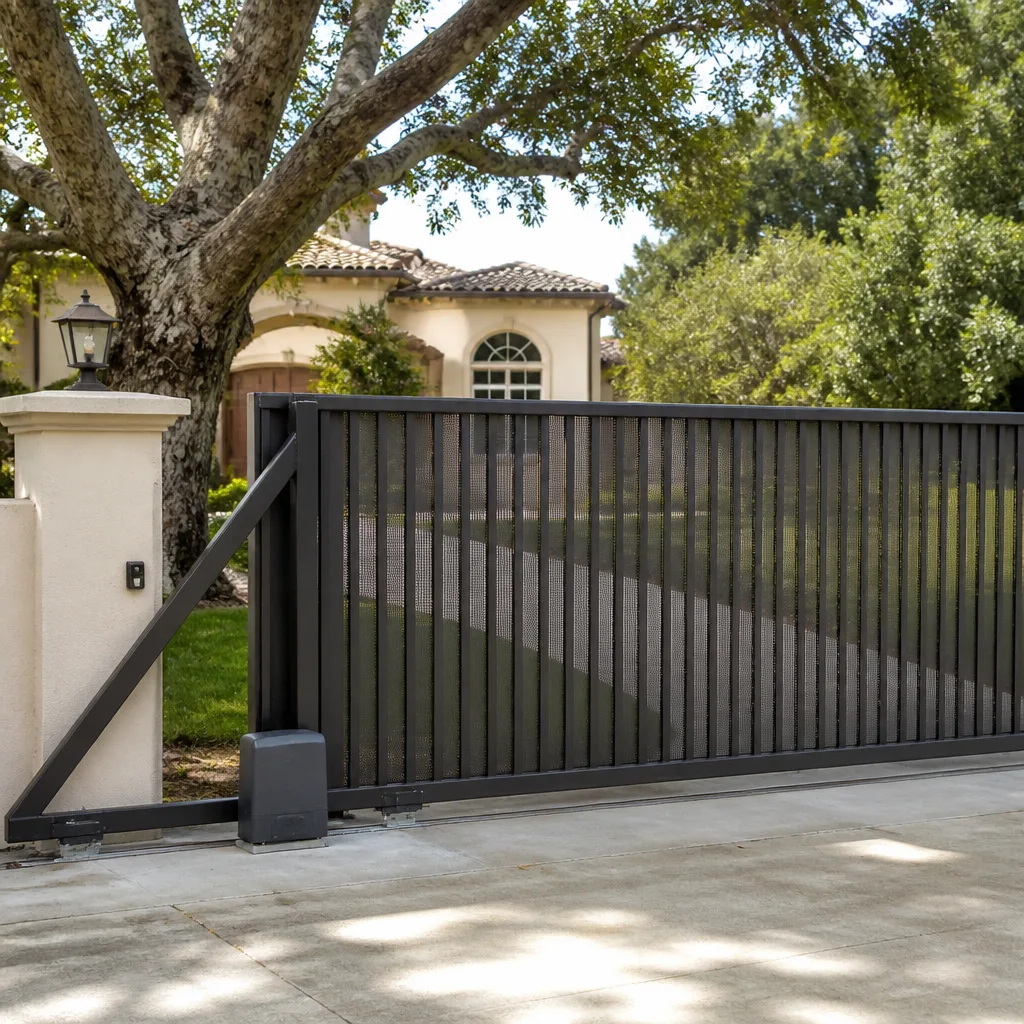 Sliding driveway gates
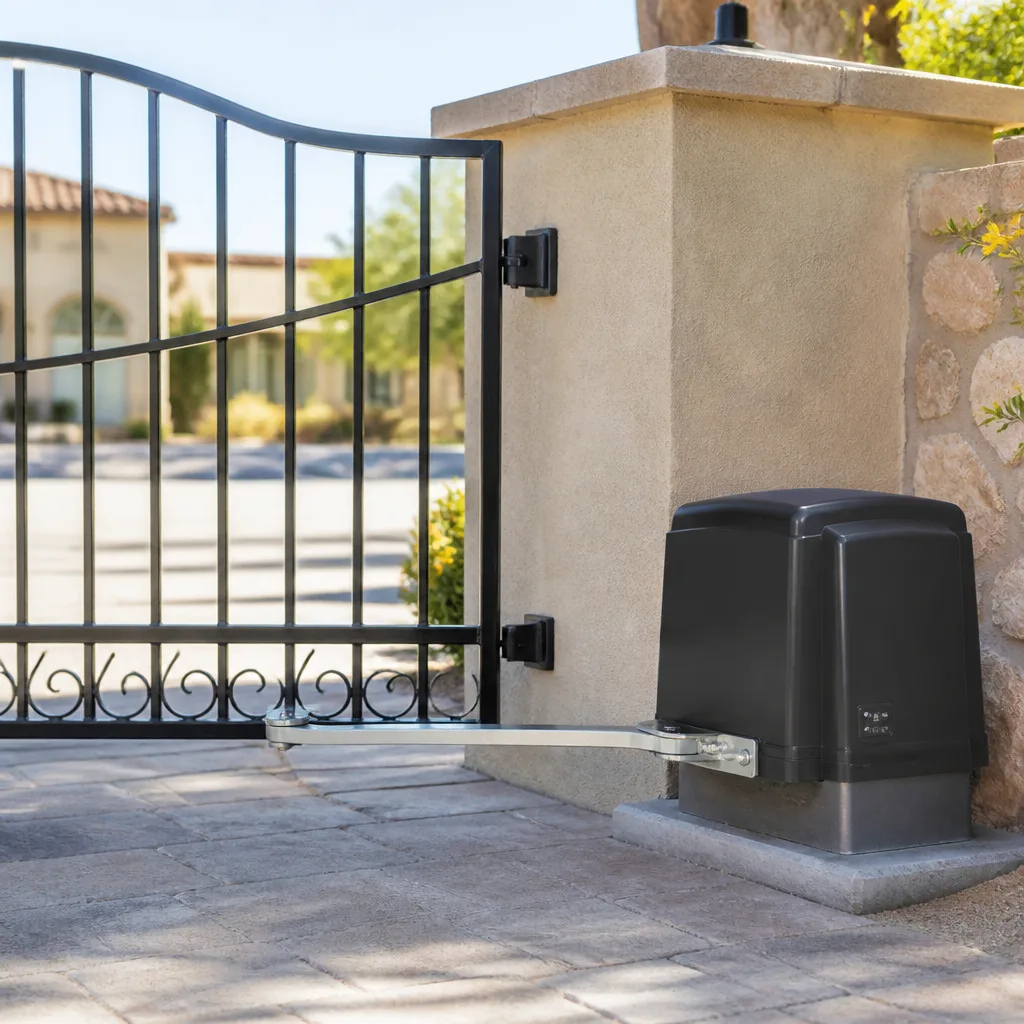 LiftMaster operators
Free on-site gate assessment - hinges, posts, and your LiftMaster or Nice gate operator checked before anything is quoted
The assessment is free and the quote is the invoice.
Get your free estimateDIY vs Professional Gate Repair: What’s Safe to Do Yourself
I’ll tell you flat out: adjusting a limit switch on a residential gate operator is a reasonable DIY job for someone with patience and the manual. Welding a cracked hinge plate yourself is not. Not because you aren’t capable, but because a weld you can’t test for penetration is a gate that can pin a car or a kid. We’ve been fixing gates in North Las Vegas since 2001, and we’ve been called out to more than a few “I watched a video and gave it a shot” jobs that turned a $200 fix into a $900 rebuild. This guide draws the line honestly, task by task, so you know what’s worth your Saturday and what’s worth a phone call. You’ll finish knowing exactly which repairs are safe, which ones create a liability, and how to tell a professional what you’ve already tried.
Quick Answer
Safe DIY gate repairs are lubrication, limit switch adjustment, remote reprogramming, and tightening minor alignment set screws. Anything involving welding on load-bearing joints, the entrapment safety sensors, high-voltage power, or the structural posts is professional work. If the repair affects whether the gate stops for a child or a car, it belongs to a trained and insured technician.
Styles & brands we work with
- Wrought iron
- Wood & steel frame
- Farm & ranch
- Sliding driveway gates
- LiftMaster operators
Table of Contents
- What’s genuinely safe to fix yourself
- Adjusting a limit switch: a step-by-step walk-through
- The repairs that create legal exposure (and why)
- Why welding on a hinge or frame is a structural gamble
- How to tell if a previous DIY attempt made things worse
- What to tell a technician when you’ve already tried
- North Las Vegas climate and code notes
- Common mistakes to avoid
- When to call a professional
What’s genuinely safe to fix yourself
Let’s start with the good news. A lot of what sends people reaching for a phone is not a broken gate at all. It’s maintenance, and maintenance is yours to do. On a residential swing or slide gate, these tasks fall squarely in the low-risk category, and doing them regularly is the single best way to avoid a real repair bill down the road.
- Lubrication. Hinges, rollers, chains, and the pivot points on a gate arm need lubrication two or three times a year. In North Las Vegas, the dry heat and wind-blown grit mean a little more often than a coastal climate would call for. A silicone or lithium-based lubricant on the metal-to-metal points keeps the gate closing on its own, with far less strain on the motor.
- Limit switch adjustment. The limit switches tell the operator where to stop opening and closing. When a gate starts slamming or reverse-cycling before fully closed, the limit setting is often the culprit. It’s a small set screw or cam inside the operator housing, and the manual will show you exactly where it lives.
- Remote reprogramming. A remote that stopped working after a power outage or a battery change usually just needs to be re-paired. On most LiftMaster, Linear, and Mighty Mule units, that’s a press of the learn button and a couple presses of the remote. Five minutes, no tools.
- Tightening alignment set screws. Gate sag isn’t always structural. A gate arm or rail that looks crooked can sometimes be corrected by snugging up the set screws on the operator arm or the guide brackets. Hand-tight, not gorilla-tight.
- Cleaning and clearing the path. Debris, gravel, and dirt in the track of a slide gate cause more sticking and false reverses than anything electrical. Rake and clear it, and half the “my gate is broken” calls go away.
What these all share is that none of them change whether the gate will hurt someone. That’s the dividing line we use. If the repair touches the entrapment sensors or the load-bearing structure, it stops being a maintenance task and starts being a safety job. When a sag keeps coming back no matter how many times you tighten the set screws, that’s the hinge post talking, and Gate Repair in North Las Vegas covers what the fix actually looks like.
Adjusting a limit switch: a step-by-step walk-through
This is the one adjustment we’d genuinely encourage a homeowner to try, because it’s low-risk and the payoff is instant. A gate that reverses before it closes is annoying, but a gate that slams is hard on the motor and the hinges. Here’s the safe version of the walk-through.
- Cut power to the operator. Flip the breaker or unplug the operator. Never open the housing on a live unit. The capacitors inside hold a charge, so give it a minute before you reach in.
- Locate the manual release. Disengage the operator so you can move the gate by hand. Once the gate is free, swing or slide it the full travel to confirm nothing is binding. If it drags or catches, the limit switch isn’t your problem; a track or hinge is, and stop here.
- Re-engage the arm and restore power. Now run the gate a cycle and listen. Where does it stop? Too early on the close, or too early on the open?
- Find the limit adjustment. The manual will show you the open and close limit cams or set screws. On Viking and Ghost Controls units they’re usually under a small cover on top of the housing. Turn the adjustment a small amount in the direction the manual shows to extend travel.
- Cycle the gate again. Test the close. Test the open. Test the safety reverse by putting a hand or a piece of light board in the path. If the gate does not reverse on contact with that obstacle, you’re done adjusting, but you’re not done: the safety sensor now needs a professional look.
Two things stop a limit switch from being a DIY job. If the operator has a photo-eye or safety edge that isn’t working, or if the housing is on a gate you can’t safely reach, put the screwdriver down. A limit switch that lets the gate close further is only safe if the safety reverse still works. If you get the travel right and the reverse fails, you’ve moved a problem, not fixed one. That’s the moment a Gate Motor & Opener in North Las Vegas specialist can save you from something expensive.
The repairs that create legal exposure (and why)
Here’s the part nobody puts on the DIY video. A gate with an automatic operator is regulated by a safety standard called UL 325. That standard is why your gate has a photo-eye, a safety edge, or a loop detector, and why it has a specific method for reversing when something gets in the way. Those devices are the reason a gate stops for a kid on a bike.
UL 325 is not a suggestion. If you disable, bypass, or replace an entrapment sensor without proper testing, and something goes wrong, the exposure lands on whoever touched it. In practice, that’s you. Homeowners who remove a photo-eye because it kept tripping, or wire around a failing safety edge, are creating a liability their homeowner’s policy may not cover. And when a gate you modified injures a delivery driver or a family member, the first question is always who did the work.
- Disabling entrapment sensors. The single most dangerous DIY gate move. The sensor is the safety system, not an annoyance.
- Replacing a photo-eye with a generic part. Sensors are matched to the operator. A mismatched unit can fail to trigger the reverse at all.
- Bypassing a loop detector under the driveway. On a slide gate, that loop is often the primary entrapment protection. Removing it removes the last line of defense.
- Changing the operator force or reverse sensitivity settings. Turning up the force to overpower a binding gate is just masking a mechanical problem and removing the protection at the same time.
- Wiring a new operator into the main panel yourself. This one has the additional problem of local electrical code and permits. In North Las Vegas, a low-voltage gate operator often needs a dedicated feed that a licensed electrician runs.
The pattern is always the same. The task looks like a swap. It’s actually a safety-critical interface, and the professional who installs it tests the reverse before signing off. That’s the part you’re paying for, not the wiring.
Why welding on a hinge or frame is a structural gamble
A gate sags in the hinge post, not in the middle, and that is where we start. That’s the diagnosis. The repair is where DIY most often goes wrong. A cracked hinge plate or a fatigued frame joint is a load-bearing joint: it carries the full weight of the gate every time it swings or rolls. A weld that looks fine on the outside can have poor penetration underneath. That’s not a cosmetic problem. A weld you can’t test for penetration is a gate that can drop or fail open under the wrong load.
We see this in North Las Vegas a lot. The sun bakes the steel on a west-facing gate, and the expansion-and-contraction cycles work at those joints harder than in a cooler climate. A hairline crack in a hinge plate on an old gate is common here, and the honest fix is a proper weld on the post and the plate, then tested. On-site welding is what keeps a gate in the driveway rather than in a shop for a week. On a gate we repair, the weld is checked before anything moves, and the whole job is stamped with a written 90-Day Done Right Promise.
The DIY version usually involves a cheap wire-feed welder, an underpowered circuit, and a joint that isn’t cleaned to bare metal first. It can hold for a month, or a year. And when it fails, it usually takes the surrounding metal with it, which means the professional now has to cut back past your weld to find good steel before the repair can start. That’s how a $200 fix turns into a $900 rebuild. If the crack is on a structural joint, the honest answer is to have it welded and stress-tested by someone with the equipment to know it’s right.
How to tell if a previous DIY attempt made things worse
We walk up to two kinds of gate. The one nobody has touched, and the one somebody already wrestled with. The second kind takes longer to diagnose, every time, because we can’t trust what we’re looking at. Here’s what tells us right away that a DIY repair left a problem behind.
- Fresh red or black primer around an old joint. A quick rattle-can cover-up on a weld usually means somebody welded over paint or rust. The weld will fail, and it will fail at the same place that was already weak.
- Mismatched hardware. A hinge bolt that’s a different size, a zip tie holding a sensor bracket, or a stray wood screw in a metal frame. Each one is a signal that the previous fix was improvised.
- A photo-eye that’s aimed at the sky or taped. If you see a safety sensor pointed at nothing or wrapped in electrical tape, assume the reverse has not worked in a long time.
- An operator set to maximum force. If the gate surges to open or drags to close with the motor straining, someone turned the force up to hide a binding gate rather than fix it.
- Grinding marks and wobble at a hinge. A hinge that was heated and hammered might be straight for now, but the pivot has lost tolerance. The gate will sag again, and the next fix costs more because the hinge needs replacing, not adjusting.
- Rust streaks from new fasteners. In North Las Vegas heat, zinc-plated hardware on a steel gate streaks rust quickly. Streaks under a recent repair tell you the hardware was the wrong grade for the climate.
None of this is a lecture. We’re not there to judge your Saturday. But we do need to know what’s changed, because we can’t assume the gate is where the manufacturer left it. The right move at this point is the same one you’d take with a car that a friend worked on: tell us what was done and where it’s still misbehaving, and we can skip the wrong turns.
What to tell a technician when you’ve already tried something
This is the single most useful thing you can do to keep your invoice down. Diagnosis is time, and time is what you pay for. If you tell us up front what you already ruled out, we can start where you left off. Here’s the short list we ask for on every call, and you can have it ready before we arrive.
- What the gate was doing before you touched it. Was it slamming, reversing, not opening, sagging, or dead? The original symptom matters more than the current one.
- Exactly what you adjusted. Which set screws, which limit cam, which force setting. If you turned something, tell us which something.
- Where the parts came from. Was the hinge a factory match or a hardware-store substitute? Was the photo-eye a direct replacement or close enough? We can’t assume a close-enough part works on a safety circuit.
- Whether you welded anything, and where. Even a small tack weld changes the metal around it. We need to know so we can inspect the joint properly.
- Whether the safety reverse currently works. Test it before you call. If the gate won’t reverse off a light board or a hand, that’s an urgent safety issue and we want to treat it as one.
On the call itself, a live person answers, day or night. We can talk through what you’re seeing and often tell you whether it’s worth a visit. If you have a written estimate from another shop, bring it: we’ll give you a free second opinion, and we’ll tell you honestly if the other quote is fair. That’s what Gatewood Fence & Gate North Las Vegas home is built around. The name is on the shop, and the shop is down the road.
North Las Vegas climate and code notes
Local conditions change the answer to “is this safe to DIY” because they change how fast a repair fails. North Las Vegas runs hot and dry. Summer surface temps on steel can push past what the same gate would see in most of the country, and the daily expansion and contraction over a metal gate is what works fatigue joints loose. That’s why a weld repair here needs to hold under heat cycling, not just sit still on a cool day. Lube schedules that work in a mild climate need to be run a little more often, especially on slide gate tracks that collect wind-blown grit.
The local code angle matters just as much. A residential automatic gate operator generally has to meet the UL 325 entrapment protection requirements, and the operator is required to have a primary and a secondary means of entrapment protection. A new or replaced operator means new low-voltage wiring and often a permit for the electrical feed. In North Las Vegas, the Clark County area inspection process takes that seriously, and a homeowner-installed operator without the proper feed can fail inspection and need to be redone. This is the part of gate work where “I’ll just wire it up” gets expensive. An operator install, whether it’s a LiftMaster, a DoorKing, or a FAAC, is a scheduled job, not a same-day call. Same goes for a new gate: Gate Installation in North Las Vegas is measured, ordered, and priced in writing before anyone touches a post.
One more local note tied to how we work. If you’re going to try a repair yourself, do it with the gate on a solid base and never under load. On a property out toward the far edges of the valley where the ground can shift, check the post footing first. A post that’s moved is a structural issue no amount of tightening will solve, and that’s a professional call every time.
Common Mistakes to Avoid
- Turning up the operator force to hide a binding gate. This masks the symptom and removes the entrapment protection in one move. Fix the binding instead, or have it fixed.
- Welding over paint and rust. The weld won’t penetrate the way it needs to. Clean to bare metal first, or better, leave the structural welds to someone with the right machine and a way to test them.
- Disabling a photo-eye because it kept false-tripping. A sensor that trips in the North Las Vegas sun is a sensor aimed at a reflective surface, not a sensor that’s wrong. Re-aiming it usually fixes it; removing it creates a liability.
- Replacing a safety edge or sensor with a generic part. Safety devices on the operator are matched units. A close-enough part that doesn’t trigger the reverse is worse than a broken one.
- Ignoring a sag at the hinge post. On a metal gate in this heat, a repeated sag is fatigue at the post or hinge. Adjusting the gate every few weeks just postpones the weld that fixes it.
- Grinding or cutting the gate frame to fit a part. Any cut into a load-bearing member weakens it. If a replacement hinge needs cutting to fit, it’s the wrong hinge.
- Wiring the operator into the panel without a permit. A do-it-yourself electrical feed that fails inspection means the install gets redone. That’s straight double the cost.
When to Call a Professional
Call a professional when the repair touches welding on a load-bearing joint, the entrapment safety system, high-voltage power, or the gate’s structural posts. Also call if a previous DIY repair left you unsure what’s been changed, or if the gate no longer reverses off a light obstacle. Those aren’t skill questions; they’re safety and liability questions, and the wrong answer costs more than the repair. If you’re not sure which side of the line a task falls on, a phone call is cheaper than a rebuild. Gatewood Fence & Gate North Las Vegas offers free estimates in North Las Vegas, a free second opinion on any written estimate, and no trip charge inside the county. Call (844) 761-9351 and we’ll tell you honestly whether it’s worth doing yourself.
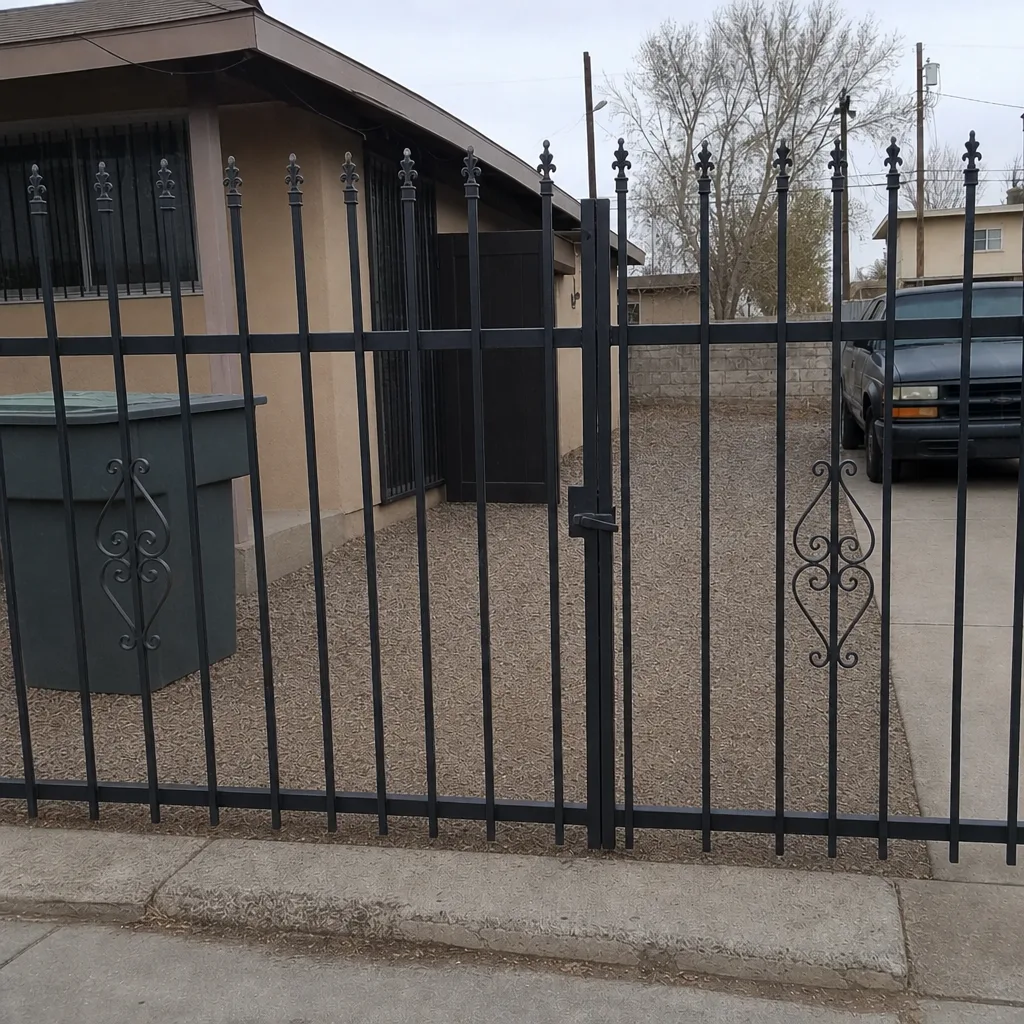
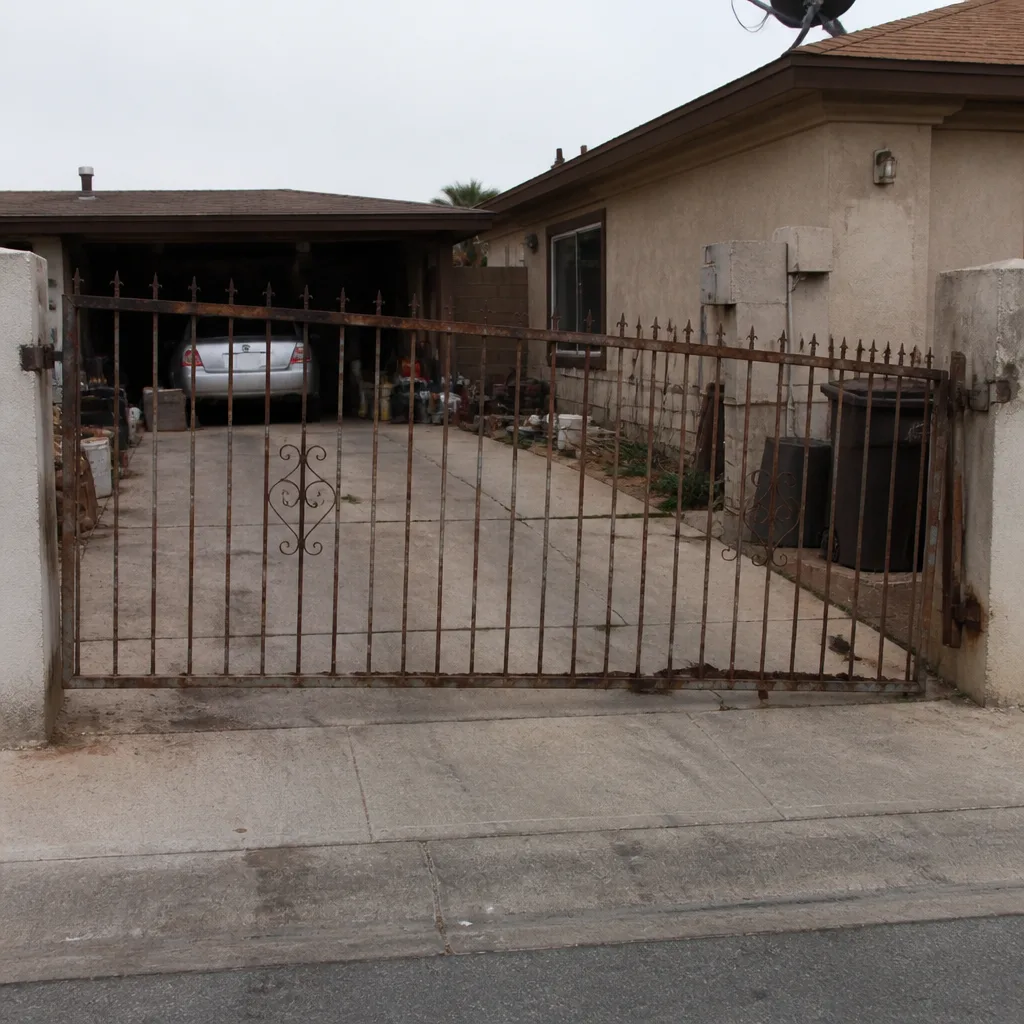
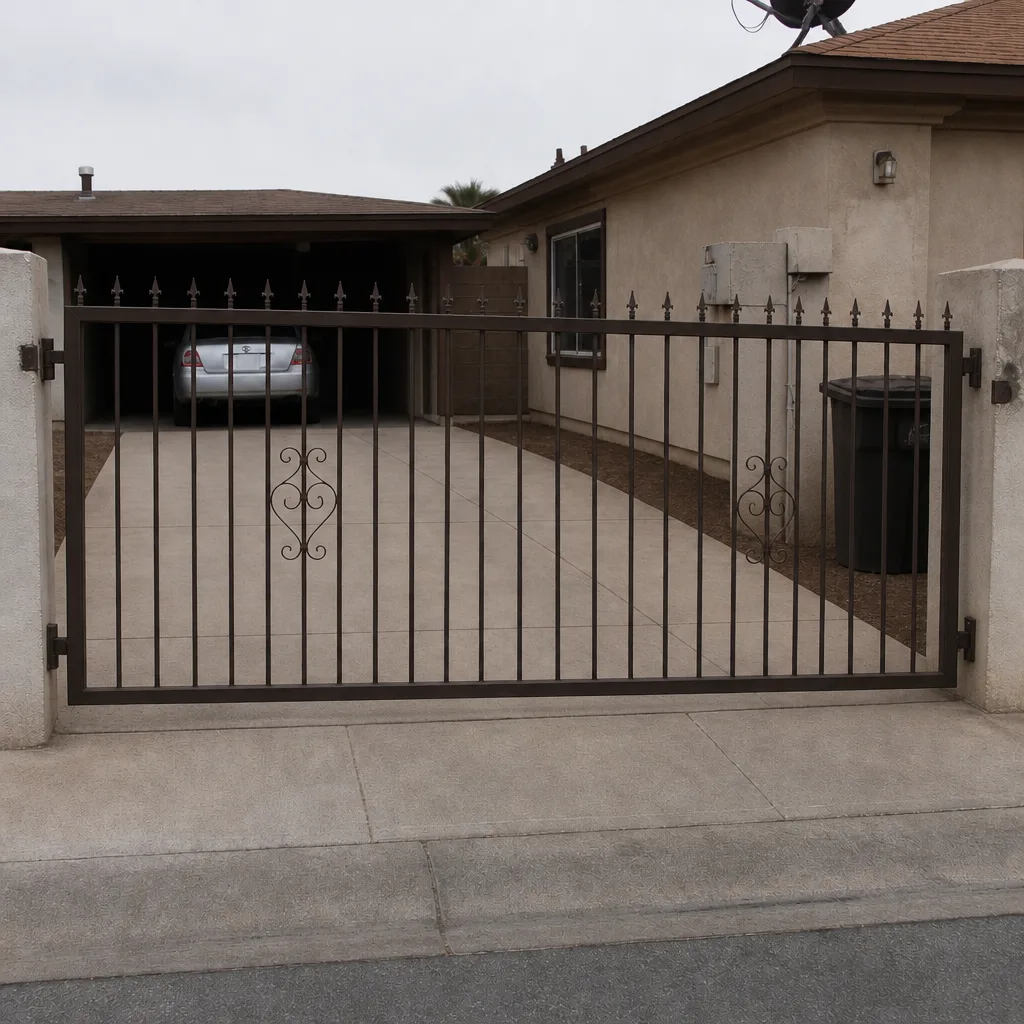
See the difference
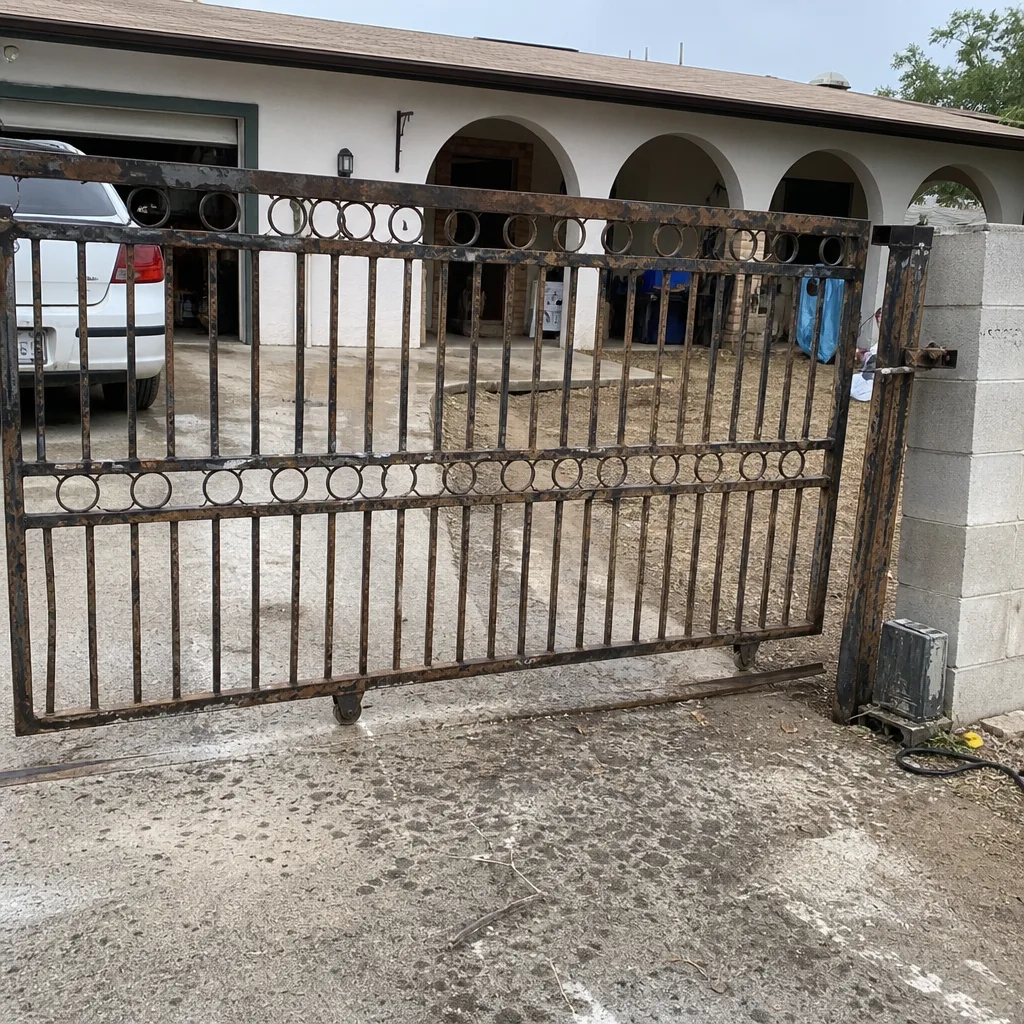 Before
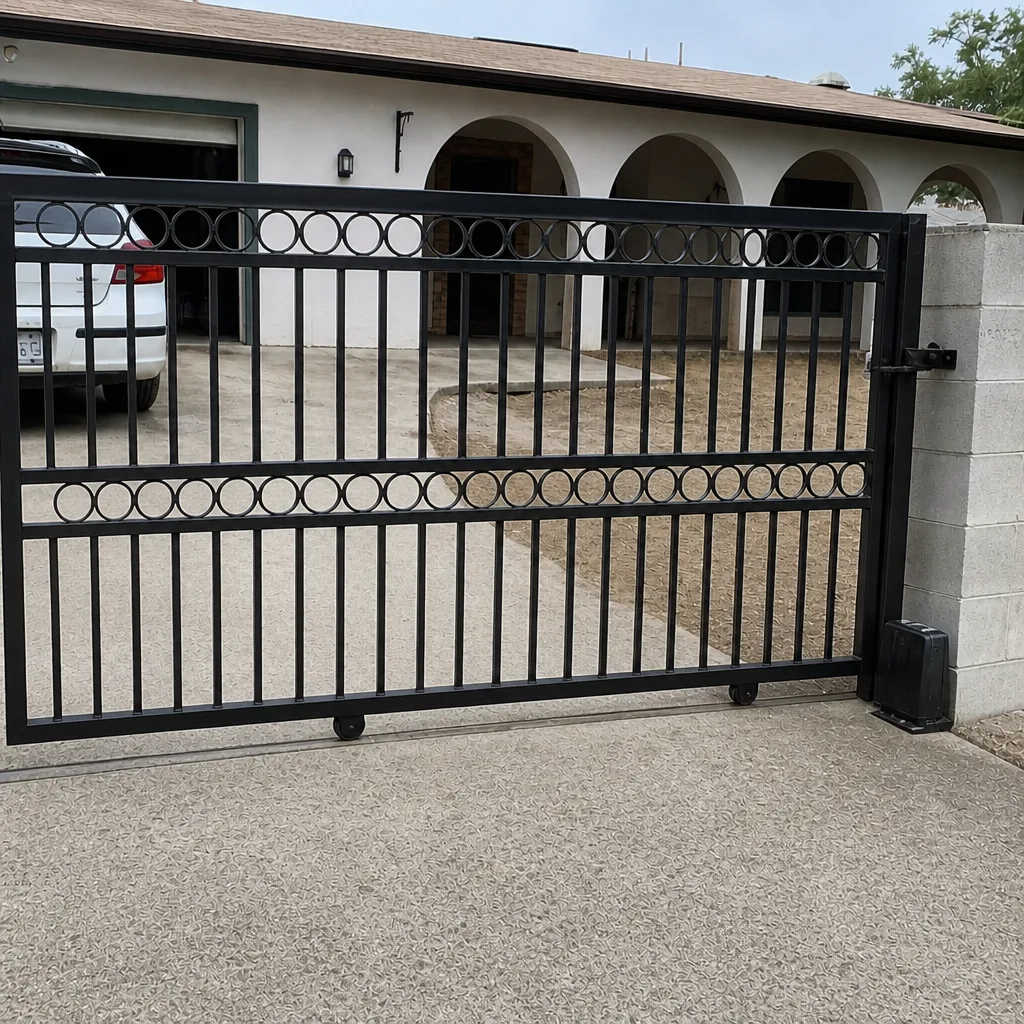 After
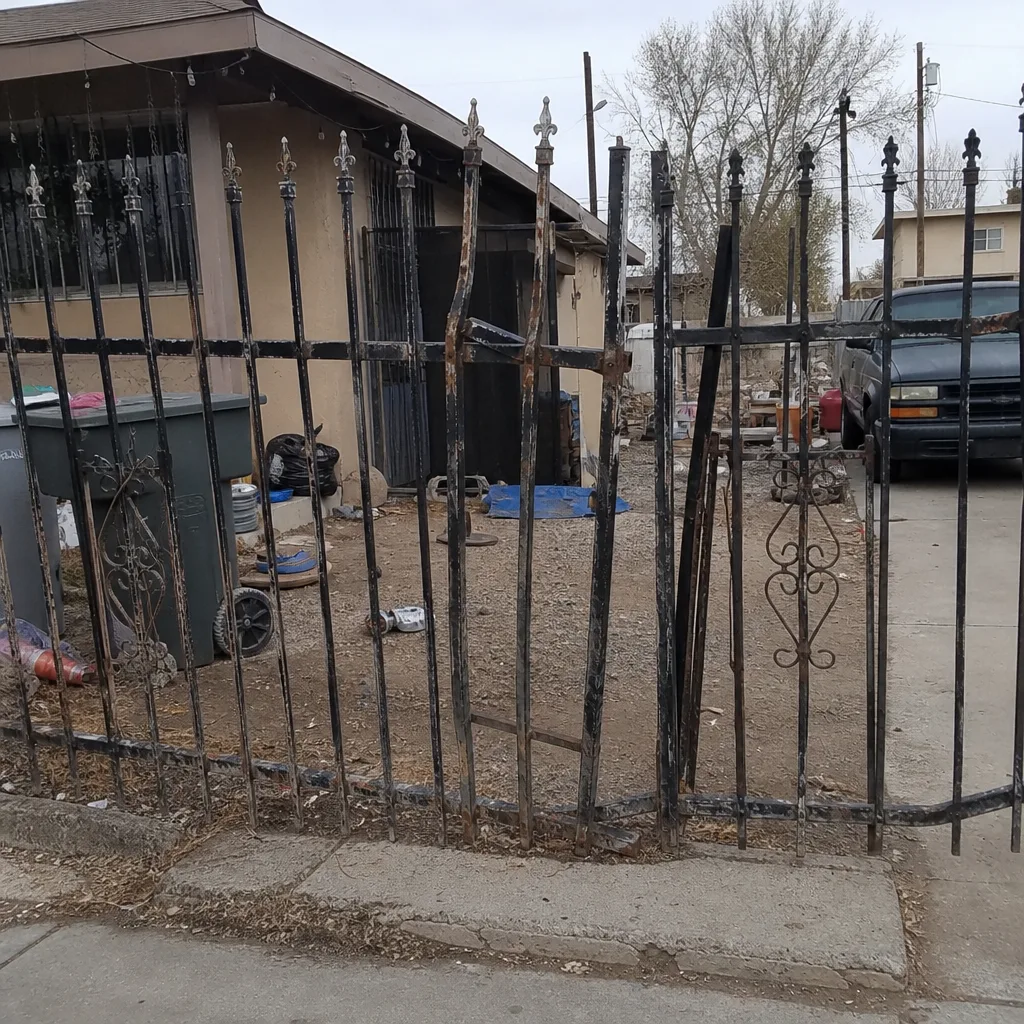 Before
 After
 Before
 After
Frequently Asked Questions
Yes. Limit switch adjustment on a residential gate operator is a reasonable DIY job if you have the manual and can work safely with the power off. Cut the breaker, test the gate by hand, then turn the limit cam in small steps and run a full cycle between each. If the safety reverse doesn’t work afterward, that part is not a DIY job; stop and call a professional.
No. The entrapment protection on an automatic gate is required under UL 325, and disabling or bypassing it removes the safety system that stops the gate for a person or a pet. It also puts the liability for any injury on whoever touched the sensor. If the photo-eye keeps false-tripping, the fix is re-aiming or replacing it properly, not removing it.
Look for rust streaks under a fresh coat of paint, a hinge that wobbles at the pivot, or a crack that returns at the same joint after a few weeks. Those are signs the weld didn’t penetrate the base metal. In North Las Vegas heat-cycling, a weak weld fails at the same place it was already weak, and it often takes the surrounding steel with it.
A sag you can fix is a set screw or an alignment bracket that’s worked loose. A sag you should call about is one that returns after you’ve tightened everything, or one at the hinge post. That’s the post or the hinge plate moving, and it needs a structural repair, not an adjustment. Fix the panel without the post and you’ll fix it twice.
Often yes, because a new or replaced operator usually needs a low-voltage feed that involves electrical work and inspection in the Clark County area. An operator install is a scheduled job, not a same-day call. Call (844) 761-9351 and we can talk through what your specific install needs and give you a written price before any work starts.
It can, if the attempt left damage that needs to be undone before the real repair starts. The best way to keep the cost down is to tell the technician exactly what you adjusted or welded and where, so diagnosis starts where you left off. A free second opinion on any written estimate is part of the standing offer. Call (844) 761-9351 for an exact quote, and the price is quoted and agreed before any work begins.
The Bottom Line
The line between DIY and professional gate repair is safety, not skill. Lubrication, limit switch adjustment, remote reprogramming, and snugging loose set screws are yours to handle, and staying on top of them keeps a small maintenance task from turning into a repair bill. Anything that touches the entrapment sensors, the high-voltage feed, a load-bearing weld, or the hinge post belongs to a trained, insured professional, partly because a failed safety system is a legal exposure, not just a broken gate. When you’re not sure which side a job is on, ask. We answer the phone day or night, and we’ll tell you straight whether it’s worth doing yourself.
If you’re in North Las Vegas and the job has crossed the line, call (844) 761-9351 for a free estimate. We quote and agree on the price before any work starts, we answer the phone with a live person, and the same crew that shows up is the one behind the written 90-Day Done Right Promise. Seniors and veterans get a permanent 10% discount, and any repair over $200 comes with $40 off.
Written by the team at Gatewood Fence & Gate North Las Vegas.