
Last updated November 17, 2026
 Wrought iron
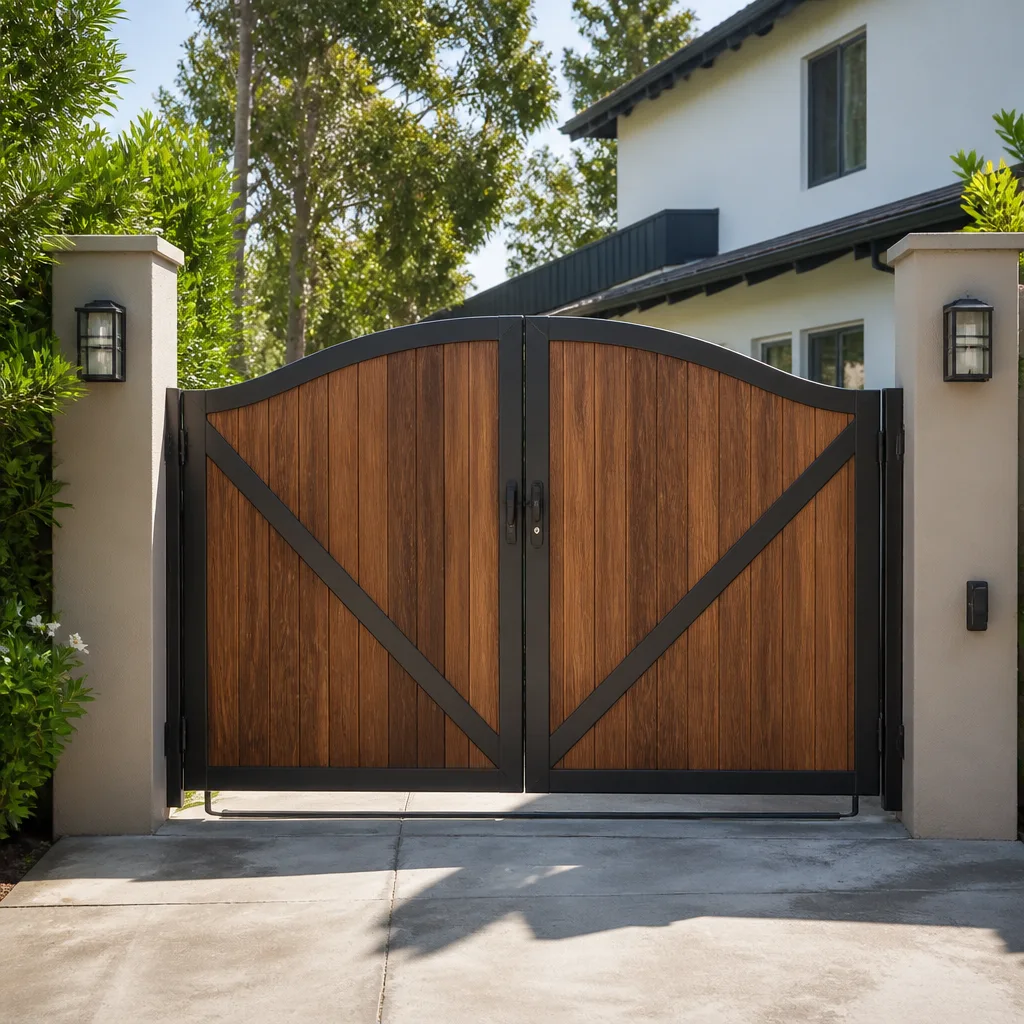 Wood & steel frame
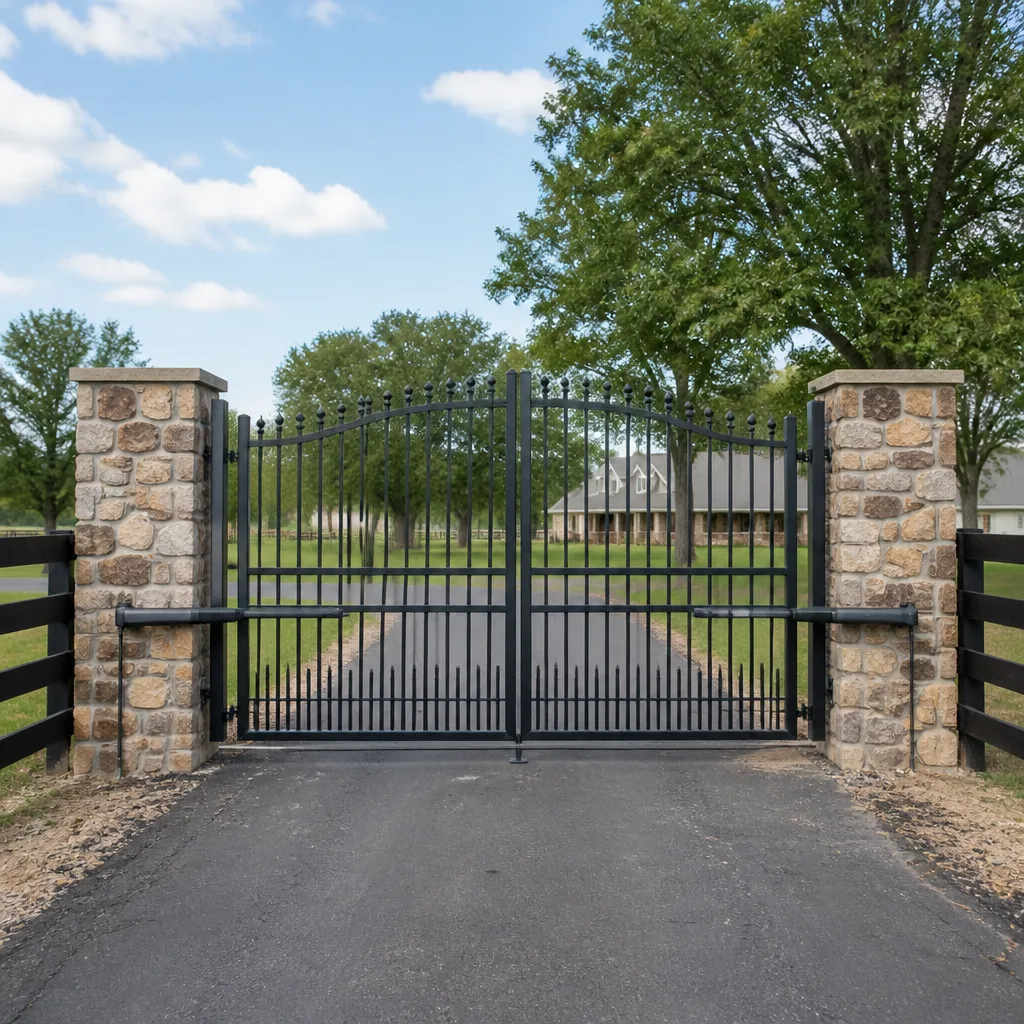 Farm & ranch
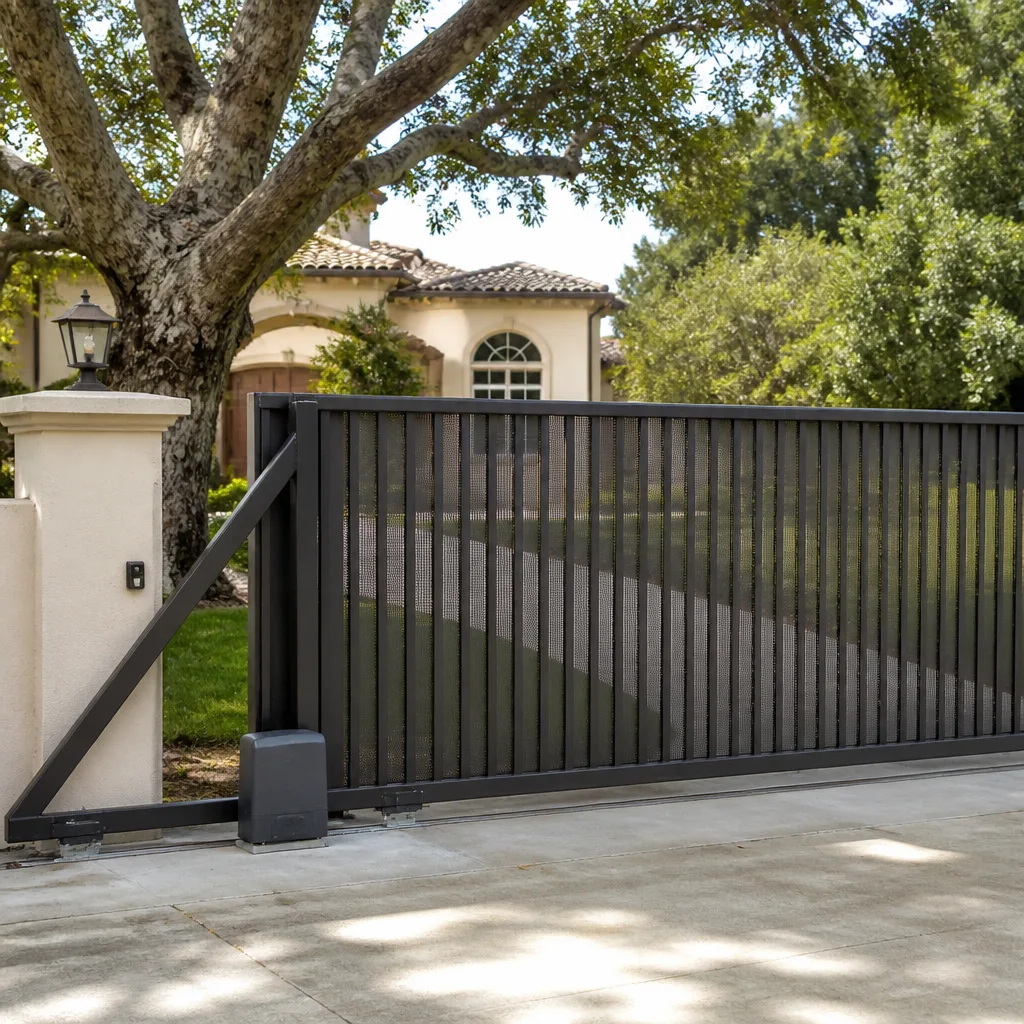 Sliding driveway gates
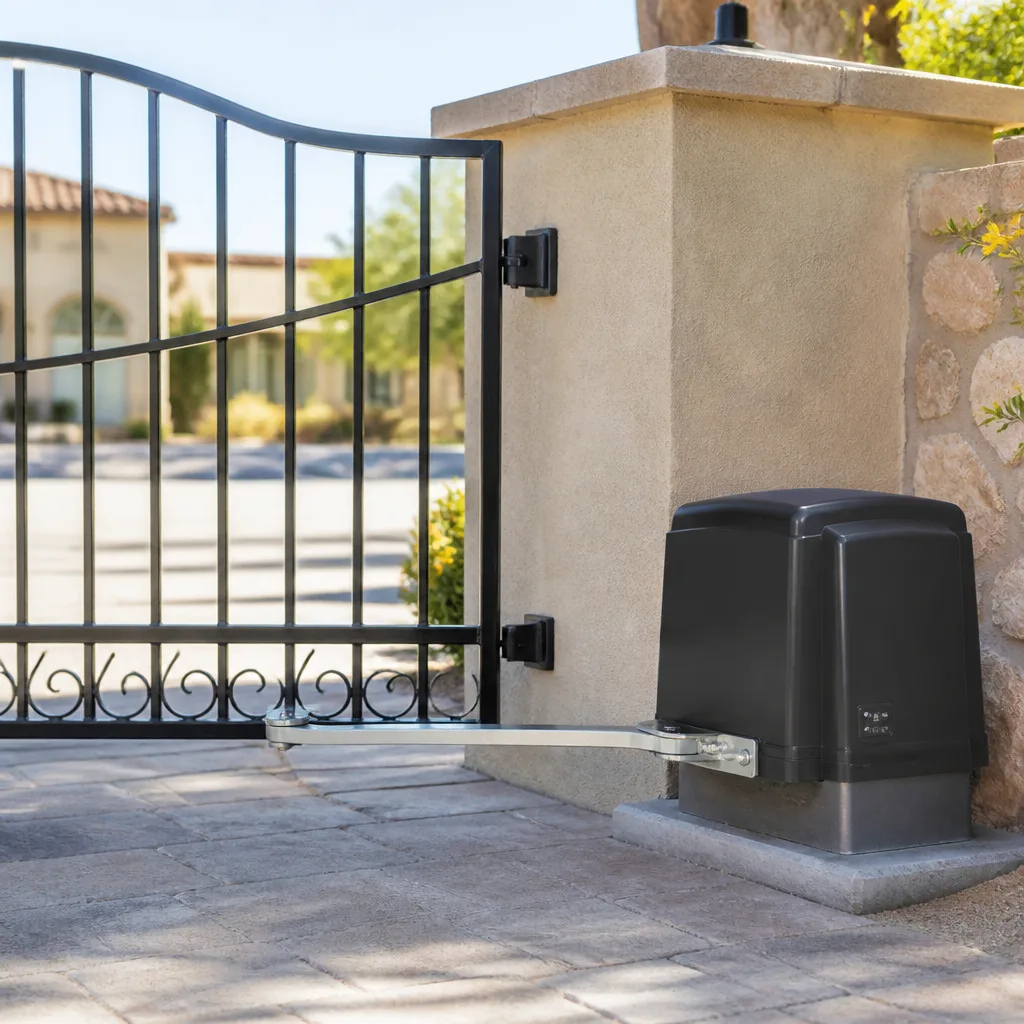 LiftMaster operators
Free on-site gate assessment - hinges, posts, and your LiftMaster or Nice gate operator checked before anything is quoted
The assessment is free and the quote is the invoice.
Get your free estimateGate Installation Maintenance Schedule: What to Do and When
New gate hardware needs a 30-day check the same way a new car needs an early oil change. Things seat and settle. Limit switches drift. Hinges need re-torquing after the frame has been through its first real heat cycle. A North Las Vegas summer will run a new steel frame through swings from cool mornings to 110-degree afternoons in a matter of weeks, and that expansion and contraction shows up in every bolt on the gate. Skip the first-year window and you’re correcting problems instead of preventing them. This guide lays out exactly what to check in week one, month one, month six, and every year after, plus how to keep the records that protect your warranty.
Quick Answer
A newly installed gate needs five scheduled touchpoints in its first year: a week-one visual and hardware walk-through, a 30-day re-torque and limit-switch check, a six-month lubrication and settling inspection, and an annual full service including operator software checks and post-leveling. Document each visit with dates, photos, and torque values so you have a real baseline. After year one, drop back to semi-annual checks unless the gate gets heavy daily use.
Styles & brands we work with
- Wrought iron
- Wood & steel frame
- Farm & ranch
- Sliding driveway gates
- LiftMaster operators
Table of Contents
- Week One: The Settling-In Check
- Month One: Re-Torque and Break-In Wear
- The North Las Vegas Heat Cycle and Hinge Hardware
- Month Six: Lubrication and Roller Inspection
- The Annual Service Checklist
- Keeping an Installation Log
- How Warranty Maintenance Requirements Work in Practice
- What Break-In Wear Looks Like on Operators
Week One: The Settling-In Check
The week after installation is when you catch the things nobody told you to watch for. Concrete footings are curing, the gate frame is expanding daily in the sun, and the operator is running its first hundred cycles. Walk the gate by hand with the operator disengaged and pay attention to how it moves. It should swing or slide smoothly from start to finish with no catches at the extremes.
Here’s what to check in that first week:
- Hinge bolts. Check every hinge bolt with a wrench. They should be snug. Don’t fully re-torque yet – just confirm nothing is loose.
- Post plumb. Hold a level against both posts. If either has drifted more than 1/8 inch in a week, the footing is moving and the installer needs to know.
- Gate clearance. Open and close the gate by hand and look at the gap under the gate and between the gate and the post. The gap should be consistent from top to bottom.
- Operator travel. Run the operator through a full open-close cycle three or four times. The gate should stop flush at the open limit and fully closed at the close limit without straining.
- Warning labels and photo-eye alignment. Confirm the safety photo-eyes on your LiftMaster or DoorKing operator are aligned and the gate reverses when you wave your hand through the beam.
- Latch engagement. The latch should catch without force. If you’re pushing the gate to latch, the post or hinge has already shifted.
Write down what you find, even if it’s nothing. A dated note saying “week one, all hardware snug, gate level” is the start of the baseline that will save you a headache in year two.
Month One: Re-Torque and Break-In Wear
Thirty days in, the frame has been through its first full stretch of hot-cold cycling. Bolts that felt tight in week one now have a little play. The operator has run several hundred cycles and the internal gearbox has seated. This is the single most important maintenance window in the gate’s life, and almost nobody does it because the installer has already handed over the keys and driven off.
What a 30-day service should cover:
- Full re-torque of all structural hardware. Every hinge bolt, bracket bolt, and frame bolt goes back to the manufacturer’s spec using a torque wrench, not a socket and a strong arm.
- Limit switch check. Run the gate and watch where it stops. If the open limit is creeping forward or the close limit has backed off, the switch has drifted during break-in and needs adjustment. This is common on Ghost Controls and Elite operators in the first month.
- Roller and track inspection on sliding gates. Look for flat spots or uneven wear on the rollers. New rollers seat into the track over the first month, and you may need to shim or adjust the track to stop the gate from dragging.
- Grease points. Apply the lubricant specified in your manual to hinge pins, roller axles, and the operator’s drive chain or screw. Don’t use white lithium on exterior hardware in North Las Vegas – it collects dust and grit fast.
- Photo-eye and edge test. Bump the safety edge and break the photo-eye beam. The gate should reverse every time. If it hesitates, the operator’s force setting is too high and needs to come down.
If your installer doesn’t offer a 30-day check, this is worth hiring out. A gate repair visit at month one costs a fraction of what a bent operator arm or a sheared hinge costs at month twelve.
The North Las Vegas Heat Cycle and Hinge Hardware
North Las Vegas in July is not like a summer anywhere else. Ambient temps regularly hit 110 in the shade, and a black steel gate in direct sun can reach 150 degrees on its surface. That gate expands. It cools overnight and contracts. Do this for six weeks straight and every bolt in the assembly works loose a little at a time.
The manufacturer’s torque spec assumes room temperature. You need to re-apply it after the frame’s first real heat cycle because the hardware has literally walked. If you live in a neighborhood like Aliante or the older sections near Craig Road where gates sit in full afternoon sun, plan to re-check torque again in early fall after the worst of it passes. That’s three torque checks in the first year: installation, 30 days, and post-summer. Most gates never get one.
Track gates and driveway gates on the west and south sides of a property catch the worst of it. If yours does, watch the hinge post particularly closely – a gate sags in the hinge post, not in the middle, and that’s where the settling shows up first. Catching a two-degree drift in the post at month one is a wrench turn. Catching it at month eighteen is a footing replacement.
Month Six: Lubrication and Roller Inspection
By six months, your gate has been through a full North Las Vegas summer. The hardware has seated. The operator has logged several thousand cycles. This visit is about wear and lubrication, not settling.
What to inspect:
- Roller wear. Sliding gates should get every roller spun by hand and checked for flat spots. Replace any roller with visible flat spots – they’re the leading cause of track damage.
- Chain or screw drive lubrication. Chain-driven operators need a proper chain lube, not oil. Screw-driven operators need the grease specified by the manufacturer. Apply lightly and wipe the excess. Over-lubricating attracts grit.
- Hinge pin wear. Look for shiny metal where the hinge pin contacts the barrel. That’s the beginning of a wear point and a few drops of oil will extend the hinge’s life significantly.
- Track alignment on sliding gates
- Battery backup test. If your operator has a battery backup, unplug the gate from power and run a full open-close cycle on battery. North Las Vegas has enough brief power interruptions that a dead backup battery is a real problem.
- Post leveling check. Repeat the plumb check from week one. If either post has drifted since the 30-day visit, this is the window to correct it before the next summer season.
Chain slack, drive screw tension, and photo-eye alignment all need a look at six months too. This is also where you’d catch a failing control board or a limit switch that keeps drifting on a DoorKing operator – early enough to fix it under warranty instead of replacing the board.
The Annual Service Checklist
After the first year, service settles into an annual rhythm – twice a year if the gate gets heavy daily use. This is a good time to bring in a professional, and it’s also the check that keeps a manufacturer’s warranty valid if something fails in year two or three.
A complete annual service should include:
- Full hardware torque check against the manufacturer’s spec.
- Complete lubrication of all moving parts – hinges, rollers, operator drive, chain, and latch mechanism.
- Operator firmware and programming check. Newer LiftMaster and DoorKing operators have travel limits and force settings stored in software. Those settings can drift, especially after power surges. A firmware check catches force settings that have crept up and are masking a mechanical problem.
- Safety device test. Photo-eyes, safety edges, and reverse on obstruction. Document that all passed.
- Battery backup load test if equipped.
- Wiring and junction box inspection for corrosion or rodent damage.
- Post and footing check – plumb, no cracking at the base.
- Full written report. This is what your warranty depends on.
In North Las Vegas, schedule the annual for spring – March or April – so the gate is in top shape going into the summer heat rather than coming out of it. See our Gate Motor & Opener in North Las Vegas page for the operator-specific service intervals.
Keeping an Installation Log
The single biggest thing you can do to protect a new gate installation is keep a simple log. Not a journal – a one-page record with dated entries. When something starts making noise or running slow in year three, the log tells you whether the behavior is new or whether it’s been there since month one.
What to record for each entry:
- Date of service or inspection
- Who did the work (name of the company, invoice number)
- Torque values measured on hinge bolts, if recorded
- Photo of each post base and each hinge with a date stamp
- Limit switch position and travel distances
- Battery backup voltage reading
- Any repairs made, parts replaced, or settings adjusted
Keep it in the operator’s manual or snap photos to a phone folder labeled “gate”. When you call a Gate Repair in North Las Vegas crew out for a noise or a slow cycle, the log turns a two-hour diagnostic into a fifteen-minute check.
How Warranty Maintenance Requirements Work in Practice
Every gate operator and gate hardware manufacturer writes a maintenance requirement into the warranty terms. LiftMaster, DoorKing, Elite, and the rest all require regular service, and the standard is generally “per the maintenance schedule in the manual”. In practice, here’s what that means if you need to file a claim in year two.
The manufacturer will want proof of maintenance. Not a promise that you did it – documentation. That usually means a dated invoice from a qualified service provider showing what was checked, and a written record of the finding. Inspections you did yourself are worth something, but a manufacturer facing a $600 control board replacement is going to want a professional’s signature on a service record. Keep the annual service invoices in the same folder as the original installation paperwork.
If you’ve been doing your own 30-day, six-month, and annual checks, that’s better than nothing and often enough for small component failures. But when an operator gearbox fails at month 20 – and we’ve seen this on Mighty Mule units that were never adjusted after break-in – the documented professional service is what makes the difference between a warranty replacement and an out-of-pocket repair. Ask your installer at handover what the warranty requires and write it down on the first page of your log.
What Break-In Wear Looks Like on Operators
Break-in wear is the physical seating of new parts under load. In the first 500 to 1,000 cycles, the operator’s gearbox gears wear into each other, the drive chain stretches slightly, the gate’s hinges settle into their pins, and the rollers find their final position in the track. That’s all normal. What’s not normal is what happens if nobody adjusts for it.
Signs that break-in wear is already causing problems:
- The gate is louder at week six than week one. Usually the chain is loose or the rollers have started to flat-spot.
- The gate reverses on its own mid-travel. The force setting has crept up as parts loosened, and the operator is now fighting its own grown slack.
- The close limit is inconsistent. The gate sometimes stops an inch short. Limit switch has drifted during break-in.
- Hinge pins squeal. They’ve worn through the factory lubrication and are into metal-on-metal.
Adjusting for break-in wear is straightforward: re-tension the chain to spec, re-set the force and limit settings to factory baseline, re-lubricate the hinge pins, and replace any roller that’s already flat-spotted. For a service check on a specific operator brand, our Gatewood Fence & Gate North Las Vegas home page lists what we cover under each brand. A new Gate Installation in North Las Vegas includes the first 30-day check in our work.
Common Mistakes to Avoid
- Skipping the 30-day check because “it’s brand new”. Brand new is the exact reason to do it. Everything is still settling.
- Over-tightening hinge bolts with an impact driver. The factory spec exists for a reason. An impact driver can shear a stainless hinge bolt or strip the threads in the post bracket.
- Using the wrong lubricant. White lithium grease in North Las Vegas collects dust. Motor oil on a chain flings off. Use a dry chain lube on chains, axle grease on rollers, and nothing but the manual’s spec on the operator.
- Assuming the installer did the 30-day check. Most don’t. If they didn’t say so in writing at handover, plan to do it or hire it out.
- Ignoring the first winter/spring cold snap. A gate that swung smoothly at 105 degrees may bind at 40 degrees. Check clearances after the first cold morning.
- Not keeping records. The single easiest warranty to deny is one where the owner can’t produce a maintenance invoice.
- Calling for a replacement when the gate needs an adjustment. Most “failing” operators at 12 to 18 months just need their force and travel limits re-set after break-in wear. That’s a repair, not a replacement.
See the difference
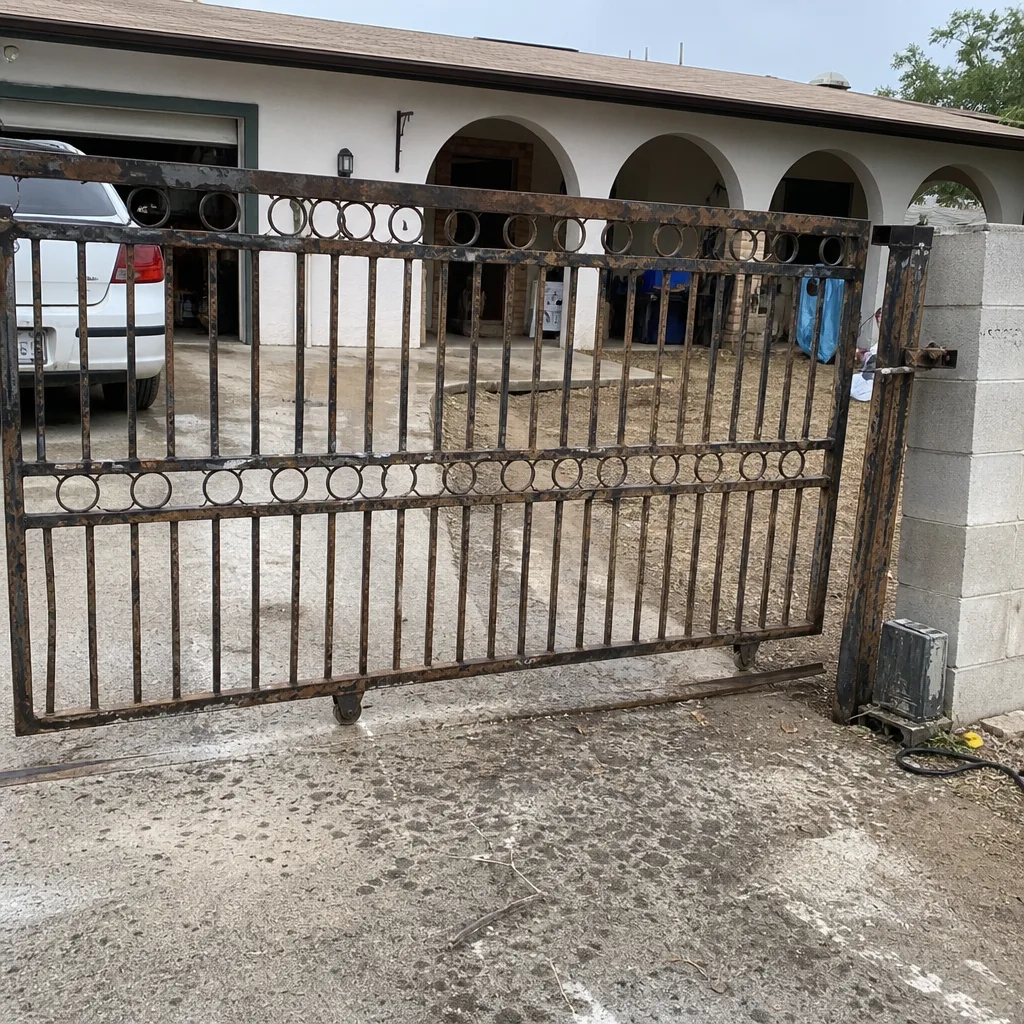 Before
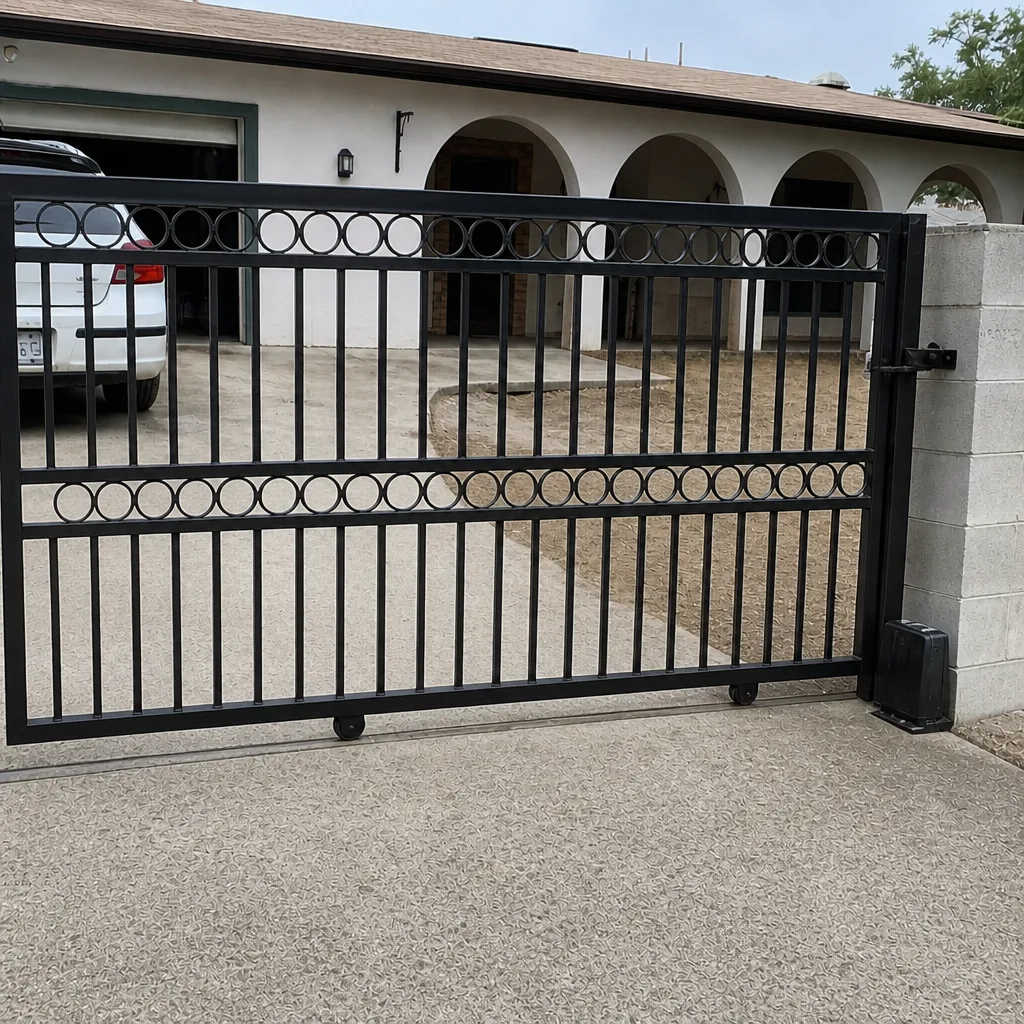 After
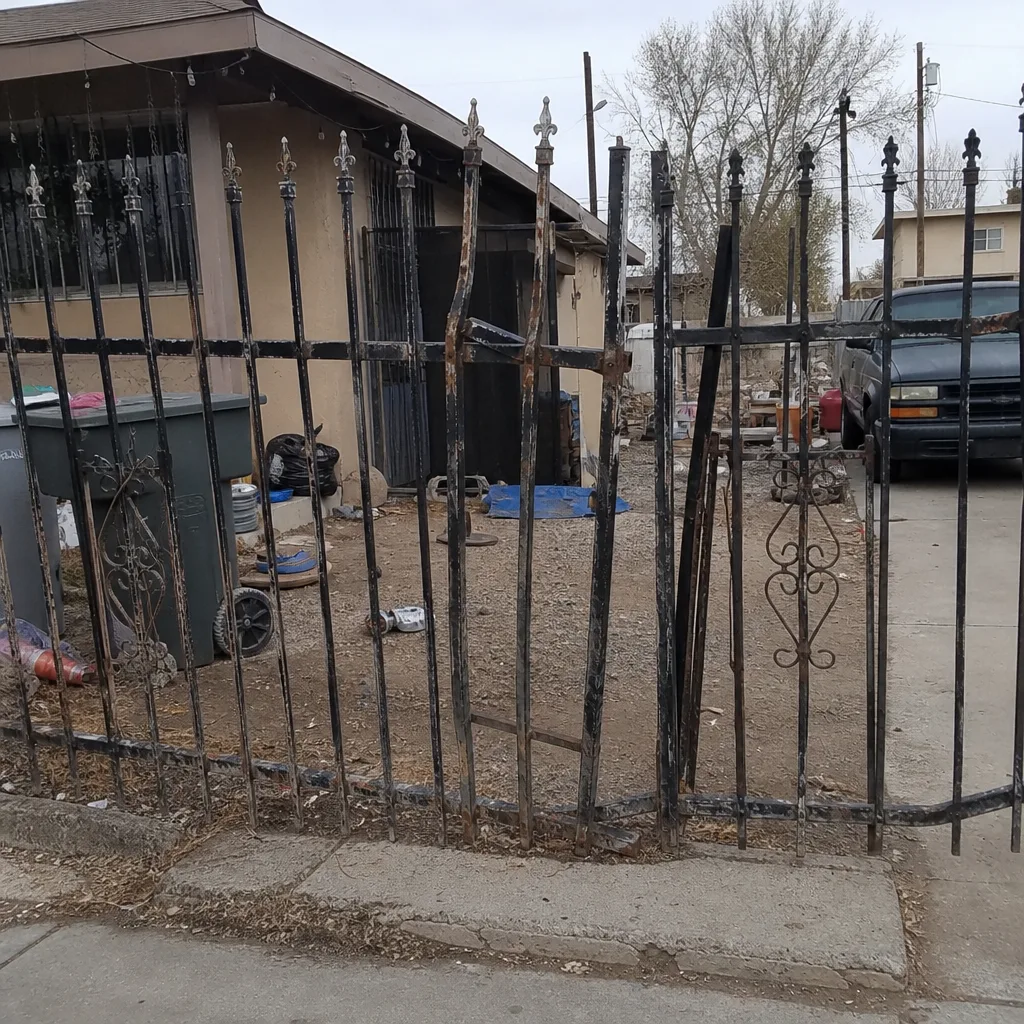 Before
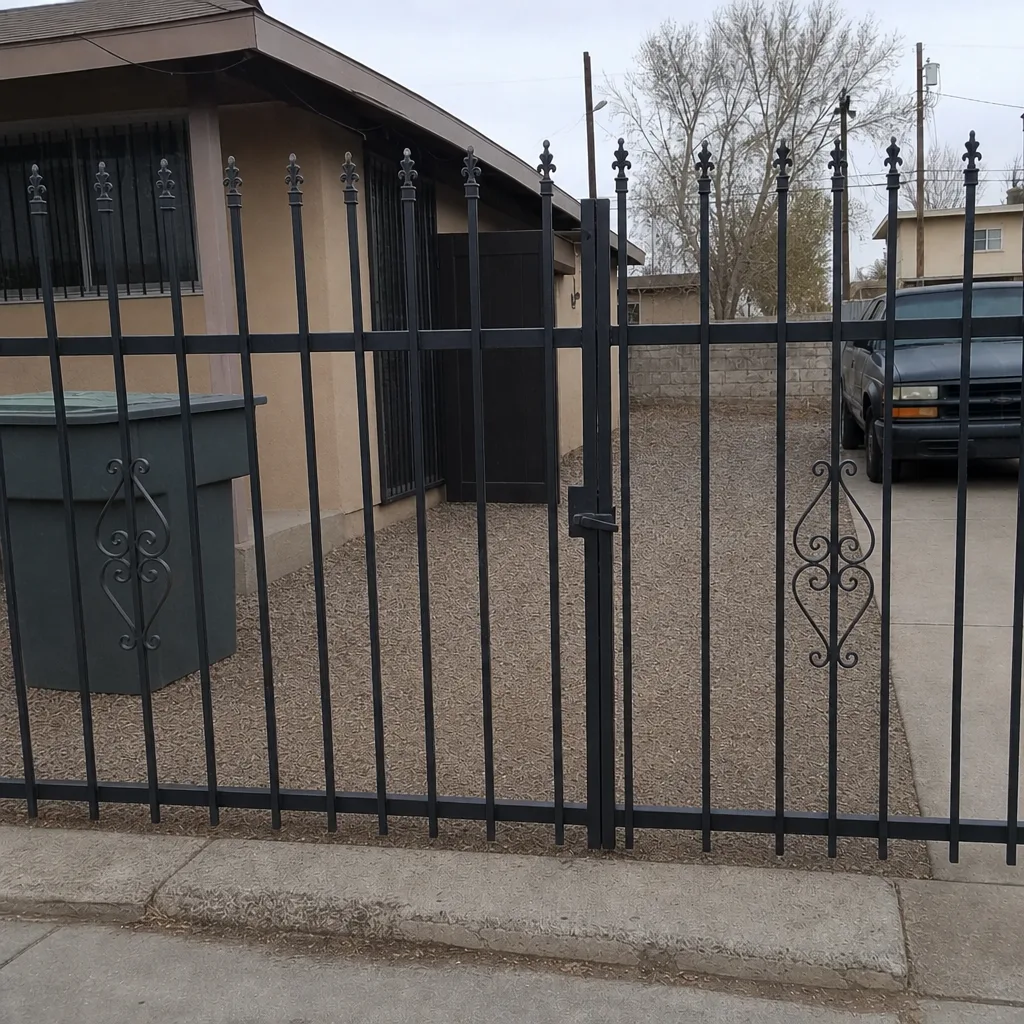 After
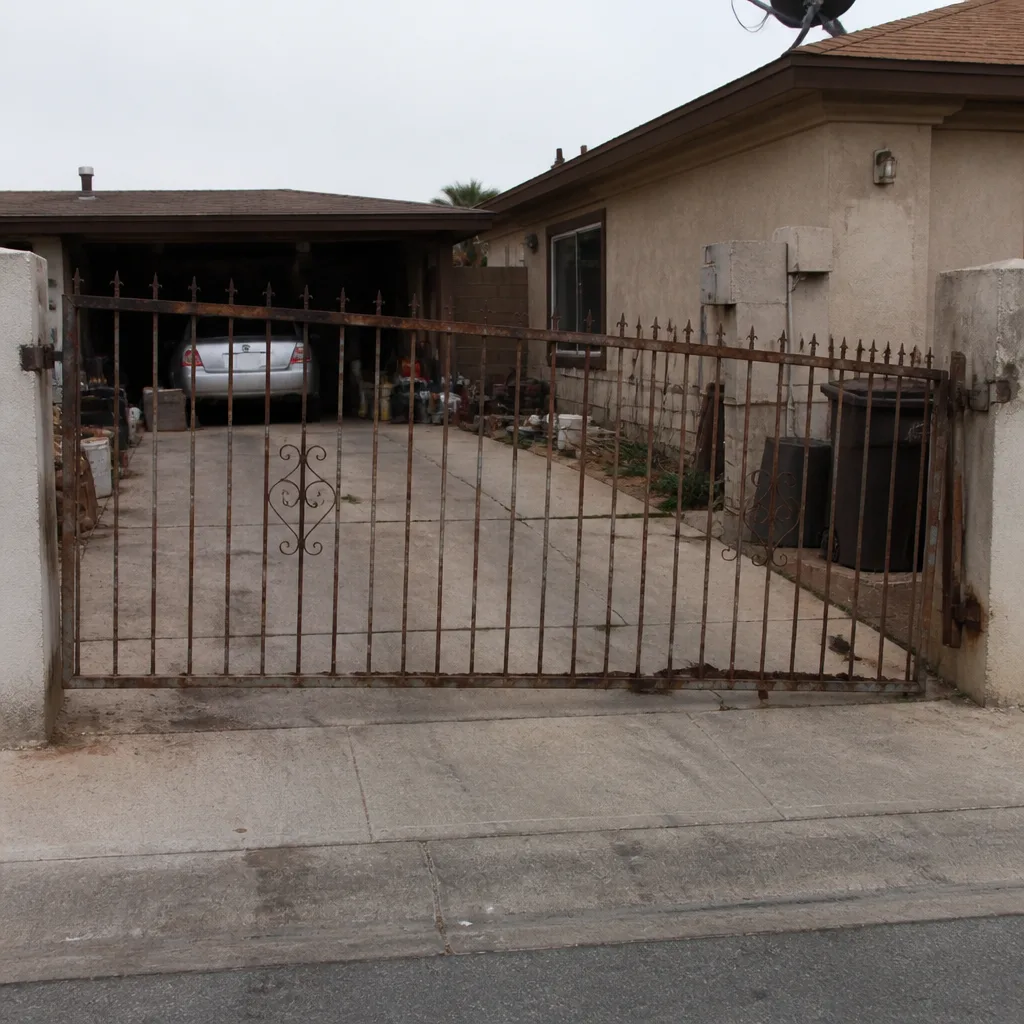 Before
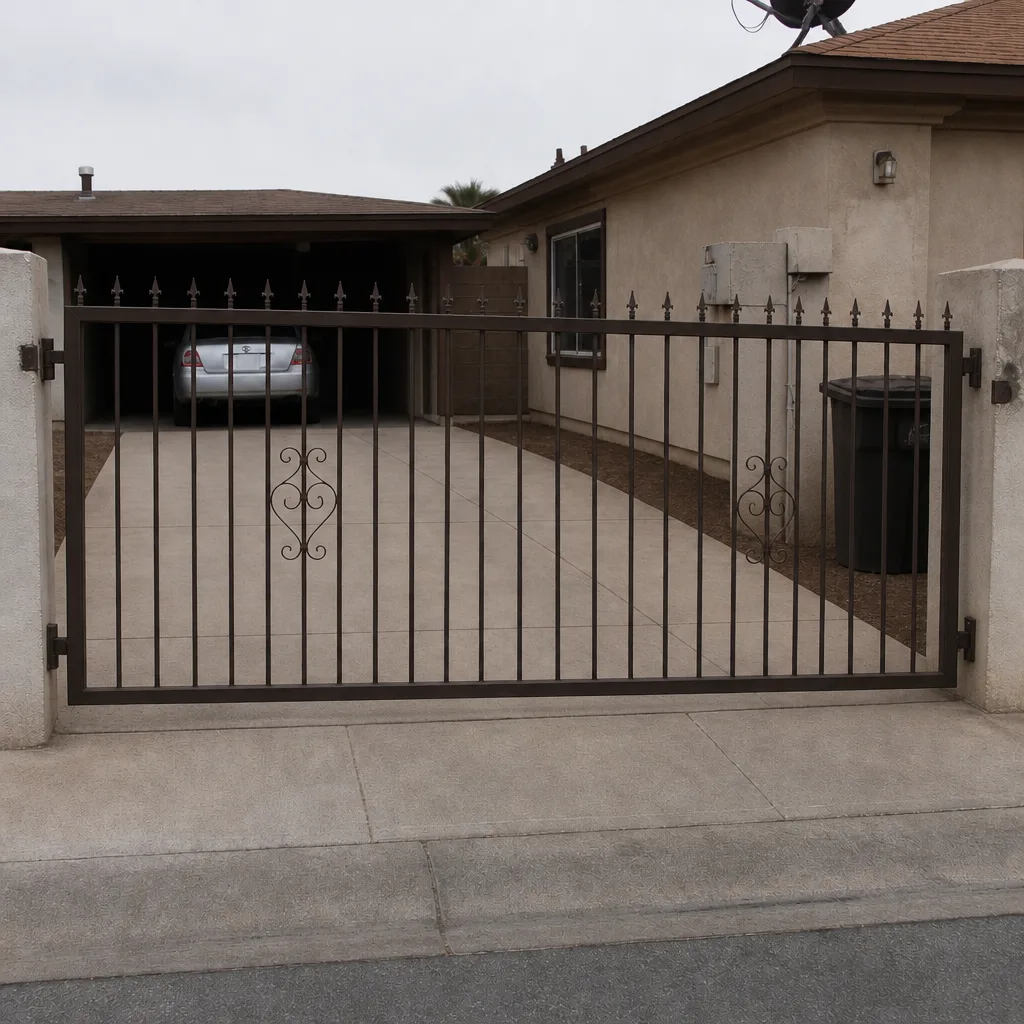 After
When to Call a Professional
Bring in a professional whenever the work touches the safety devices (photo-eyes, safety edges, force settings), the electrical connection, or the counterbalance of a heavy gate – those are the parts where mistakes get expensive. Call a pro if a post has drifted out of plumb by more than a quarter inch, if the operator reverses without an obvious obstruction, if you see cracked concrete at a footing, or if the gate has started slowing in sections of its travel. Those are signs of a problem that a homeowner-level adjustment won’t reach.
We look at new installations in North Las Vegas often and offer free estimates. Gatewood Fence & Gate North Las Vegas handles the 30-day, six-month, and annual service windows with the 90-Day Done Right Promise in writing on every job. Call (844) 761-9351 to schedule your first-year maintenance check.
Frequently Asked Questions
A new gate should get its first service within 30 days of installation. That check covers re-torquing hardware after the frame’s first heat cycle, limit switch adjustment, roller inspection, and initial lubrication. Don’t wait past six weeks.
A new gate needs three checks in the first year (week one, month one, month six) plus the annual service, because break-in wear and settling are the main risks. After year two, most gates shift to a semi-annual or annual schedule unless they see heavy daily use.
Bolts seat and settle over the first heat cycle. In North Las Vegas, a gate sees 100-degree temperature swings in its first month, which expands and contracts the steel frame and works bolts loose. The manufacturer’s torque spec is meant to be re-applied at 30 days and again after the first full summer.
It can. LiftMaster, DoorKing, and other manufacturers require service per the manual’s schedule and may deny a claim without written proof of maintenance. Keep dated service invoices in the same folder as your installation paperwork.
You can handle the visual checks (post level, gate clearance, photo-eye test, log entries) yourself. For anything involving the operator’s force settings, limit switches, or electrical work, bring in a professional. Those adjustments are what keep the safety devices working correctly.
A first-year maintenance visit typically runs $120 to $220 depending on the gate type and operator brand, and may include the 30-day re-torque or six-month service. Ask for a written estimate before any work is done so the price is agreed upfront.
The Bottom Line
The first year is the most important maintenance period of your gate’s life. Skip it and you’ll spend the second year correcting what should have been prevented. Get the week-one visual check, the 30-day re-torque, the six-month lubrication, and the annual service on the calendar, and keep a simple log with dated photos and torque values so you have a real baseline. North Las Vegas gates have a harder first summer than most, which makes those early checks more important, not less. After year one, the gate settles into a predictable rhythm and the maintenance gets easier, not harder.
If you need a new gate installed or want a first-year service scheduled, call (844) 761-9351 for a free estimate.
Written by the team at Gatewood Fence & Gate North Las Vegas.