
Last updated November 17, 2026
 Wrought iron
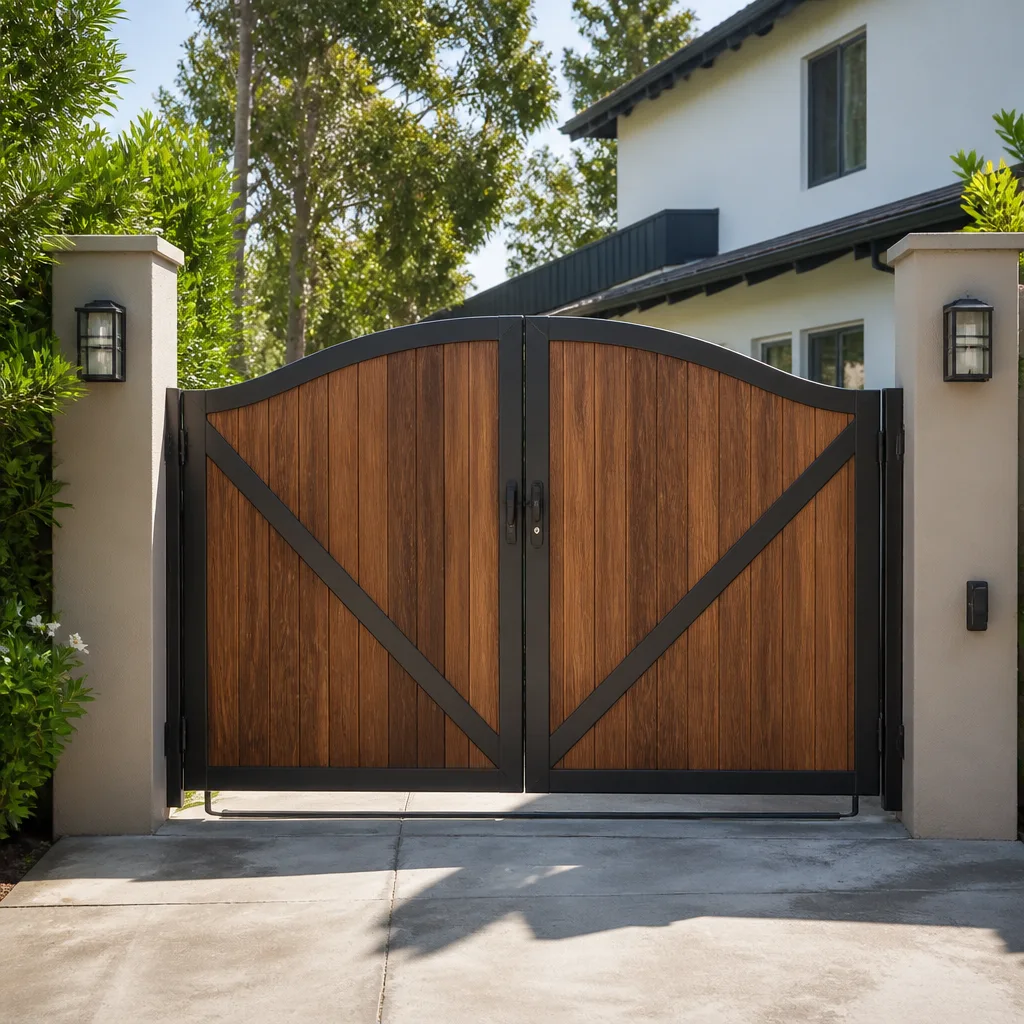 Wood & steel frame
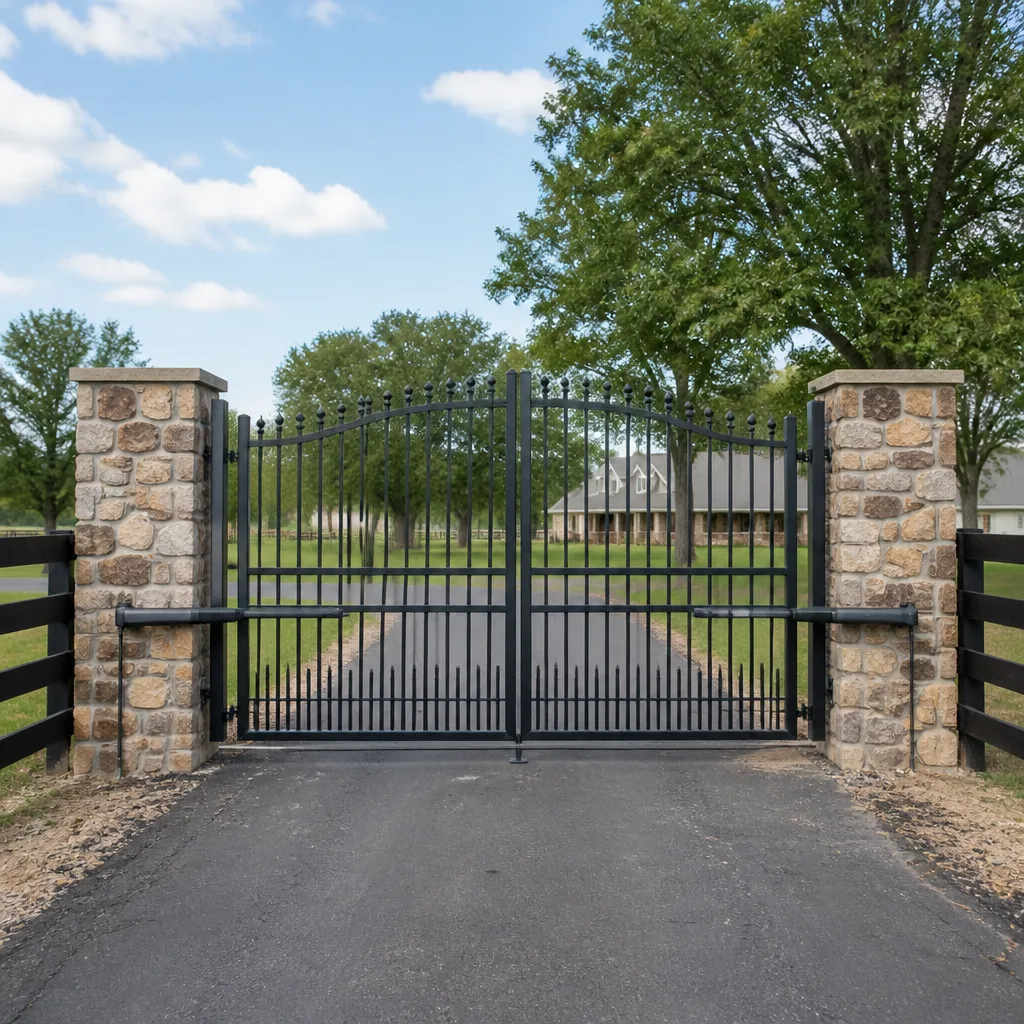 Farm & ranch
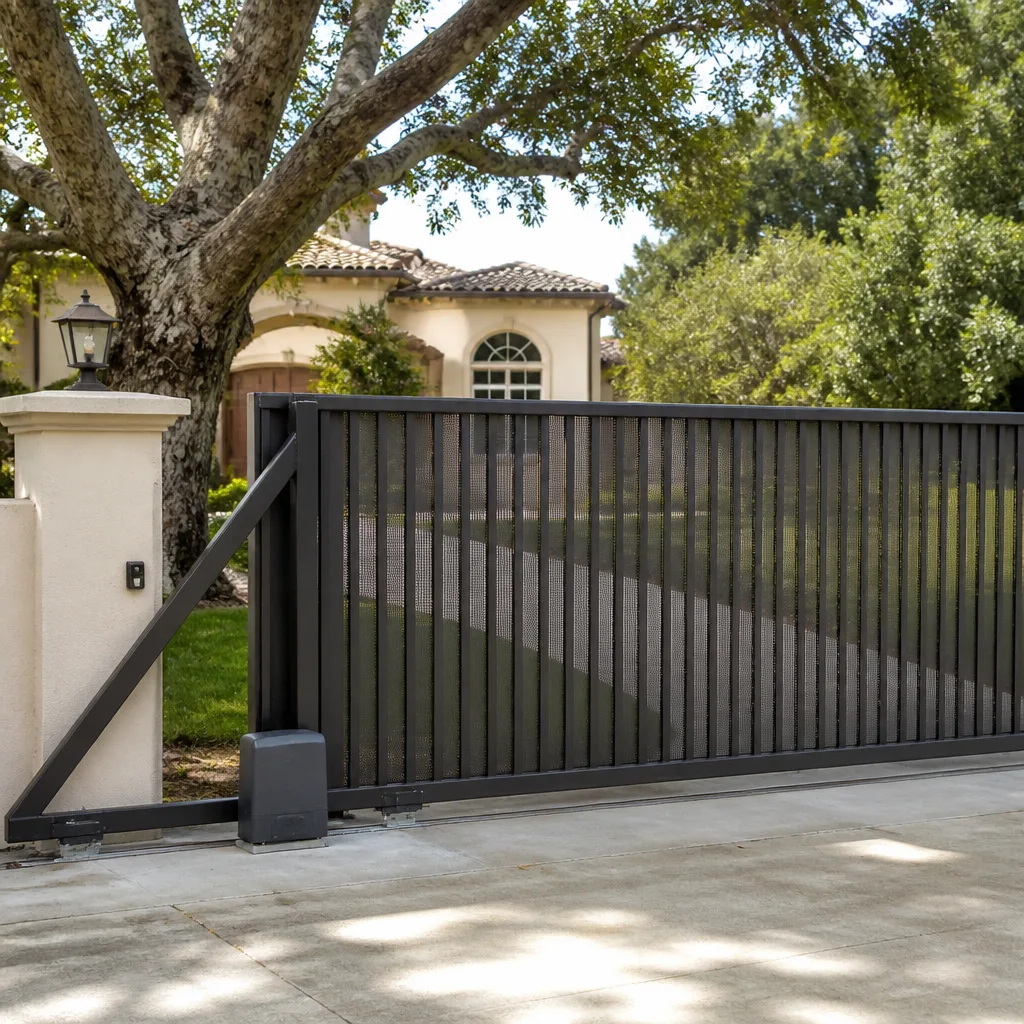 Sliding driveway gates
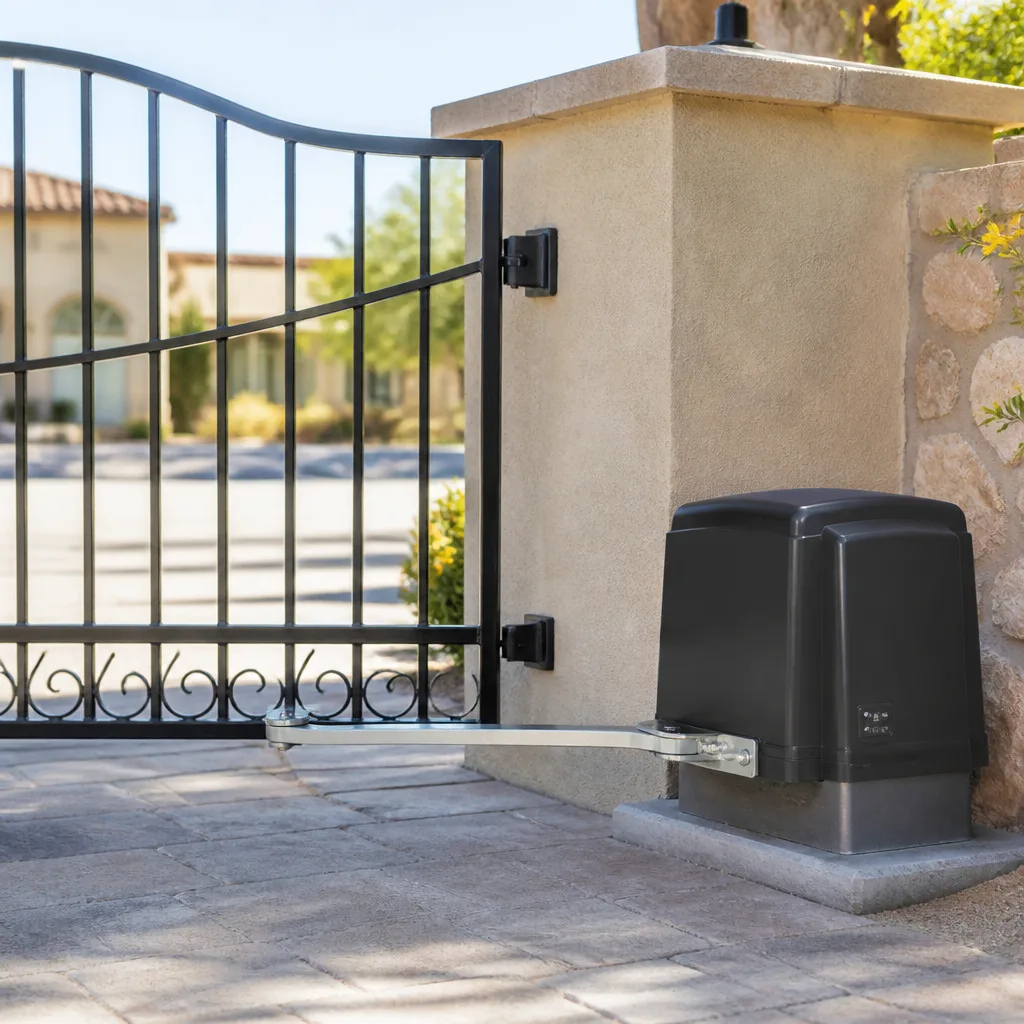 LiftMaster operators
Free on-site gate assessment - hinges, posts, and your LiftMaster or Nice gate operator checked before anything is quoted
The assessment is free and the quote is the invoice.
Get your free estimateDIY vs Professional Gate Motor & Opener: What’s Safe to Do Yourself
Replacing a remote battery is a DIY job. Replacing the control board on a 24V system is not. The voltage isn’t the scary part. It’s that one crossed wire on a control board can fry a $400 board, and you won’t find out until the gate doesn’t move at midnight with your truck on the wrong side.
Most guides on this subject answer a different question than the one that matters. They want to know if you’re handy enough. That’s not the real test. The real test is whether the task carries consequences you can live with if it goes wrong. Here in North Las Vegas, where the summer heat runs gate motors hard and monsoon dust works into every hinge and track, that line between DIY and professional splits in a specific, mappable way. This guide draws it task by task, so you know where you can save a few bucks and where a shortcut turns into a $600 mistake.
Quick Answer
A careful homeowner can safely handle remote programming, sensor cleaning, battery swaps, and minor lubrication. Anything involving wiring, control board replacement, motor mounting, or limit calibration belongs to a technician. The reason is simple: those four tasks can destroy expensive components or create a gate that moves in a way nobody planned for. Motor manufacturers typically void warranty coverage when installation isn’t done by a licensed contractor, so a DIY install can cost you the board and the motor both.
Styles & brands we work with
- Wrought iron
- Wood & steel frame
- Farm & ranch
- Sliding driveway gates
- LiftMaster operators
Table of Contents
- What a careful homeowner can safely do
- What needs a technician
- The hidden risk of DIY motor mounting
- The warranty reality nobody tells you about
- Why this isn’t a YouTube video and a drill
- Cost-benefit: DIY savings vs correction costs
- Common mistakes to avoid
- When to call a professional
What a Careful Homeowner Can Safely Do
Plenty of gate maintenance is genuinely within reach. We’ve watched homeowners in the North Las Vegas neighborhoods around Aliante and Eldorado keep their gates running smoothly for years by doing the small things themselves and calling us when something actually breaks. That’s the right balance.
These tasks don’t touch power, don’t move load-bearing parts, and don’t require a meter:
- Remote and keypad programming. Adding a second remote, changing a PIN, or clearing an old code is a menu job. Your manual walks you through it. Worst case, you redo it.
- Sensor cleaning. Safety photo-eyes collect dust fast in the desert. A soft cloth and a quick wipe on both lenses fixes most “gate won’t close” complaints.
- Battery swaps. Remotes, keypads, and backup batteries in the control box are simple swaps. Match the battery type exactly and you’re done.
- Minor lubrication. A light coat of the right lubricant on hinges, rollers, and the drive chain keeps things quiet. Too much attracts grit, so go easy.
- Visual inspection. Walking the gate line once a month and looking for loose bolts, sagging hinges, or a track full of gravel catches problems while they’re cheap.
None of these require shutting off power to the operator or opening the control enclosure. Once you’re inside that box, you’re in a different category, and the next section explains why.
What Requires a Technician
The four tasks below are where DIY gate work stops being thrifty and starts being risky. Not because you’re not capable, but because the failure modes are expensive and not always obvious the same day.
- Any wiring work. Low-voltage gate systems still run control signals through small-gauge wire where the wrong terminal means the board sees voltage it wasn’t designed for. Reversing two leads can take out the board and the safety-edge circuit in one shot.
- Control board replacement. A new board has to be matched to the operator, the accessories, and sometimes the type of safety devices on the gate. Plug the wrong board into a LiftMaster or FAAC operator and it either won’t initialize or runs in a fault mode that looks like a dead motor.
- Motor mounting. This is the one that ends up on our repair board most often in North Las Vegas. More on it below.
- Limit calibration. Limit switches tell the operator where open and closed are. Set them wrong and the gate drives into the stop, which over a few weeks stresses the operator gears, the hinges, and the post.
We’ve fixed plenty of DIY motor installs in the North Las Vegas area, and the pattern is consistent: the motor runs, and then six months later something else has failed because the load was wrong from day one. If the gate is a Mighty Mule or Elite slide gate that’s drifted out of adjustment, that’s a job for a technician who can measure, not eyeball. Our Gate Motor & Opener in North Las Vegas page covers what a proper service visit includes.
The Hidden Risk of DIY Motor Mounting
Here’s where the DIY versus professional line gets interesting. Most gate opener kits are sold as universal and pictured next to a tidy new gate in a showroom. Your gate isn’t new. It’s been hanging on its hinges for a decade, and it may not have been built with automation in mind.
When you bolt a motor onto a gate that wasn’t designed for one, you change the load path. The motor pushes and pulls at a point the hinges never saw before. On a swing gate, that load lands on the hinge post. On a slide gate, it lands on the track and the carrier. If the post has any sag or the track has any wear, the motor is now working against a gate that’s fighting back.
What that looks like in practice:
- Hinges that wear out in a year instead of five.
- A motor that runs hot and eventually trips its thermal cutoff.
- A gate that closes a little off-center, then day by day a little more, until it misses the stop.
- A sensor that gets knocked out of alignment because the gate arm drifts.
Every one of those failures traces back to a mounting job that ignored the gate’s existing condition. That’s why a technician measures the post, checks the hinge wear, and sometimes recommends a post repair before the motor even comes out of the box. Our Gate Repair in North Las Vegas service exists largely for this: the second visit that fixes what the first visit missed.
The Warranty Reality Nobody Tells You About
Most residential gate motor manufacturers require installation by a licensed contractor to honor the warranty. It’s printed in the manual, usually in a section nobody reads until after something fails. When a homeowner installs the motor themselves and it dies at month 13, the manufacturer can decline coverage on that basis alone.
What that actually costs you, in round numbers:
- A replacement control board: $180 to $350 depending on brand and model.
- A replacement motor assembly for a swing or slide operator: $450 to $1,200.
- Labor to swap and recalibrate: two to four hours.
A professional install typically adds $300 to $600 in labor over the DIY materials cost. If the motor fails inside its warranty window, the professional install often pays for itself in one repair. If it fails outside the window, you’re paying for the repair either way, but you’ll have a straighter install and a motor that’s been running within spec from day one.
The brands we service most in the North Las Vegas area are LiftMaster, FAAC, BFT, Linear, Viking, Ghost Controls, DoorKing, Elite, and Mighty Mule. Each one has slightly different warranty terms, and a licensed installer keeps you on the right side of all of them. That’s what our Gate Installation in North Las Vegas work is built around.
Why This Isn’t a YouTube Video and a Drill
A YouTube video shows you a clean install on a clean gate. It doesn’t show you the amp clamp reading current draw under load, the digital level confirming the operator sits square to the gate line, or the torque spec on the concrete anchors. Those three things are the difference between a motor that lasts and a motor that ends up on our board in nine months.
What a professional install actually requires, beyond a drill:
- Amp clamp. Used to confirm the motor is drawing current within spec at the open and close limits. Without it, you’re guessing.
- Digital level. The operator arm has to sit square to the gate line. A bubble level gets close; a digital one gets it right.
- Torque wrench and the manufacturer’s anchor spec. Concrete anchors that hold the mounting bracket have a specific torque value. Under-torque them and the bracket walks; over-torque them and you crack the anchor or the slab.
- Multimeter. For confirming low-voltage control lines, safety-edge circuits, and continuity before power comes on.
- Proper loctite and hardware. The kit’s included bolts aren’t always the right ones for your gate. A technician knows which to swap.
None of that is exotic. All of it is why a good install outlasts a fair one by years. If you’re curious what a proper service looks like, our Gatewood Fence & Gate North Las Vegas home page spells out how we approach the work.
Cost-Benefit: DIY Savings vs Correction Costs
Let’s put honest numbers on this using North Las Vegas labor rates. A licensed gate technician in the valley typically runs $95 to $140 an hour for motor and opener work, and a standard swing or slide motor install runs two to four hours plus materials. A DIY install saves you that labor, no question. The question is what it costs when something goes wrong.
Here’s the pattern we see most:
- DIY install, motor survives, everything fine. You saved $300 to $600. It happens, especially on gates that were automation-ready.
- DIY install, board fried on first power-up. Replacement board $180 to $350, plus labor for the pro to diagnose and swap: $150 to $300. You’re out the savings and then some.
- DIY install, motor runs but the gate drifts. Six months later, hinges are worn, the sensor is misaligned, and the motor is drawing high current. The correction bill runs $250 to $500 on top of what you already spent.
- DIY install, warranty claim denied at month 13. Motor replacement $450 to $1,200, plus install labor. That’s the worst outcome, and it’s the one the warranty clause exists for.
We don’t say any of this to talk you out of being handy. We say it because we’ve seen the invoice. If you want a no-pressure quote before you decide, our standing offers make it easy: $40 off any repair over $200, no trip charge inside the county, a free second opinion on any written estimate, and a permanent 10% discount for seniors and veterans. That’s not a sales tactic, that’s just how we do business.
Common Mistakes to Avoid
- Skipping the amp clamp on first power-up. If the motor draws high current from the start, something is binding. Confirm current draw before you trust the install.
- Mounting a motor on a sagging hinge post. The gate sags in the hinge post, not in the middle, and that’s where the load lands. Fix the post before the motor goes on.
- Trusting the kit’s included hardware. The bolts in the box fit a showroom gate, not necessarily yours. Match the hardware to what’s actually on the gate.
- Setting the limits by eye. The gate must stop before the physical stop, not against it. Setting limits by feel wears the gears and eventually the motor.
- Cleaning the safety sensors with a rag that leaves lint. Fine in theory, but lint on the lens causes intermittent faults that look like a control problem. Use a microfiber cloth.
- Ignoring the summer heat. North Las Vegas summers push motors hard. A motor mounted with poor ventilation or directly in the afternoon sun runs hotter and shorts its life. A technician knows how to position it.
- Assuming a dead motor is a dead motor. In our experience, most “dead motor” calls are actually power, board, or safety-edge problems. Diagnose before you replace.
A gate that closes on its own tells you where it’s failing. Watch it. If it drifts left on close or hangs a quarter-inch before the stop, the motor isn’t the problem yet.
When to Call a Professional
Call a professional if any of these are true: you’re touching wiring, replacing a control board, mounting a new motor, calibrating limits, or the gate is doing something new that you can’t explain. Also call if the motor is more than five years old and starting to act up, if you’ve replaced the battery and the gate still won’t open, or if the gate is on a slope and the operator is under strain. Those are all cases where guessing costs more than a service call.
Here in North Las Vegas, we’ve been doing this work since 2001, owner-operated, with the name on the shop and the license number published so you can look us up. Every job carries our 90-Day Done Right Promise in writing, and if something isn’t right, one call brings us back. Calls are answered by a live person around the clock, not a voicemail or a dispatch queue. Gatewood Fence & Gate North Las Vegas offers free estimates in North Las Vegas. Call (844) 761-9351 and we’ll walk your gate with you.
See the difference
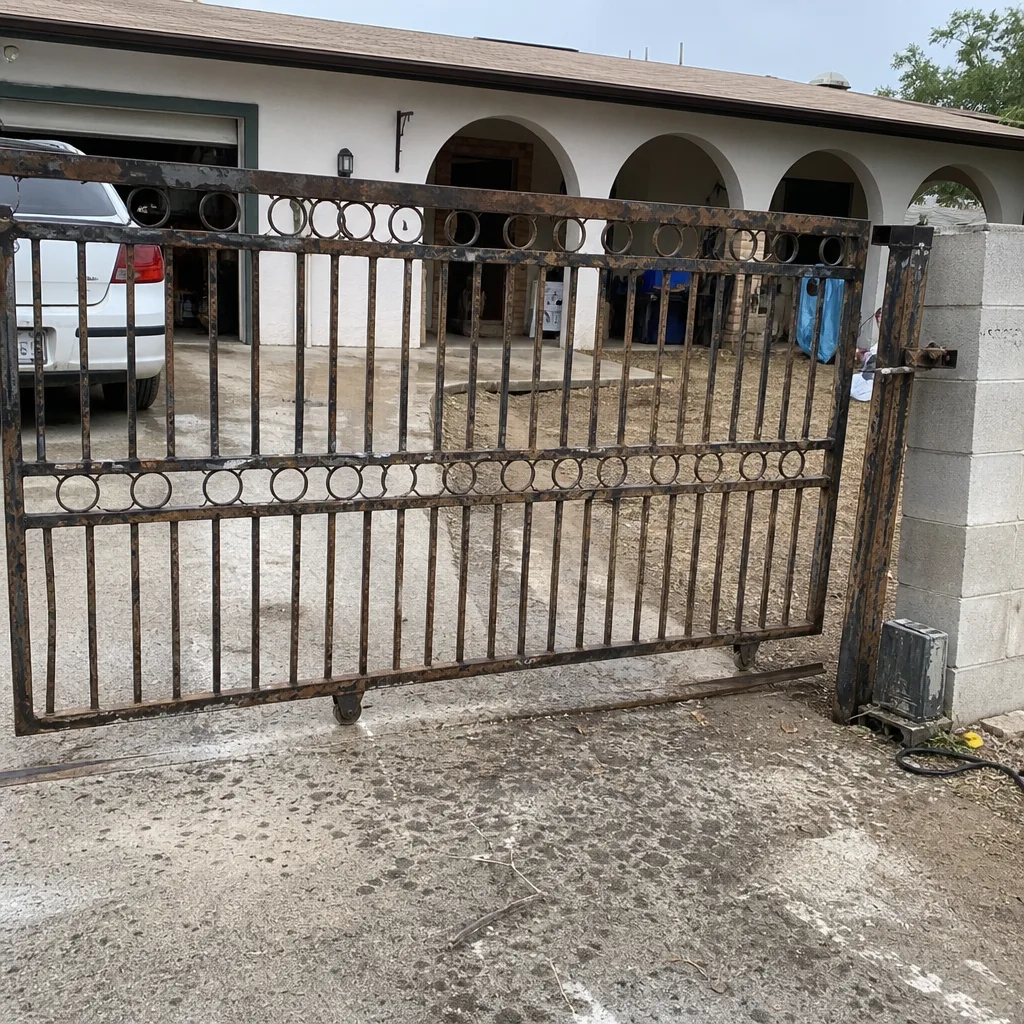 Before
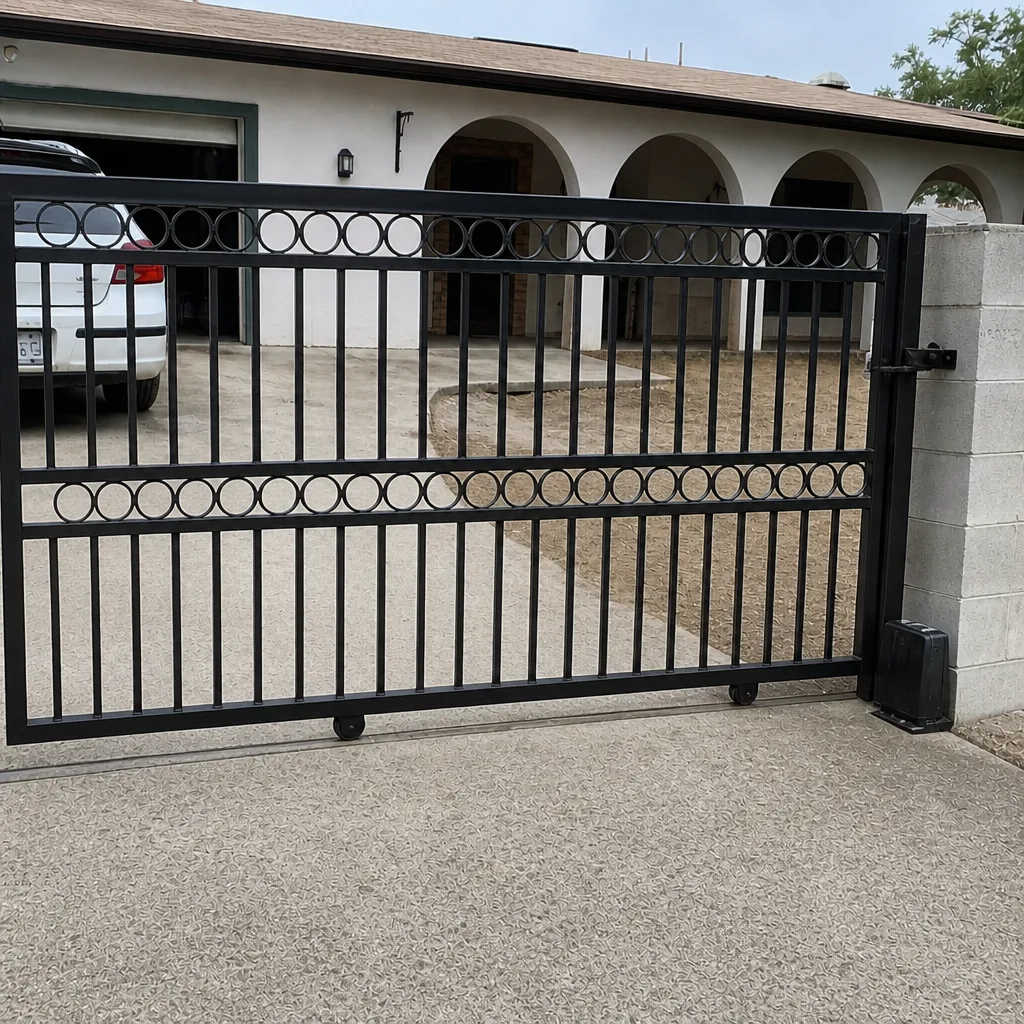 After
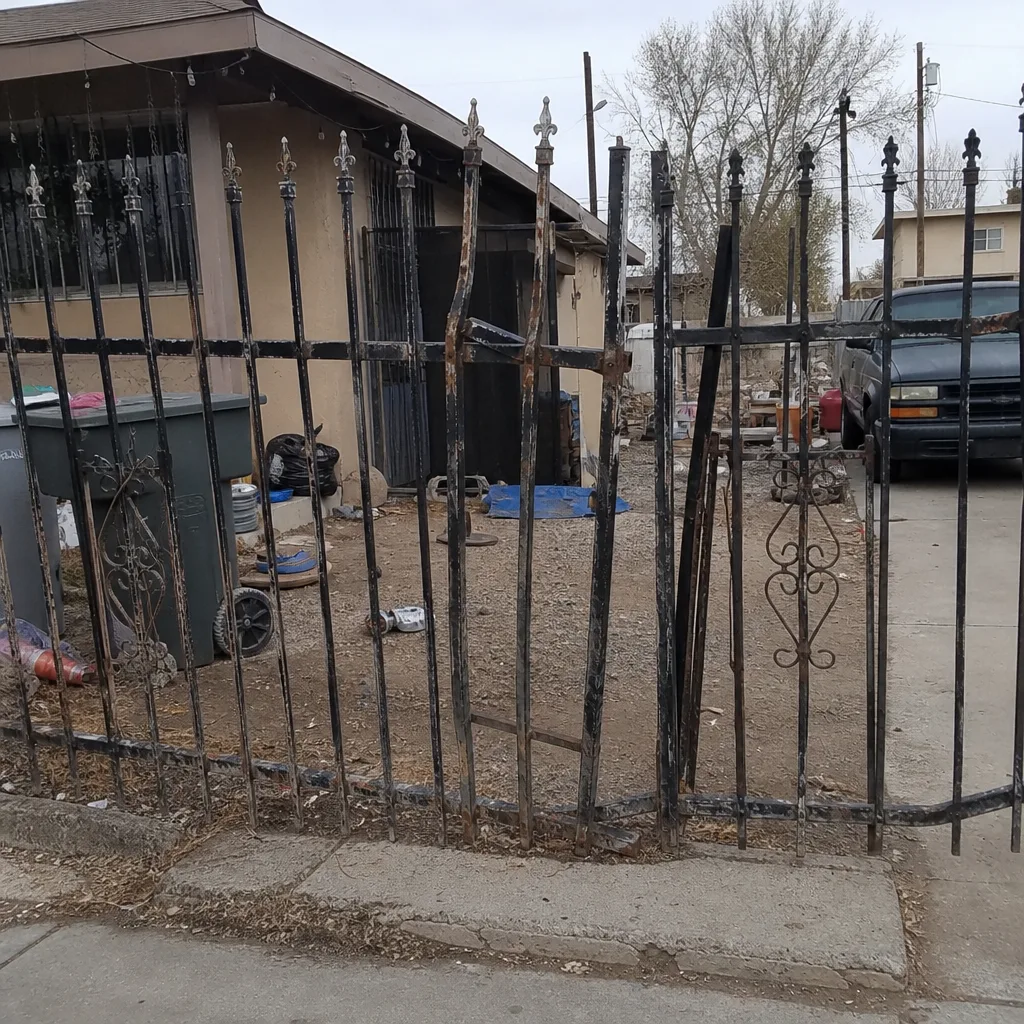 Before
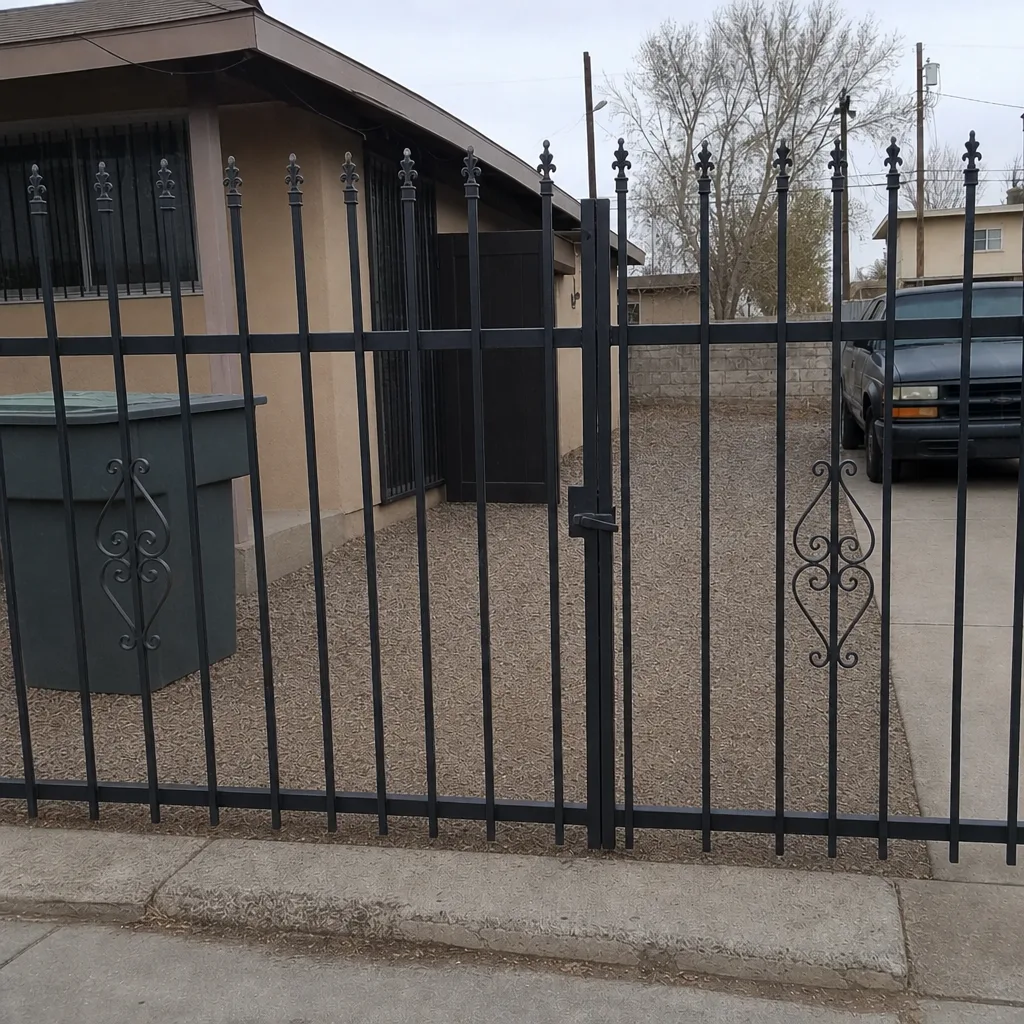 After
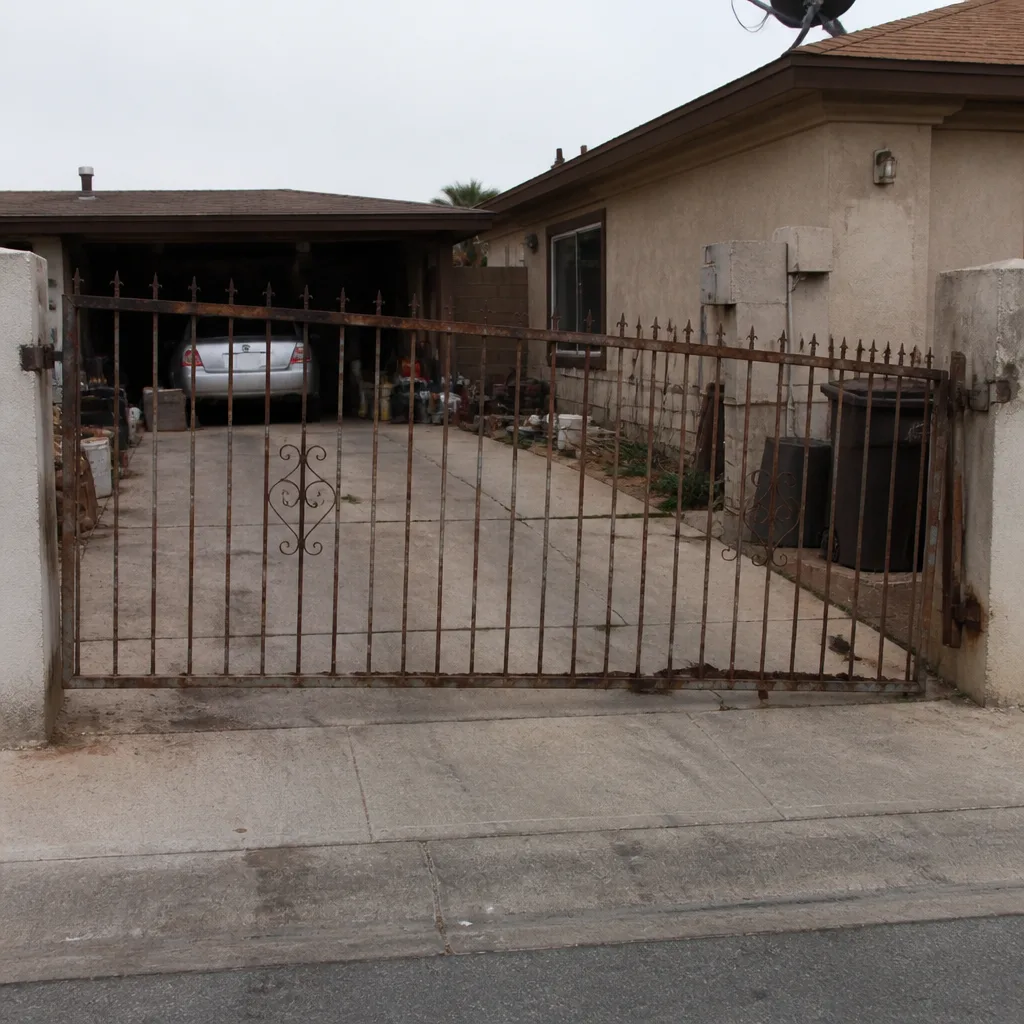 Before
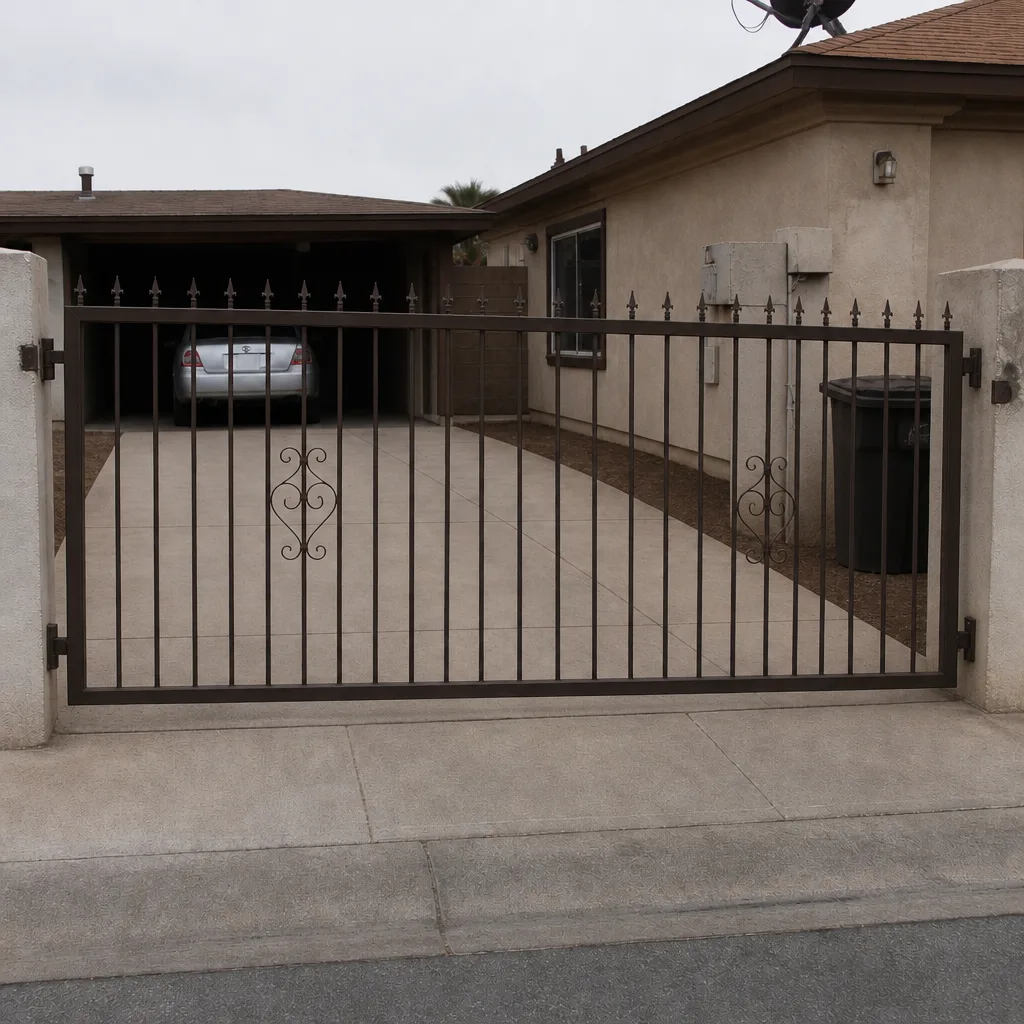 After
Frequently Asked Questions
Most manufacturers require installation by a licensed contractor to honor the warranty. Reading the manual is worth it because that clause is almost always there. If warranty coverage matters to you, a professional install keeps you on the right side of it.
Mounting a motor on a gate whose hinge post or track was already worn before the install started. The motor runs fine for a while and then accelerates every other failure. We fix that second visit more than any other.
Not recommended. A control board has to match the operator model, the accessory load, and the safety devices on the gate. A wrong board or a crossed wire can take out the board and something downstream with it. That’s a technician job.
Labor typically runs $300 to $600 depending on the gate type and site condition, plus motor materials. Call (844) 761-9351 for an exact quote, and we’ll quote and agree the price before any work starts.
Usually not. A gate that won’t close is more often a safety sensor, a limit switch, or a battery issue. Diagnose first. If you’ve cleaned the sensor and checked the battery and it still won’t close, call a technician.
Motor installs are measured and scheduled, not same-day, because the site has to be checked and the right parts ordered. Call (844) 761-9351 and we’ll set up a free estimate in the window that works for you.
The Bottom Line
The DIY line on gate motors isn’t about how handy you are. It’s about consequences. Remotes, batteries, sensors, and lubrication are yours to handle. Wiring, control boards, motor mounting, and limit calibration belong to a technician, mainly because the failure modes cost more than the labor you’d save. The warranty on your motor depends on it too, and a professional install usually pays for itself the first time something inside the warranty window fails. If you’re in North Las Vegas and want a straight answer on your gate, we’ll come look at it and tell you what we’d do, no pressure.
Ready to stop guessing? Call Gatewood Fence & Gate North Las Vegas at (844) 761-9351 for a free estimate. We’ll walk your gate, quote a price in writing, and stand behind it with the 90-Day Done Right Promise.
Written by the team at Gatewood Fence & Gate North Las Vegas.