
Last updated November 17, 2026
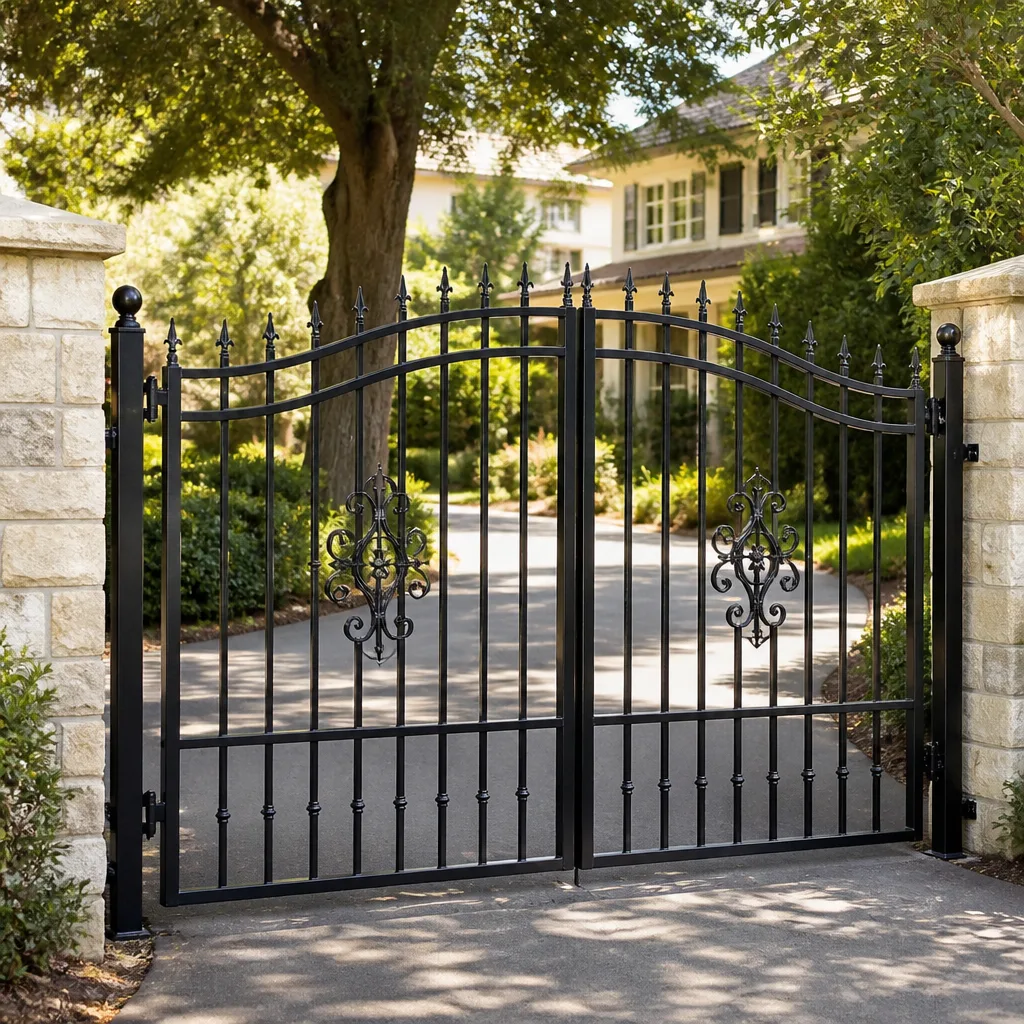 Wrought iron
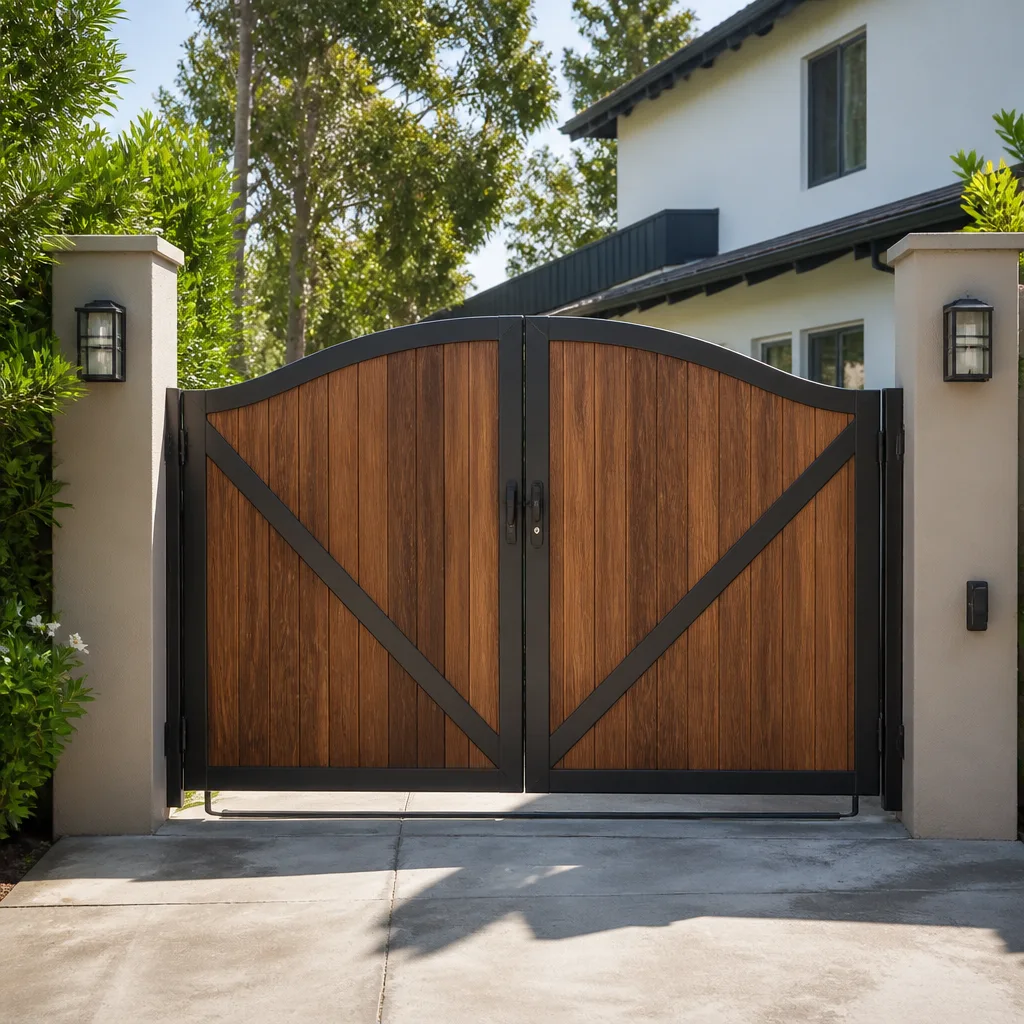 Wood & steel frame
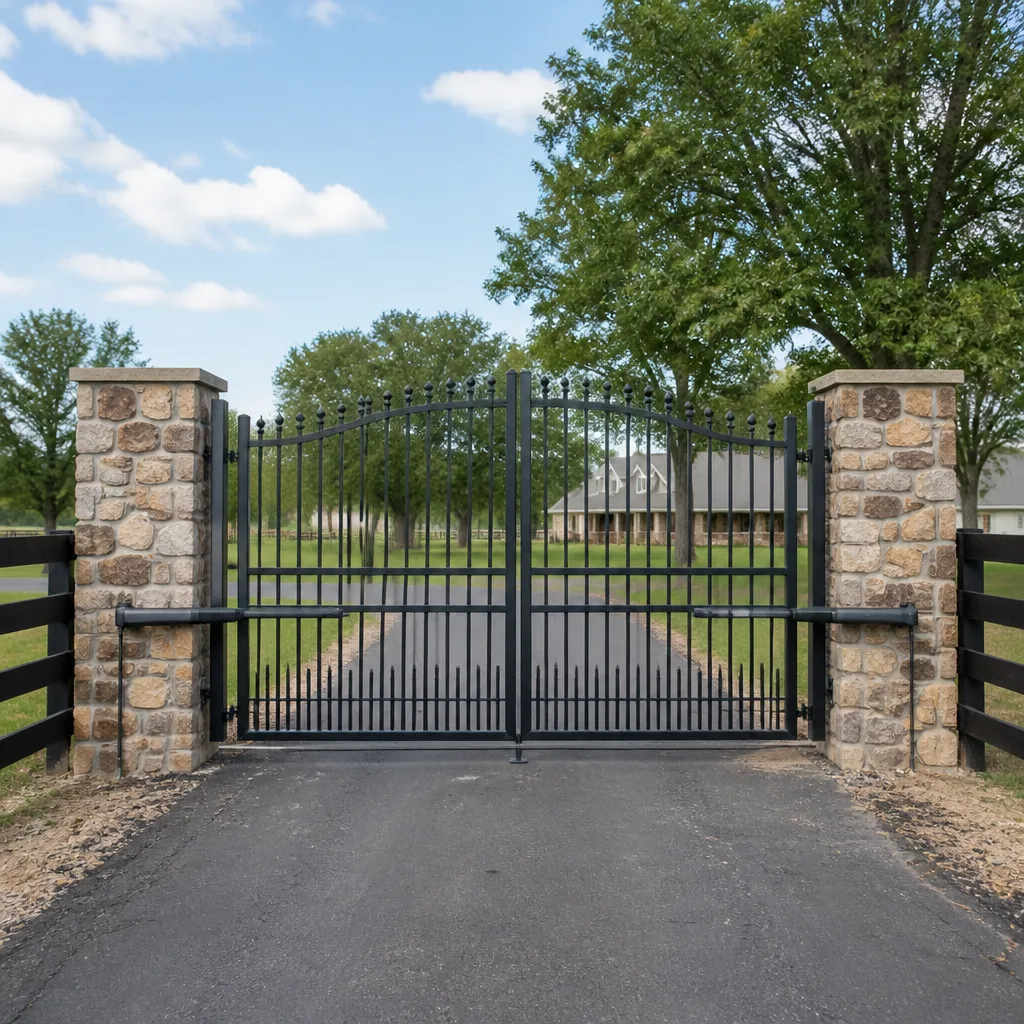 Farm & ranch
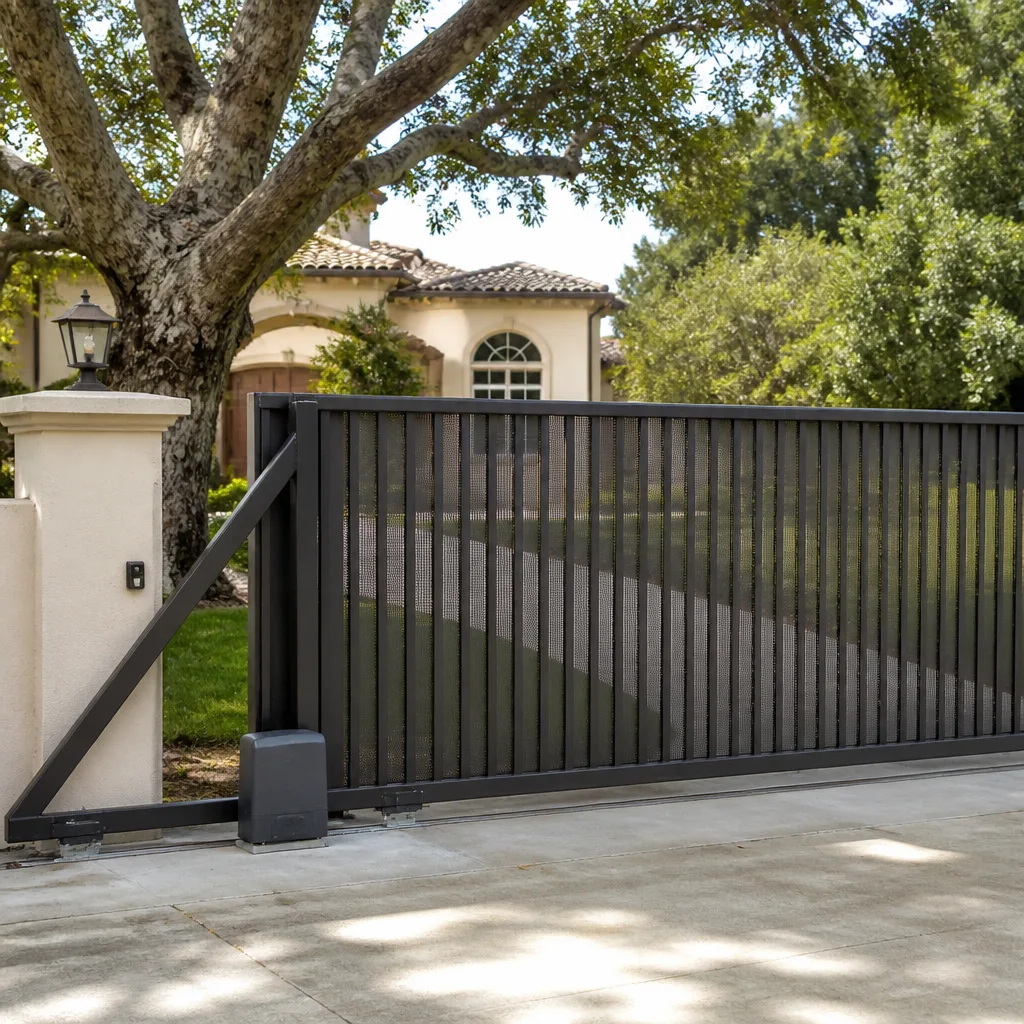 Sliding driveway gates
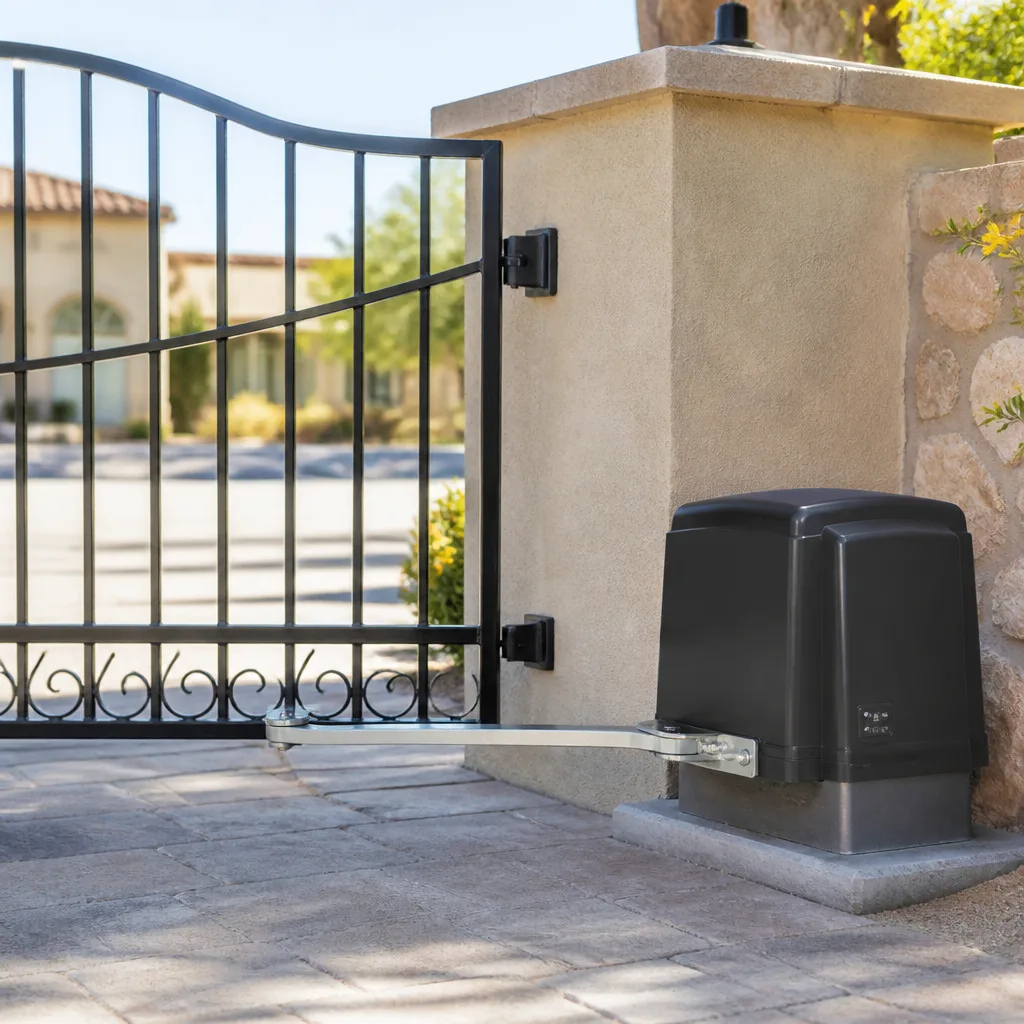 LiftMaster operators
Free on-site gate assessment - hinges, posts, and your LiftMaster or Nice gate operator checked before anything is quoted
The assessment is free and the quote is the invoice.
Get your free estimateGate Parts & Welding Troubleshooting: Common Problems and How to Fix Them
A gate that sags at the latch side looks like a hinge problem 90% of the time. It’s actually a post problem about half of those, and welding a fresh hinge plate onto a post that’s already moving is a repair that lasts maybe eight months before you’re right back where you started. In our experience working gates across North Las Vegas, the expensive mistakes almost always come from fixing the symptom instead of the cause. This guide walks you through the four root causes behind nearly every structural gate failure and shows you how to figure out which one you’re actually looking at, with nothing more than a level, a tape measure, and your eyes.
Quick Answer
Most gate structural problems trace back to one of four root causes: a moving post, a failing hinge, frame fatigue, or worn hardware. Diagnose the post first with a plumb check, because a shifted post changes the stress load on every other component and makes any repair above it fail early. A cracked weld is usually a symptom pointing upstream, not the problem itself.
Styles & brands we work with
- Wrought iron
- Wood & steel frame
- Farm & ranch
- Sliding driveway gates
- LiftMaster operators
Table of Contents
- Start Here: How to Do a Post-Plumb Check
- The Four Root Causes of Gate Failure
- Why a Cracked Weld Is Rarely the Real Problem
- Spotting an Inherited Temporary Weld
- Hinge Failure vs. Frame Fatigue: Telling Them Apart
- Hardware Wear and the Latch That Won’t Catch
- How to Document a Gate Problem Before You Call
- Common Mistakes to Avoid
Start Here: How to Do a Post-Plumb Check
Before you look at a single weld or hinge, check the post. A gate sags in the hinge post, not in the middle, and the post is where the diagnosis has to begin. If the post has shifted, every other part of the gate is fighting a losing load it was never designed for, and repairs will keep failing no matter how good the welding is.
Here’s how to run the check without any special tools:
- Set a level against the hinge post on two faces. A magnetic torpedo level or a 4-foot level works. Check the face the gate hangs from and the side face at 90 degrees. A post can be plumb in one direction and leaning in the other.
- Look at the base. Hairline cracks in the concrete at the post base, a gap where the post meets the ground, or soil pushed up on one side all point to movement rather than a bad hinge.
- Grab the post and push. Firm, steady pressure at chest height. A healthy post flexes maybe an eighth of an inch. If the concrete base moves or you see a gap open at the footing, the post is the problem.
- Check the latch post too. Measure the gap between gate and latch post at the top and at the bottom. If those numbers differ by more than about a quarter inch, one post is moving.
- Use a string line on long runs. On a double gate or a sliding gate, run a string along the posts. Any post out of line by more than an inch is telling you the truth about the ground underneath.
North Las Vegas soil is a big part of why we see so many post problems here. The caliche and hardpan under a lot of properties out toward the far north and the exurban edges doesn’t drain well, and when a monsoon cell drops an inch of rain in twenty minutes, water pools at the post base and softens the footing. Combined with the summer heat heaving soil and the winter cool-down contracting it, posts that were set perfectly plumb a few years back drift. On top of that, Nevada requires pool gates to be self-closing and self-latching with specific latch heights under state and local code, so a moving post doesn’t just look bad. It can quietly put a safety fixture out of compliance.
The Four Root Causes of Gate Failure
Every structural gate problem we see falls into one of four buckets. Knowing which one you have is the difference between a repair that holds and a repair that fails again in a season.
- Post movement. The post has shifted, tilted, or settled. Symptoms include a gate that won’t latch in summer but does in winter, a widening gap at one corner, and a gate that swings on its own. This is the most common root cause and the one most often misdiagnosed as a hinge problem.
- Hinge failure. The hinge itself has worn out, bent, or pulled loose from the frame. Symptoms include grinding when you swing the gate, a hinge that feels loose under hand pressure, and the gate dropping on the hinge side rather than the latch side.
- Frame fatigue. The gate frame has flexed and lost its shape, usually from years of sagging under its own weight. Symptoms include a gate that flexes visibly when you lean on the middle, a diagonal brace that has bowed, and gaps that open and close as the gate moves.
- Hardware wear. Latches, rollers, stops, and catches have worn down. Symptoms include a latch that won’t catch cleanly, a gate that rattles, or hardware that’s visibly worn at the contact points.
The trap is that these overlap. A moving post puts extra load on the hinges, which stresses the frame, which bends the latch out of alignment, which wears the catch. By the time a homeowner notices the gate dragging, three things are wrong. Repair the top of that stack and the problem underneath keeps working on the fix. Fix the post and address the hinges and you’re usually done. For deeper repair work on North Las Vegas gates, our Gate Repair in North Las Vegas page gets into materials and timing. If the structural problems have reached the point where the gate itself is beyond saving, Gate Installation in North Las Vegas covers what a replacement involves.
Why a Cracked Weld Is Rarely the Real Problem
A cracked weld bead catches the eye, so people focus there. But in our experience a weld cracks because something upstream is loading it beyond what it can take. The weld is the messenger.
Here’s the logic. A gate frame is designed to carry its own weight through a combination of vertical members, horizontal rails, and a diagonal brace. That brace is what keeps the frame square. When a post moves or a hinge starts failing, the frame flexes instead of holding its shape. Any weld sitting at a flex point, usually where a vertical member meets a horizontal rail, gets worked back and forth every time the gate swings. It loses fatigue strength and cracks. Weld that crack without addressing the flex and it will crack again, often in a matter of months, and now you’ve paid for the same repair twice.
So when you look at a cracked weld, ask the next question: why is this joint flexing? Three things to check:
- Press on the joint. If the crack opens under light hand pressure when the gate is at rest, the frame is flexing there at normal loads. Something is wrong upstream.
- Trace the diagonal brace. If the brace is bowed, cut, or missing, the frame has lost its structural squaring and every weld is carrying more than it should.
- Check the gate for wind and impact history. North Las Vegas sits at ground zero for gusty summer wind events, and gates that catch the wind broadside get pushed out of square over and over. A gate in a windy run that’s seen a couple of seasons and looks tired is showing you why its welds are cracking.
A true on-site weld repair starts with making the frame rigid again. That’s why we weld on site rather than hauling a gate off to a shop: the gate stays in your driveway, where we can see how it’s loading against the actual hinges and the actual posts. Welding a plate onto a moving post and calling it repaired is the pattern behind most return visits in North Las Vegas.
Spotting an Inherited Temporary Weld
Plenty of gates in North Las Vegas are carrying what we call a temporary weld, a repair done fast, by somebody who didn’t diagnose anything, or by a previous owner patching a symptom before selling. Temporary welds have a signature. Once you know it, you can spot one in about a minute.
- Metal on top of metal. A patch plate welded over a failure point without addressing the crack underneath is the classic move. The bead sits proud where it shouldn’t, often in a spot the original design would never put it.
- Grinder marks that go nowhere. Somebody hit the area with a grinder and then ran one quick bead over it. You’ll see the scuff marks around a weld that looks thinner than the joints elsewhere on the gate.
- Rust starting at the bead within a season. A proper weld gets finished and protected. A slapped-on weld oxidizes fast in our climate. If a joint is rusting while the rest of the gate still looks okay, somebody cut a corner.
- Weld bead ending in a “cold lap.” Strike an eye along the joint. A cold lap is where the bead just sits on top and never fused in. It looks like a weld but it’s cosmetic.
- Missing fasteners where hardware was moved. Somebody swapped a hinge or latch to dodge the actual problem and left the old fastener holes open or filled them with silicone. Those holes are a breadcrumb trail.
If you’ve inherited one of these, the repair starts with removing the temporary weld, cleaning the surface back to bare metal, and rebuilding the joint properly once the underlying cause is fixed. That’s more labor, but it’s the difference between a repair that lasts and one that’s back in six months. When we find temporary welds on a gate, we point them out and explain what’s really going on before any work gets quoted, so nobody pays to fix the wrong thing.
Hinge Failure vs. Frame Fatigue: Telling Them Apart
These two look alike from ten feet away, and they need different repairs. The test is simple: watch how the gate behaves at rest versus in motion.
Hinge failure shows up as localized movement. Worn hinge pins will grind and pop, and the gate will drop on the hinge side or bind when it swings. Press on the hinge itself and you’ll feel play. The frame stays roughly square behind it.
Frame fatigue shows up as movement across the whole gate. Lean on the middle of the gate and the whole frame flexes; the gap between gate and latch post opens and closes as you do. The gate might not bind at the hinge, but it drags at the latch when it’s warm and sits fine when it’s cool. Sighting down the top rail often reveals a bow.
Here’s the diagnosis in steps:
- Open the gate to 90 degrees and let it go. If the gate closes on its own, the hinge is not the culprit. The gate is out of plumb, which means the post or the frame has moved. As the old line goes, show me the gate closing on its own and I’ll show you where it’s failing.
- Push on the center of the gate. Small amount of flex is normal. If you feel the whole gate move like a wet noodle, the frame is fatigued.
- Inspect the hinge plates. Hinges that are pulling away from the frame leave a gap at the weld seam or the bolts. Hinges that are worn leave play at the pin.
- Sight the diagonal. On a properly built frame, the diagonal brace is straight to the eye. A bowed diagonal plus a flexy center means frame fatigue and a rebuild, not a hinge swap.
Local conditions add to this. Older galvanized and steel gates throughout North Las Vegas, particularly on lots that took wind-blown dust during the dusty springs we get, sit in an environment that pushes them toward fatigue faster than people expect. Hinges themselves also fail more often with the heat expanding and contracting metal all day, and with the wear from gate operators in general. If the gate is powered, the operator adds load to every swing, which we cover in our Gate Motor & Opener in North Las Vegas guide.
Hardware Wear and the Latch That Won’t Catch
Latch problems are the most common “it’s broken!” call we get, and about half the time it’s not a hardware problem at all. It’s a post problem presenting as a hardware problem. The latch has a fixed throw, and if the post has moved a quarter inch in the last year, the latch is suddenly reaching for a strike it can’t quite grab.
Real hardware wear does happen, though. Here’s what to check:
- Look at the latch throw. Close the gate and see how far the latch bar sits into the catch. Less than half engagement is going to fail eventually, and it’s a sign either the strike has shifted or the hardware is worn at the pivot.
- Check the strike screws. Screws that are backing out or stripped let the strike drift a few degrees, which is enough to keep a latch from catching. A quick tightening solves it, and no welding is involved.
- Read the self-closing behavior. A gate designed to self-close, on a pool enclosure for example, will test the whole system: post plumb, hinge condition, and latch hardware all have to work together. This is also where the Nevada pool gate code matters. If a pool gate fails a safety inspection, diagnose post and hinges first before touching the latch.
- Inspect gate stops and rubber bumpers. Rotted or missing stops let the gate slam against the posts, and the repeated impact misaligns hardware. Replacing stoppers cheaply now avoids an expensive repair later.
When a whole hardware set is at the end of its life, that’s a decision worth making with a straight-talking professional. We service the major gate hardware brands in the market, including Linear and DoorKing, and we’d rather tell you when a latch is honestly fine than replace something that doesn’t need it.
How to Document a Gate Problem Before You Call
The single biggest thing that makes a phone diagnosis useful is knowing exactly what the problem is and what you’ve observed. If you call a gate repair company with a vague description, you’ll get a vague answer. If you call with clear photos and measurements, the person on the other end can often tell you what’s likely going on before they drive out.
Here’s what to capture before you call:
- Photograph the whole gate from six to eight feet back. Get the entire gate and both posts in the frame. A wide shot shows the person on the phone the sag, the post settings, and the overall condition in one look.
- Photograph the hinge side close up. Hinge plates, weld joints, and where the post is set into concrete or into the ground.
- Photograph the latch side close up. The latch hardware, the strike, and the gap between gate and post.
- Photograph anything that looks like a repair. Old welds, patches, hardware that isn’t matching. This is gold for a diagnosis.
- Measure the gate. Width and height from hinge post to latch post, and the gap between the gate and the ground at both ends.
- Do the swing test and write down what happens. Does it close on its own? Drag? Bind? Note it in a sentence.
- Note the season and the weather. If the problem showed up after a windy week or a rain event, say so. In North Las Vegas, that pattern often points straight at the post.
Send the photos and notes in one message. A gate pro who’s seen enough of these can usually narrow the cause to one of the four root-cause categories from a clear set of photos. When we take a call, we’ve got the time to look at what you’ve sent and tell you straight whether it’s something we can talk through or whether the gate needs on-site attention.
Common Mistakes to Avoid
- Welding the hinge back on without checking the post. If the post has moved, the weld won’t hold. Check plumb first, then weld.
- Replacing hinges when the frame has fatigued. Shiny new hinges on a flexing frame are money down the drain. Test the frame before you buy hardware.
- Assuming a cracked weld needs a weld. Find the flex and fix that first. Weld the crack without fixing the load and it’ll be back.
- Patting a moving post with a cosmetic fix. Concrete patches, silicone, or a quick shim never fix a post that’s tilted. In North Las Vegas, this gets exposed by the next rain event.
- Adjusting the latch without checking the gap. If the gap between gate and post has drifted, the latch was never the problem. Fix the geometry, then adjust the latch.
- Ignoring the swing test. A gate that closes on its own is telling you the truth. Don’t buy hardware until you’ve seen it do that.
- Calling a random gate company off a national directory. Ask who’s coming, ask for a published address, ask for the name on the invoice. In a small town that matters. If you can’t verify them, find someone you can.
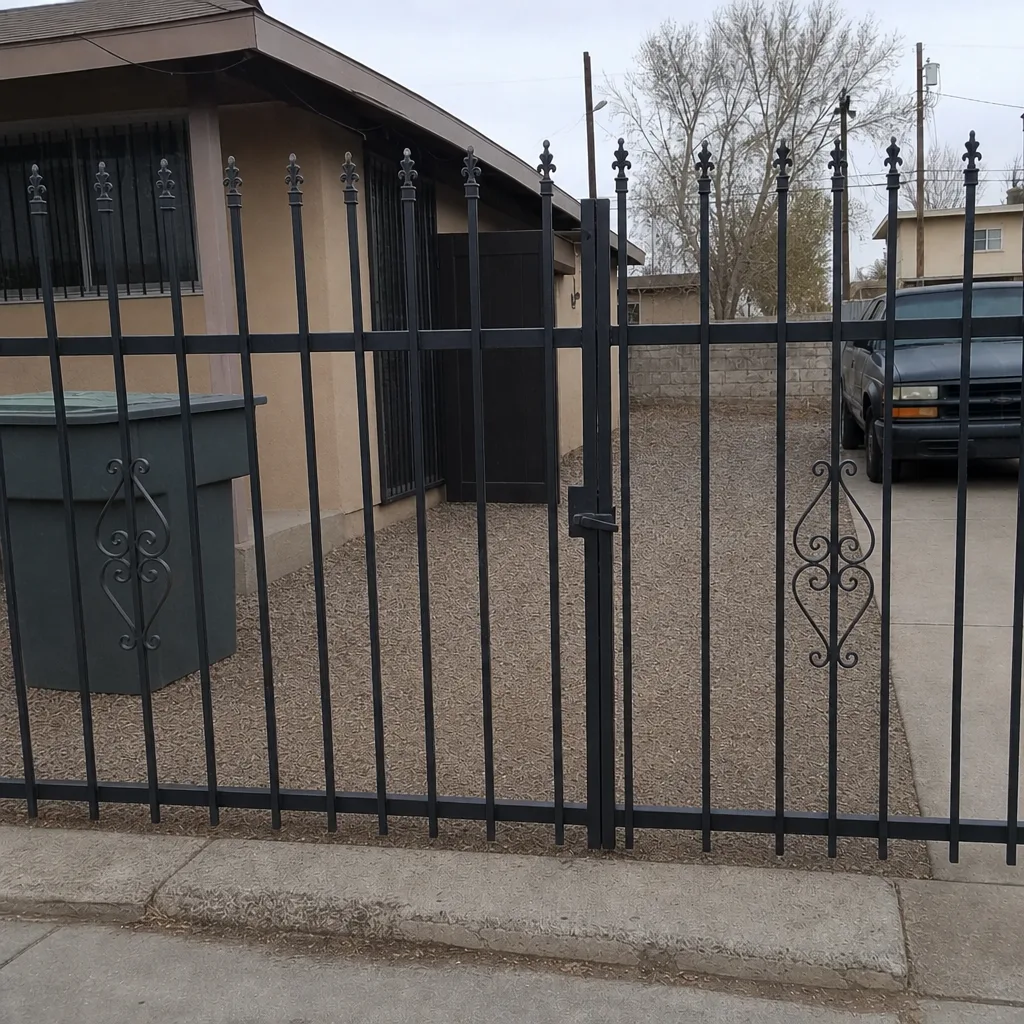
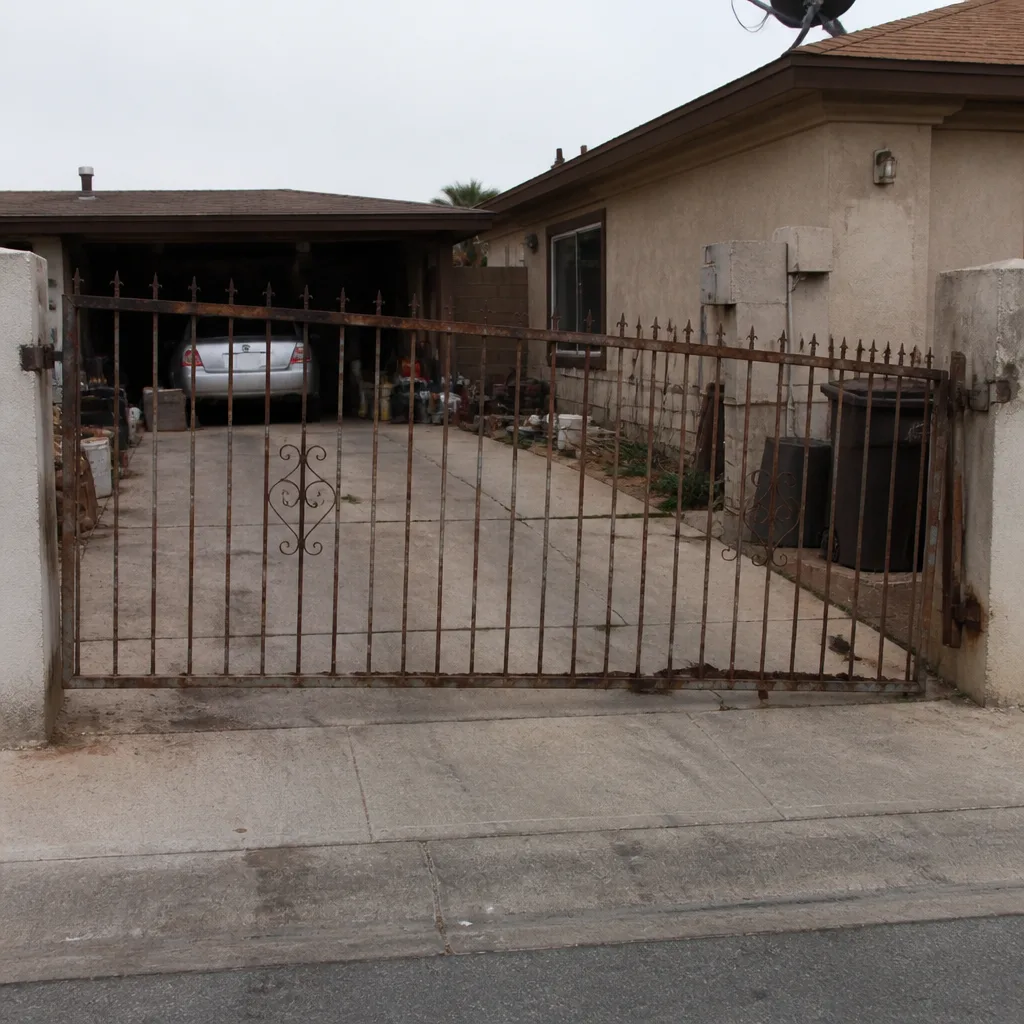
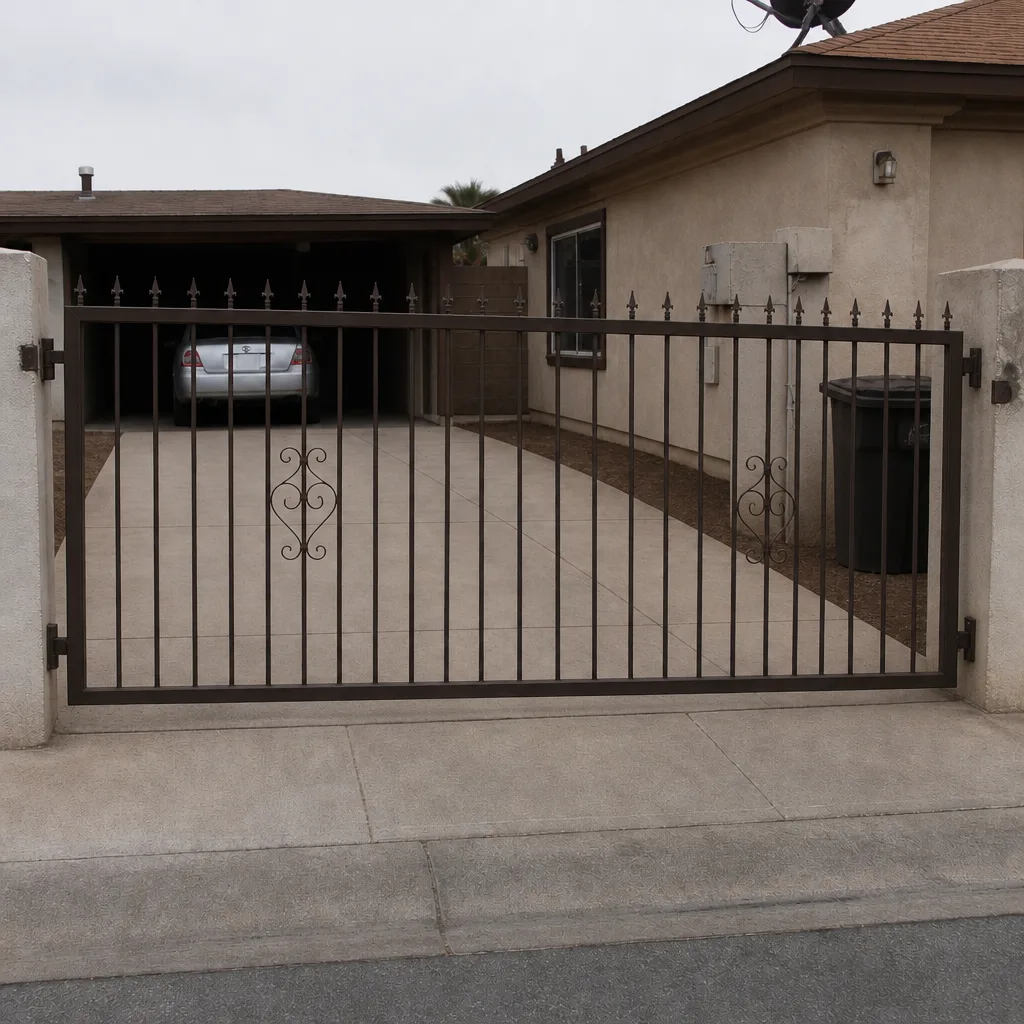
See the difference
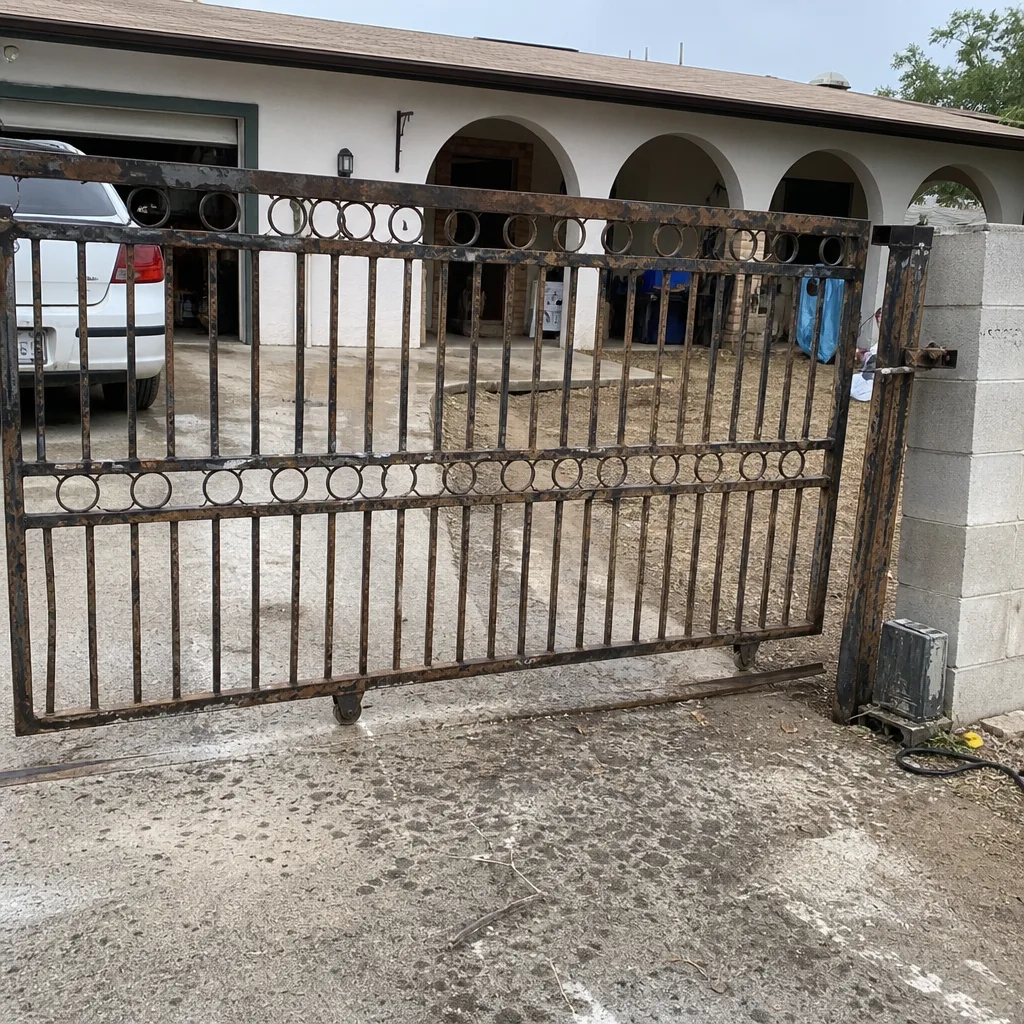 Before
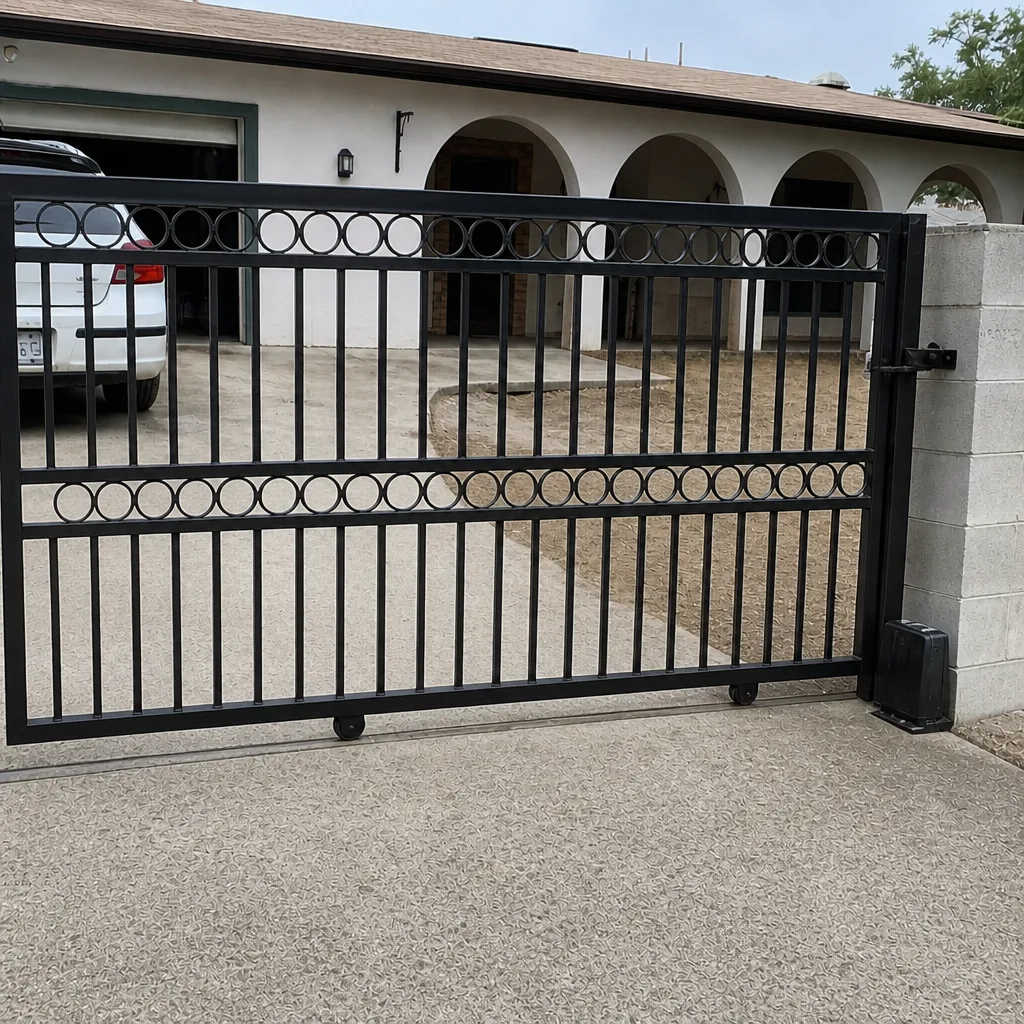 After
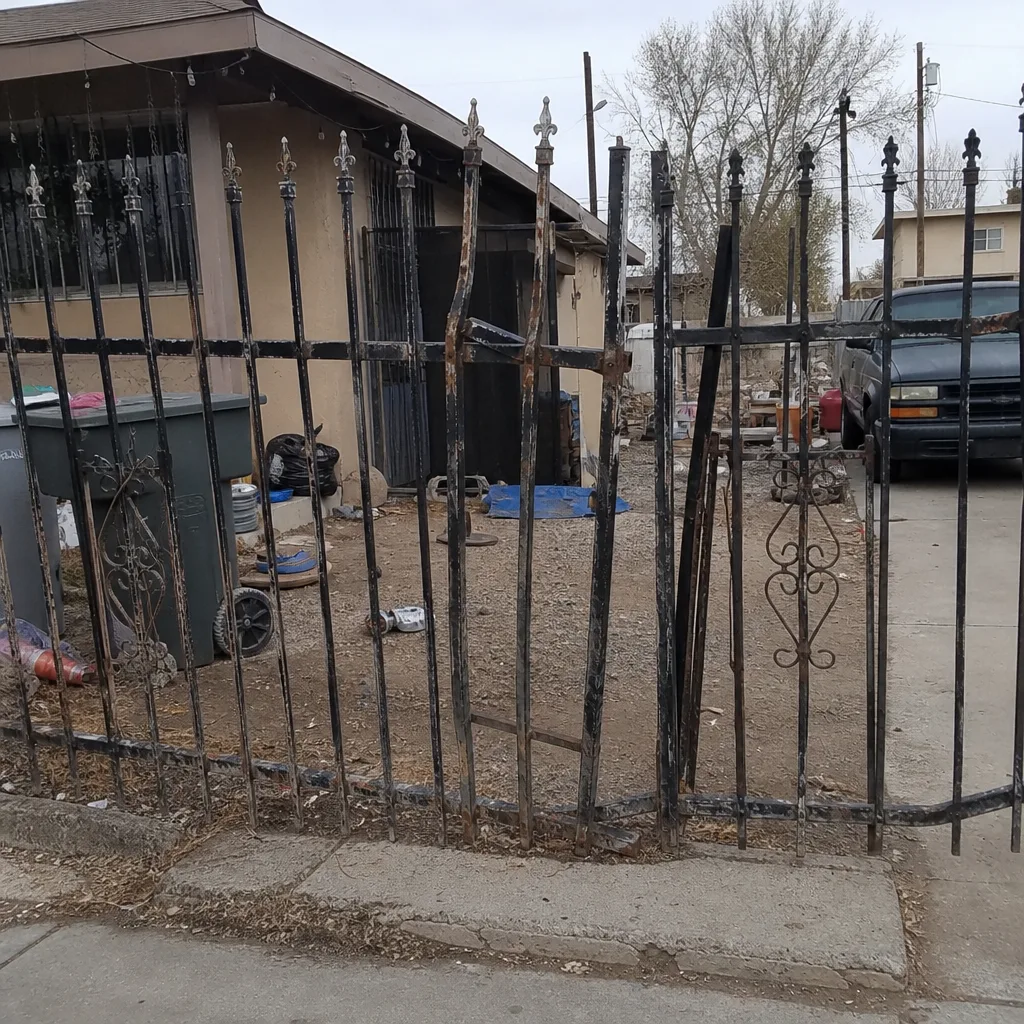 Before
 After
 Before
 After
When to Call a Professional
You need a professional if the post has moved, if the gate flexes across its whole frame, if the gate hardware is welded in place and needs cutting off, or if the gate hangs over a pool and needs a safety code check. Welding, cutting, and grinding on structural gate parts involves injury and fire risk, and it’s not a job for a homeowner with a cheap welder and a Saturday.
You also need a professional when the diagnosis is genuinely unclear. Four root causes overlap, and getting the cause right saves money. Gatewood Fence & Gate North Las Vegas offers free estimates in North Las Vegas, and the person you’ll talk to can usually narrow down the cause from your photos. If you can’t tell from the guide which category you’re in, that’s a good reason to call. We’ll tell you plainly if it’s a repair or a replace. Call (844) 761-9351 and we’ll talk it through. If you want to see the rest of the services first, start at our home page: Gatewood Fence & Gate North Las Vegas home.
Also, a word about safety edges and gate operators. If your gate is powered by a system like Viking or Ghost Controls, and you find yourself poking at wiring or safety edges to diagnose a problem, stop. Power run and safety edge work involves electrical safety. Call a professional.
Frequently Asked Questions
Do the swing test. Open the gate to 90 degrees and let it go. If it closes on its own, the post or the frame has moved, not the hinge. If you can feel play when you rock the hinge, and the frame stays square behind it, the hinge is the issue.
Usually, no. A cracked weld is normally a symptom of the frame flexing or the post moving. Weld the crack without fixing the underlying load and it will come back. A proper repair addresses the flex point first, then rebuilds the joint.
Repair costs vary a lot with what’s wrong. A hardware adjustment is minor; a post repair or a frame weld is more involved. We give an upfront price before any work starts, and standing offers apply, including $40 off any repair over $200. Call (844) 761-9351 for an exact quote – estimates are free.
Patch plates welded on top of a failure, grinder marks around a thin bead, rust starting at the weld within a season, cold lap beads sitting on top of the metal, and old fastener holes that were moved and abandoned. Any of these is a signature of a fast fix that never got diagnosed.
Heat expansion. When the post or frame shifts slightly with the heat, the latch’s fixed throw no longer lines up with the strike. That pattern in a North Las Vegas gate is one of the strongest clues that the problem is the post, not the hardware.
Yes. We weld on site, so the gate stays in your driveway, and we work with nine major gate brands including Linear and DoorKing. Call (844) 761-9351 for a free estimate and we’ll walk through what’s actually happening first.
The Bottom Line
Most gate structural problems trace back to one of four root causes: post movement, hinge failure, frame fatigue, or hardware wear. Start with a post-plumb check, because a moving post turns every repair above it into a temporary fix. Treat a cracked weld as a symptom, not a problem, and ask why the joint is flexing. Watch for inherited temporary welds and know their signature. Photograph the gate clearly and take measurements before you call so a phone diagnosis can actually be useful. Get the cause right and the repair lasts. Get it wrong and you’ll pay twice for the same gate.
When you’re ready to have someone look at it, call (844) 761-9351 for a free estimate. We’ll show up when we say we will, tell you honestly what’s wrong, and put the price in writing before any work starts. The gate stays in the driveway, and the name on the invoice is the name on the shop.
Written by the team at Gatewood Fence & Gate North Las Vegas.