
Last updated November 17, 2026
 Wrought iron
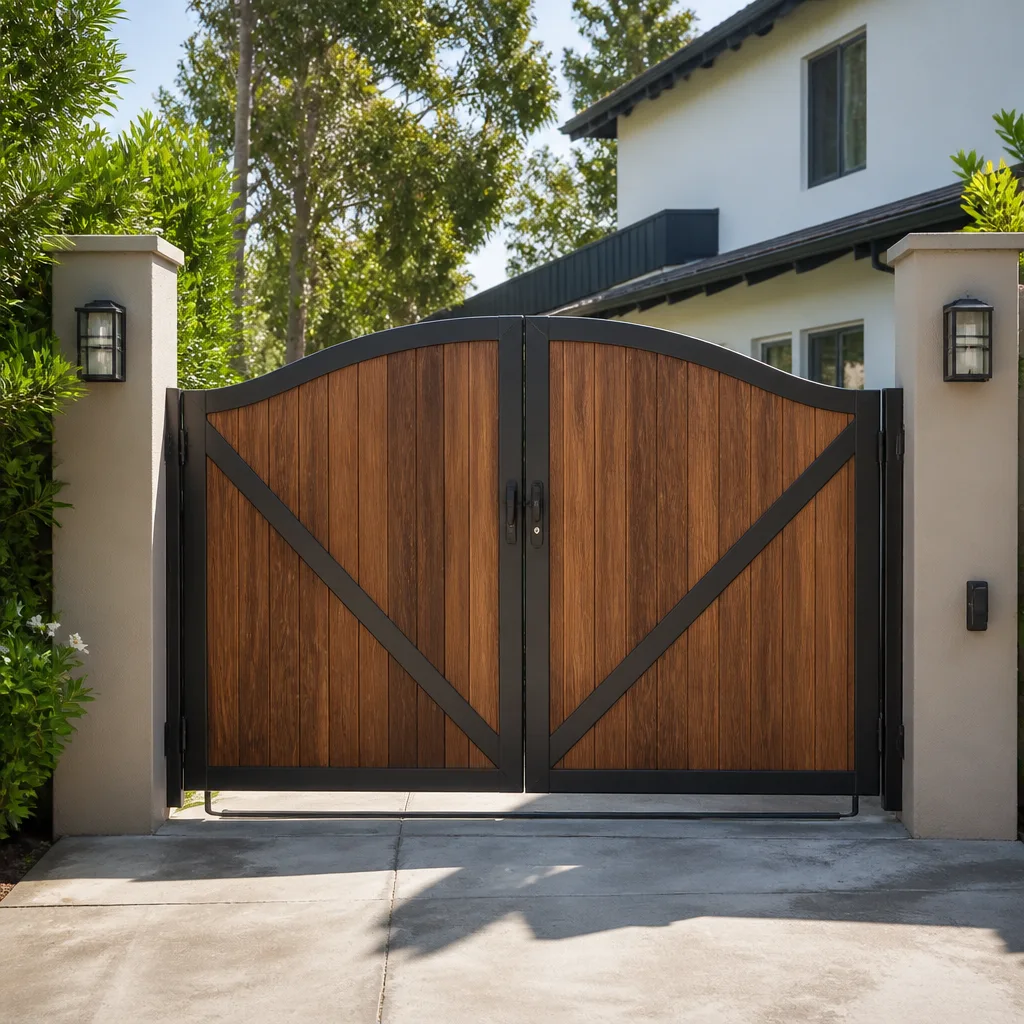 Wood & steel frame
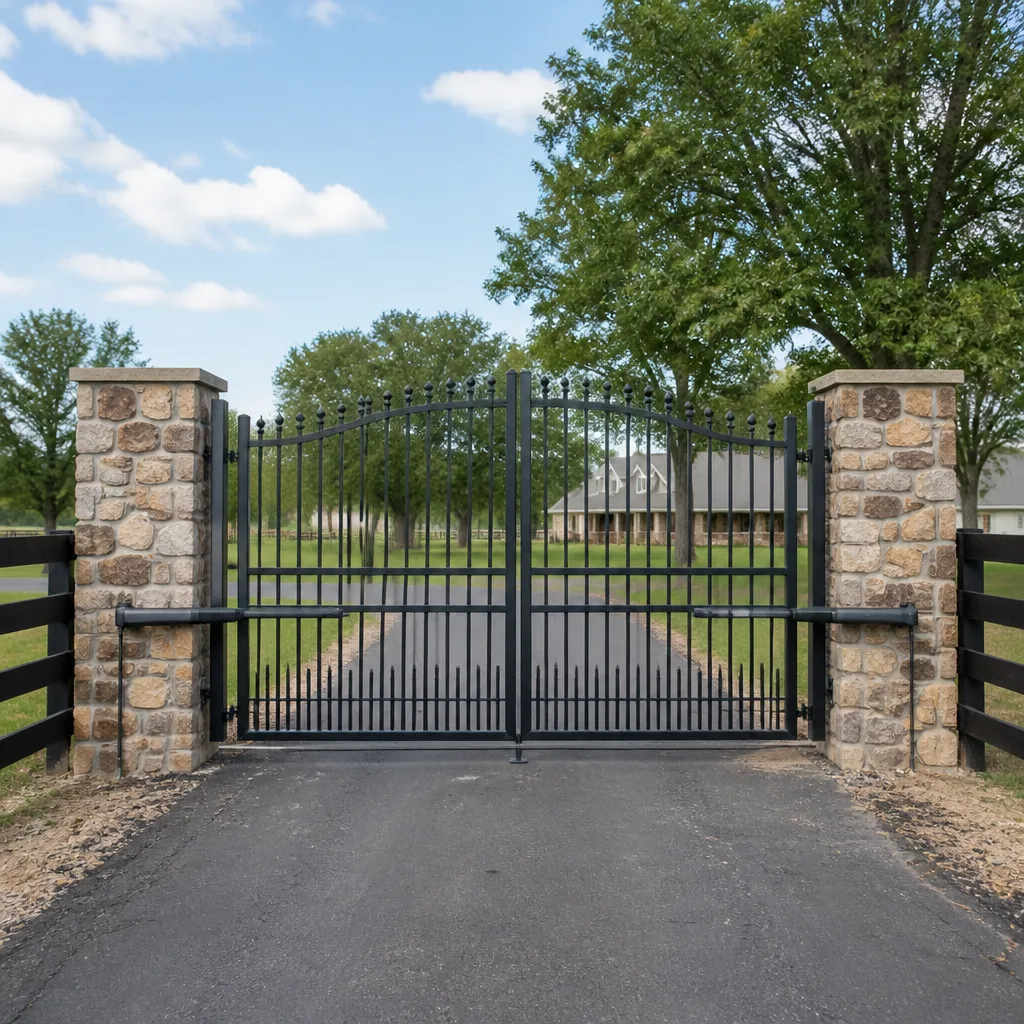 Farm & ranch
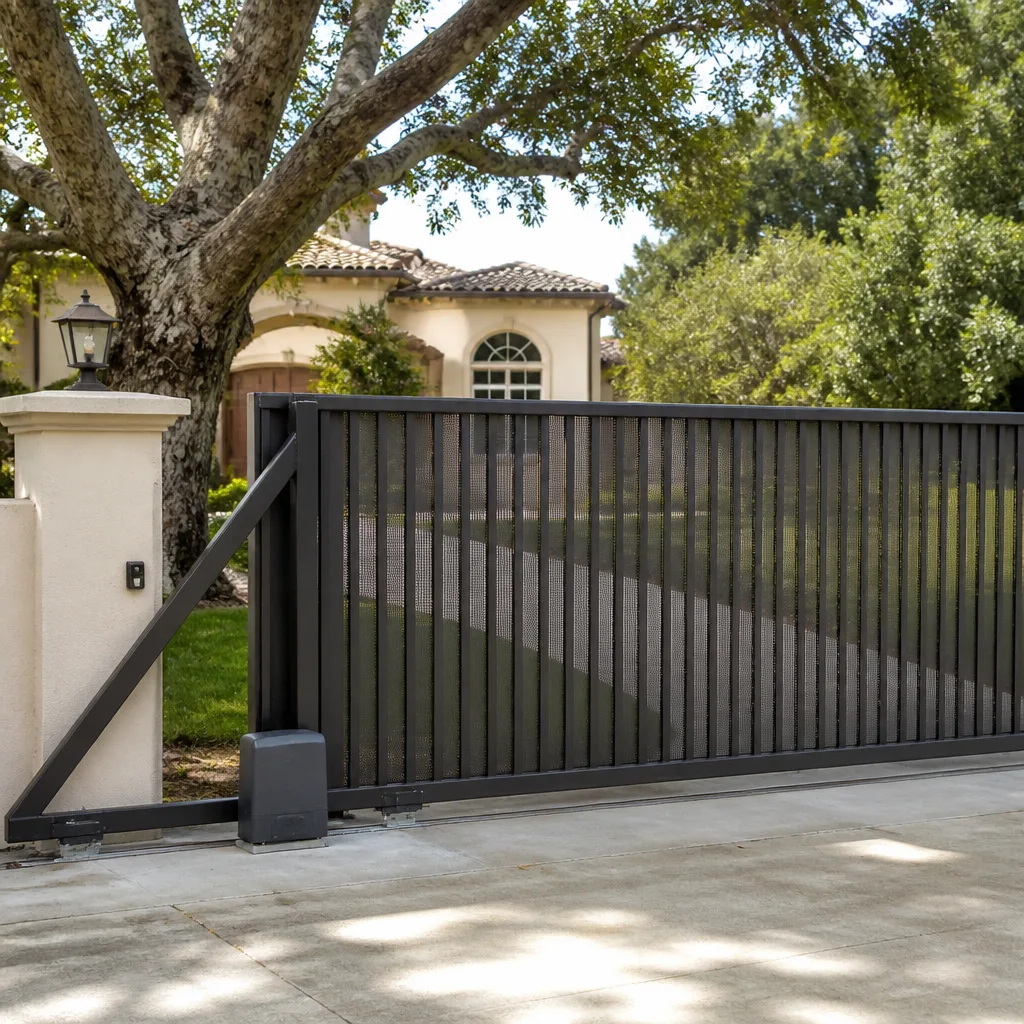 Sliding driveway gates
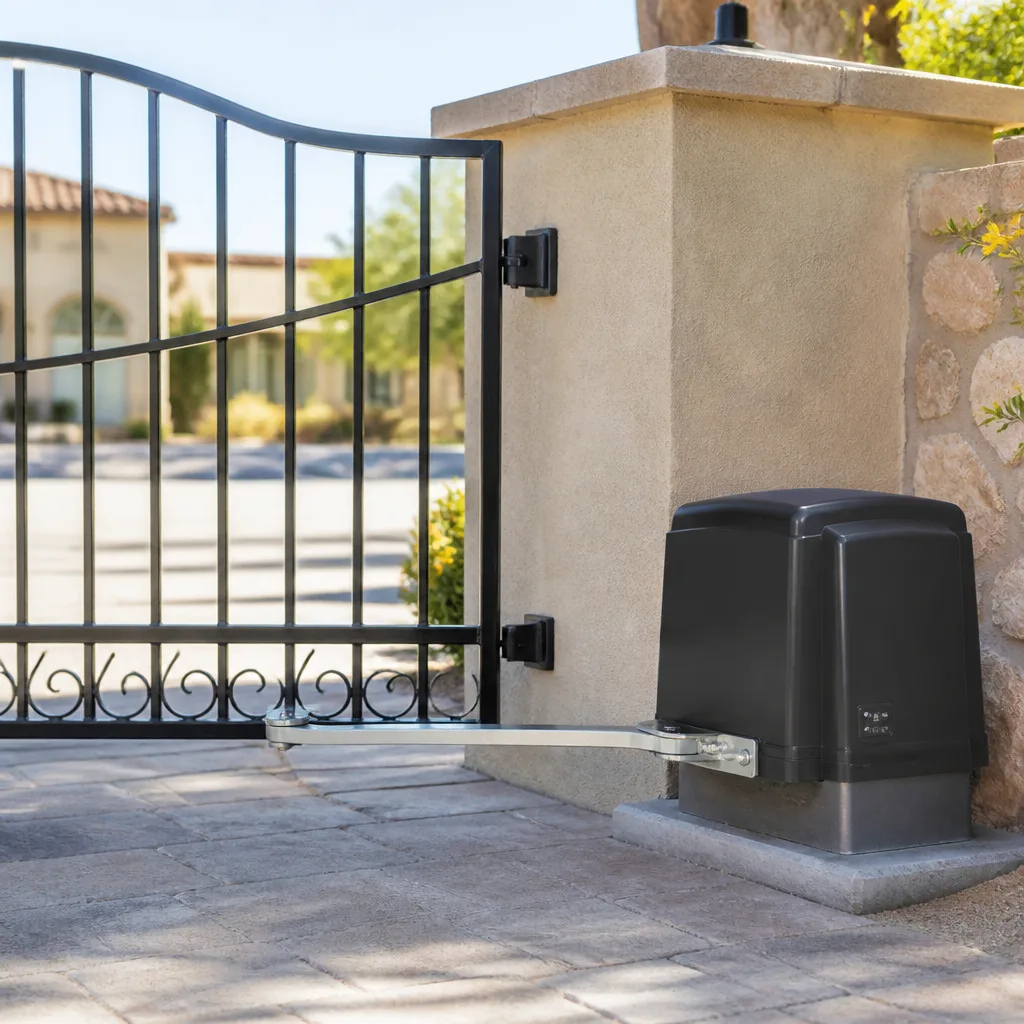 LiftMaster operators
Free on-site gate assessment - hinges, posts, and your LiftMaster or Nice gate operator checked before anything is quoted
The assessment is free and the quote is the invoice.
Get your free estimateGate Motor & Opener Troubleshooting: Common Problems and How to Fix Them
Before you call anyone, go find your motor’s manual and locate the manual release. If you don’t know where it is, that’s the first problem, and it has nothing to do with why your gate isn’t moving. Most of the calls we take in North Las Vegas could be solved in ten minutes by a homeowner who knows to work from the simplest cause outward instead of assuming the motor is dead. This guide teaches that order: power first, then obstruction sensors, then limit switches, then signal, then mechanical load. You’ll learn what each failure sounds like, which two problems to leave alone, and when a call is genuinely the right move.
Quick Answer
Most gate opener failures trace to power, a dirty or misaligned obstruction sensor, or a tired backup battery, not a dead motor. Work through those in order before assuming the opener needs replacing. Limit switches, remote signal, and mechanical drag come next. Control board and gearbox work is a professional job.
Styles & brands we work with
- Wrought iron
- Wood & steel frame
- Farm & ranch
- Sliding driveway gates
- LiftMaster operators
Table of Contents
- Start Here: The Troubleshooting Order That Actually Works
- Step 1: Check Power Before Anything Else
- Step 2: The Reversing Gate Is Almost Always the Obstruction Sensor
- Step 3: Limit Switches and Why the Gate Stops Short
- Step 4: Remote and Keypad Signal Problems
- Step 5: Battery Backup Units and Outage Failures
- Mechanical Drag vs. Electrical Failure: How to Tell Them Apart
- The Two Problems That Look DIY-Fixable But Aren’t
Start Here: The Troubleshooting Order That Actually Works
Every gate motor call is a logic puzzle, and the order you check things in decides whether you solve it in ten minutes or spend an hour chasing the wrong component. We’ve seen homeowners replace a $180 control board because the gate reversed, when the actual culprit was a spider web across the photo-eye. Work these five steps in order and don’t skip ahead:
- Power. Confirm the motor has live power at the outlet or circuit. A tripped breaker or a chewed outdoor cord explains more “dead motor” calls than any internal failure.
- Obstruction sensors. Clean the lenses and check alignment. Anything blocking the beam will make a gate refuse to close or reverse mid-travel.
- Limit switches. These tell the motor when to stop at each end. A gate that stops short or overshoots is usually a limit issue, not a motor issue.
- Remote and keypad signal. A gate that opens fine from the wall button but not the remote has a signal problem, not a motor problem.
- Mechanical load. Only after the electrical side is cleared do you check for dragging, binding, or a sagging hinge post.
That order matters because it moves from cheapest and simplest to most expensive and complex. A gate in North Las Vegas that gets full afternoon sun on the control box all summer can develop sun-baked wiring, and that’s still a power check first. If you’d rather have the whole system looked at properly, our Gate Motor & Opener service in North Las Vegas covers the full diagnostic and repair on the spot.
Step 1: Check Power Before Anything Else
A gate opener that won’t move at all is usually a power problem. Check the obvious before the complicated. Here’s the sequence we run on every dead-opener call:
- Breaker and GFCI. Outdoor gate circuits in North Las Vegas sit on GFCI outlets that trip when they get wet or when summer heat pushes a tired outlet to fail. Reset it and test.
- The outlet itself. Plug something else into the outlet and see if it works. If it doesn’t, the problem is upstream of the gate.
- The transformer. Most residential openers run on a low-voltage transformer that plugs into the outlet. Check that it’s seated and that the cord isn’t chewed by a rabbit or cracked from UV exposure.
- Control box LEDs. Open the box and look at the indicator lights. A dark board with live power going in is a board problem. A dark board with no power going in is a power problem.
- Fuse. Many operators have an inline fuse on the board. A blown fuse from a lightning-adjacent storm is common in the desert monsoon months around North Las Vegas.
If power reaches the board and the board is lit but the motor doesn’t turn, you’ve cleared step one and can move on. If you’re not comfortable opening the control box, stop there. The cover comes off without tools on most Linear and Viking units, but the wiring inside deserves respect. Call us for a free estimate instead of guessing at live circuits.
Step 2: The Reversing Gate Is Almost Always the Obstruction Sensor
A gate that reverses for no reason is almost always a dirty or misaligned obstruction sensor, and you can usually fix it without tools. The safety photo-eye on a sliding or swing gate fires an infrared beam across the opening. Break the beam and the gate reverses. So anything that blocks light, or moves one eye out of line with the other, will make the gate behave like something walked into it.
Here’s how to clean and re-align it:
- Find both eyes. They’re mounted low, across from each other, one on each side of the opening.
- Look at the LED on each eye. Steady means aligned and clear. Blinking or dark means blocked or misaligned.
- Wipe both lenses with a dry cloth. Spider webs, dust, and grass clippings cause more phantom reversals than anything else.
- If one eye is loose in its mount, nudge it back toward the other until the LED goes steady. Most mounts adjust by hand.
- Trim any vegetation growing into the beam’s path. In North Las Vegas, oleander and Texas sage grow fast enough to cross a beam within a season.
If a gate reverses only during certain times of day, watch the sun. Low afternoon sun angling straight into a receiver eye will fool it just like an obstruction. Repositioning the eye a few inches or adding a small sun shield fixes a lot of “it only does it at 4 pm” complaints. If the eyes won’t hold alignment because the posts are moving, that’s a structural issue and worth a look at our Gate Repair in North Las Vegas page.
Step 3: Limit Switches and Why the Gate Stops Short
Limit switches are the parts that tell the motor “stop here, this is the end of the run.” When they drift, the gate stops before it fully closes, overshoots into the post, or reverses right at the end. These are adjustable, and on most hobby and mid-grade operators they live on a cam wheel inside the housing or on a pair of set screws along a track on the arm.
Before you adjust anything, watch the gate through a full open and close cycle and note exactly where it stops. That tells you which limit needs attention. If it stops a few inches short of closed, the close limit needs to move out slightly. If it slams into the post and reverses, the close limit is set too far. Small adjustments go a long way: turn the cam a quarter turn and test, then another quarter turn, rather than cranking it a full rotation.
Limit failures cluster in North Las Vegas after the summer heat peaks. Metal housings expand, plastic cam wheels soften, and set screws that were snug in April can slip by August. If you set your limits in spring and they’re off by fall, you’re not imagining it. If your gate runs on a brand like Ghost Controls or DoorKing, the limit procedure varies enough that our Gate Motor & Opener in North Las Vegas team keeps the manuals on hand rather than asking you to hunt for them.
Step 4: Remote and Keypad Signal Problems
If the gate opens from the wall button inside the house but not from the remote, the motor is fine. You have a signal problem. The motor is doing exactly what it’s told; the command isn’t reaching it. Work this short list:
- Remote battery. Replace it. A dying coin cell produces intermittent behavior that feels like a motor problem and isn’t.
- Re-pair the remote. Most receivers forget a remote after a power event. The pairing button is inside the housing, and the manual walks you through it in a minute.
- Antenna wire. The receiver has a thin wire antenna. If it’s curled up inside the metal housing or broken off, range drops to almost nothing. Straighten it and route it outside the box.
- Keypad. A keypad that stops accepting codes usually has a dead battery or a stuck button. Test one code at a time.
- Interference. A new wireless device nearby, or a neighbor’s gate on the same frequency, can crowd the channel. Re-pairing to a different channel solves it.
Range complaints are common in the newer North Las Vegas subdivisions where a gate sits fifty feet back from the driveway and the receiver faces away from the street. A remote that works from ten feet but not from the car is a range problem, and antenna placement usually fixes it.
Step 5: Battery Backup Units and Outage Failures
A motor that works fine all summer but fails during a power outage almost never has a motor problem. It has a dead or sulfated backup battery. Most residential operators have a sealed lead-acid battery that charges off the board and takes over when the grid drops. Lead-acid batteries lose capacity over time, and in the desert heat around North Las Vegas they age faster than the manual suggests. A battery that’s three years old in a garage that hits 110 in July is often already done.
How to check a backup battery without a meter:
- Open the housing and locate the battery. It’s a rectangular block with two spade connectors.
- Look at the case. A bulged or swollen battery is dead; replace it, don’t test it.
- If the case looks fine, kill the breaker to the operator and open the gate with the remote. If it opens slowly, struggles, or doesn’t move, the battery is the problem.
- Restore power and watch the board. A blinking “charge” LED is normal; a red “low battery” light that never clears means the battery isn’t accepting charge.
If the battery is fine and the gate still won’t run on backup, you’re into the charging circuit on the board, which is a professional check. That’s a good moment to call. We’ll tell you honestly whether it’s a battery, a charger, or the board before anyone picks up a wrench.
Mechanical Drag vs. Electrical Failure: How to Tell Them Apart
A gate that’s mechanically dragging and a motor that’s electrically failing both leave the gate not moving. They sound completely different, and the fix is completely different, so learning to hear the difference saves you a wrong repair.
Mechanical drag sounds labored. The motor whines, pulls hard, and the gate moves slowly or stalls mid-travel. You might hear the rollers grinding or the track squealing. The gate often sags at the hinge post, and the rollers hang up on the track. Push the gate by hand with the opener disengaged: if it’s stiff, binds up, or drags on one side, the friction is the problem, not the motor. Greasing rollers and adjusting a sagging hinge post fixes more dragging gates than people expect.
Electrical failure sounds dead or erratic. The motor hums and doesn’t move, clicks once and stops, or runs for a second and shuts off. The gate may push easily by hand when disengaged, which rules friction out. That points toward the capacitor, the control board, or a failing motor winding. On many swing operators the start capacitor is the first component to check, and it’s a cheap part.
A gate that sags in the hinge post, not in the middle, is where we start. Fix the panel without the post and you’ll fix it twice. If the gate in your North Las Vegas yard is dragging, that’s a welding-and-alignment repair more often than a motor swap, and our Gate Repair in North Las Vegas team handles both.
The Two Problems That Look DIY-Fixable But Aren’t
Two problems on a gate opener look like a Saturday afternoon project and aren’t: the control board and the motor shaft or gearbox. Both involve either live circuits or high mechanical force with tight tolerances. Neither is a place to experiment.
The control board. The board holds the logic, the charging circuit, and the low-voltage wiring that ties every component together. It looks like a LEGO set: labeled terminals, plug-in connectors, clear traces. But a single reversed wire or a probe slip against a live terminal destroys the board and sometimes the transformer with it. There’s also a real shock risk from the AC side of the board. If the board is bad, replacing it is a diagnosis-then-part job. We swap it, test the whole system, and hand you a working gate on the same visit.
Motor shaft and gearbox. A worm gear or a shaft bearing that fails lets the arm spin freely or binds under load. These parts sit under spring tension on some operators and inside housings that need to be disassembled in a specific order. Force a shaft wrong and you’ll bend it, crack the housing, or worse. This is the one repair where the labor genuinely matters more than the part. A gearbox job is a professional job, and a 90-Day Done Right Promise in writing means we stand behind it when it’s done.
Common Mistakes to Avoid
- Replacing the motor before checking the sensors. The single most expensive mistake we see. A dirty photo-eye costs nothing to clean and mimics a dead motor.
- Adjusting limits a full rotation at a time. Quarter turns and test. A full turn will send a gate into the post hard enough to crack the panel or bend a hinge.
- Ignoring the manual release. Find it now, before you need it. In an outage you’ll want to open the gate by hand, and if you don’t know where the release lever is, you’ll be stuck in the driveway.
- Greasing everything. Grease attracts dust and grit, and grit wears rollers down faster than a dry track. Use the lubricant the manual recommends and nothing else.
- Skipping the battery on a gate that only fails during outages. Replacing the board for a battery problem is a waste of money and a waste of a Saturday.
- Relying on the remote for diagnosis. A wall button test tells you instantly whether the motor or the signal is failing. Start there, not with the remote.
- Letting a sagging post ride. A gate that sags at the hinge post is dragging the motor along with it. Fix the post before it eats the gearbox.
See the difference
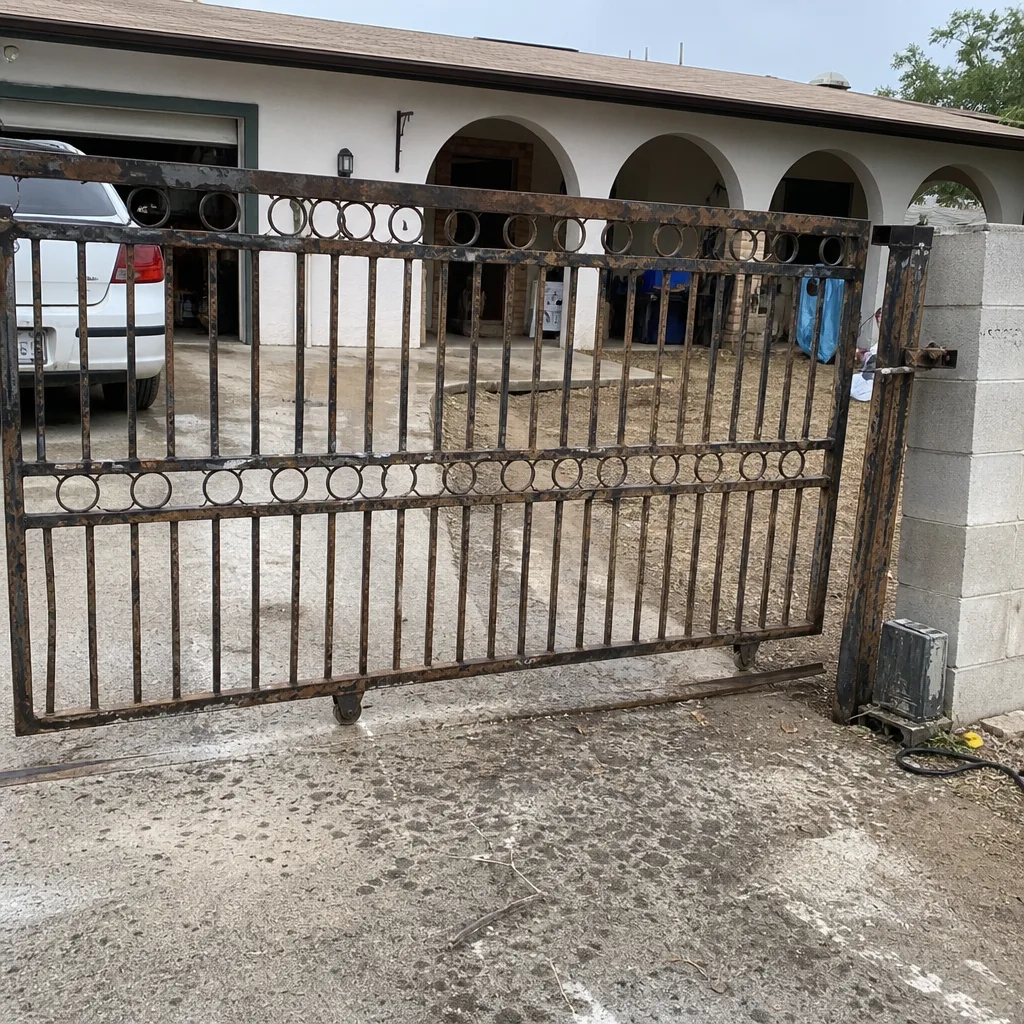 Before
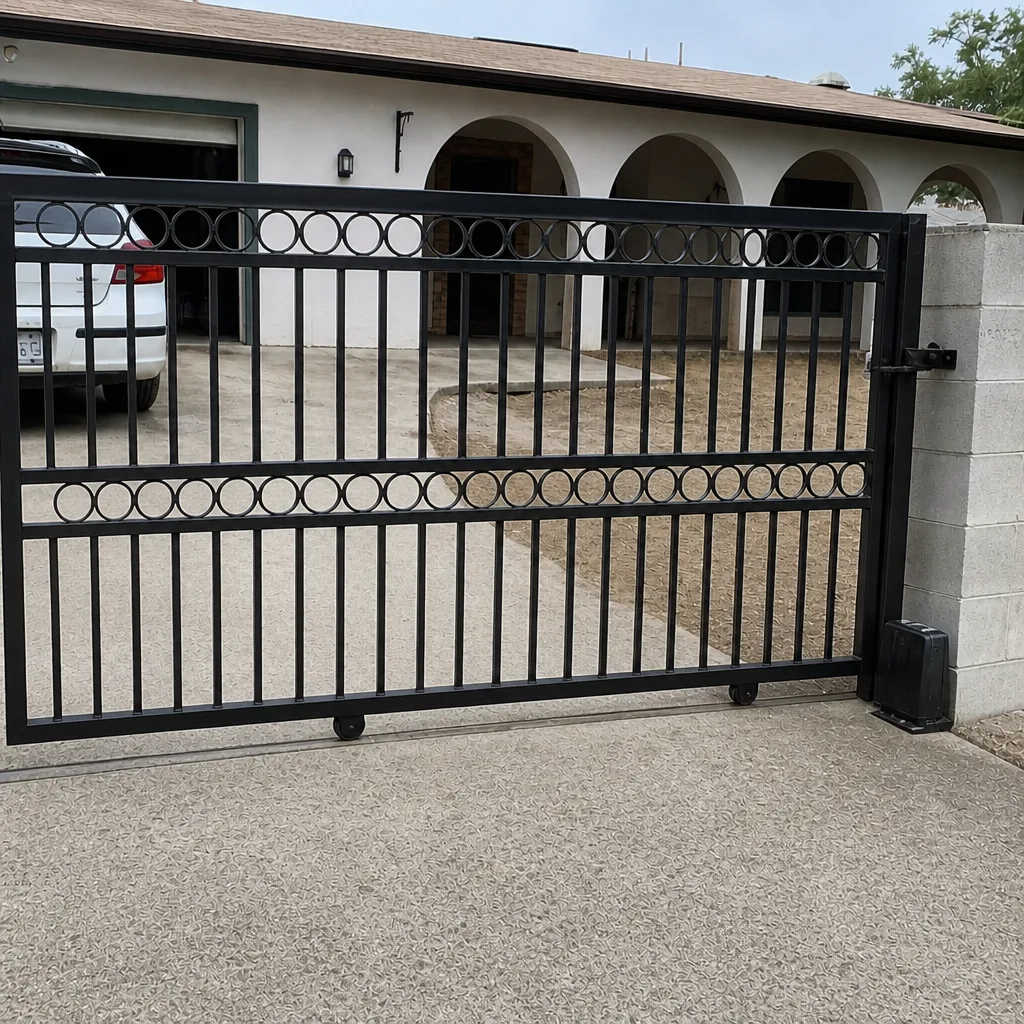 After
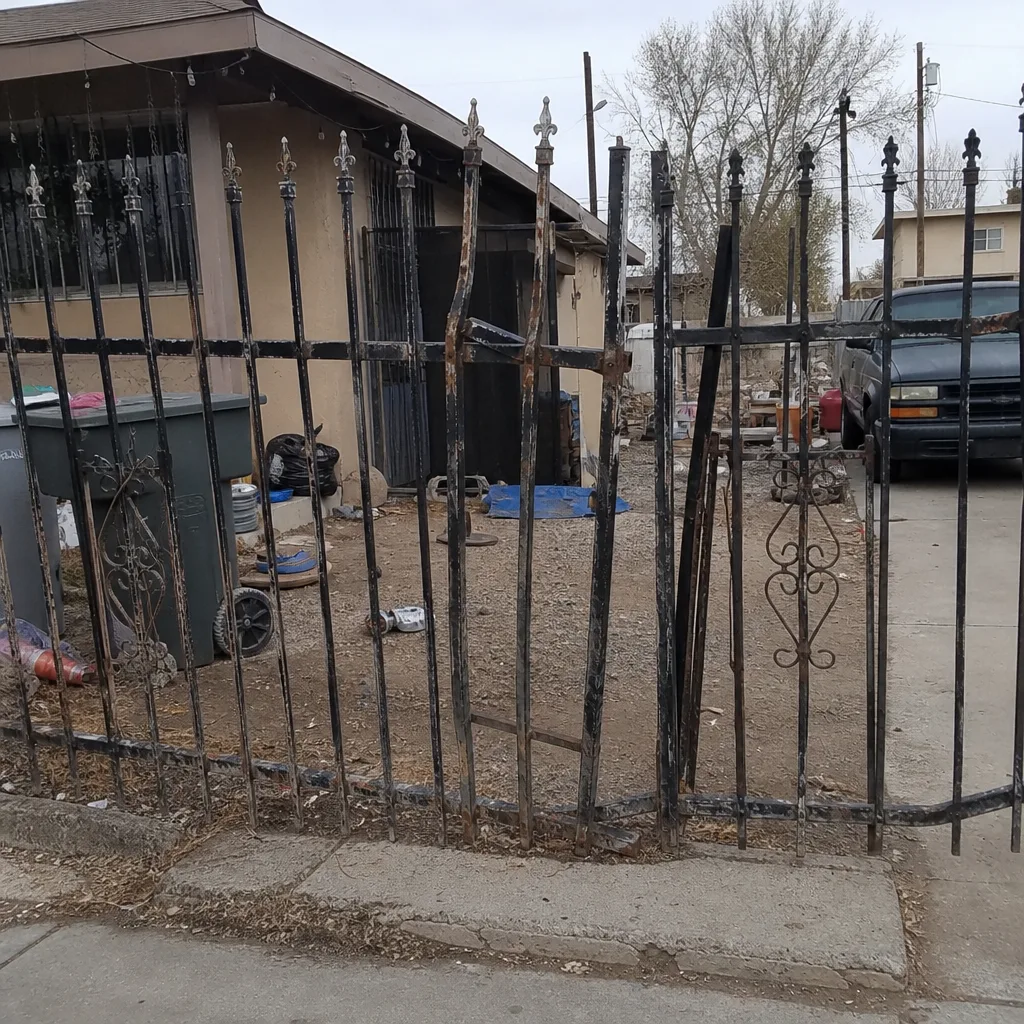 Before
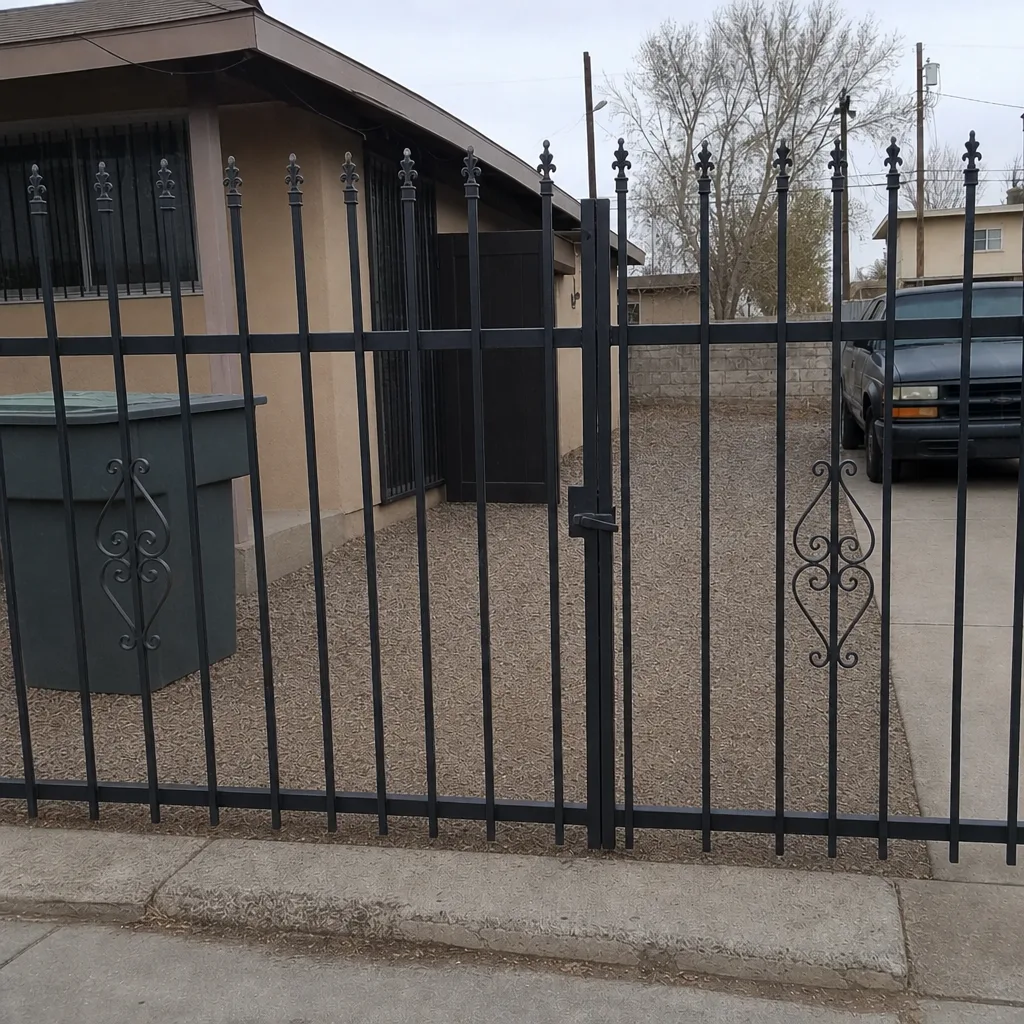 After
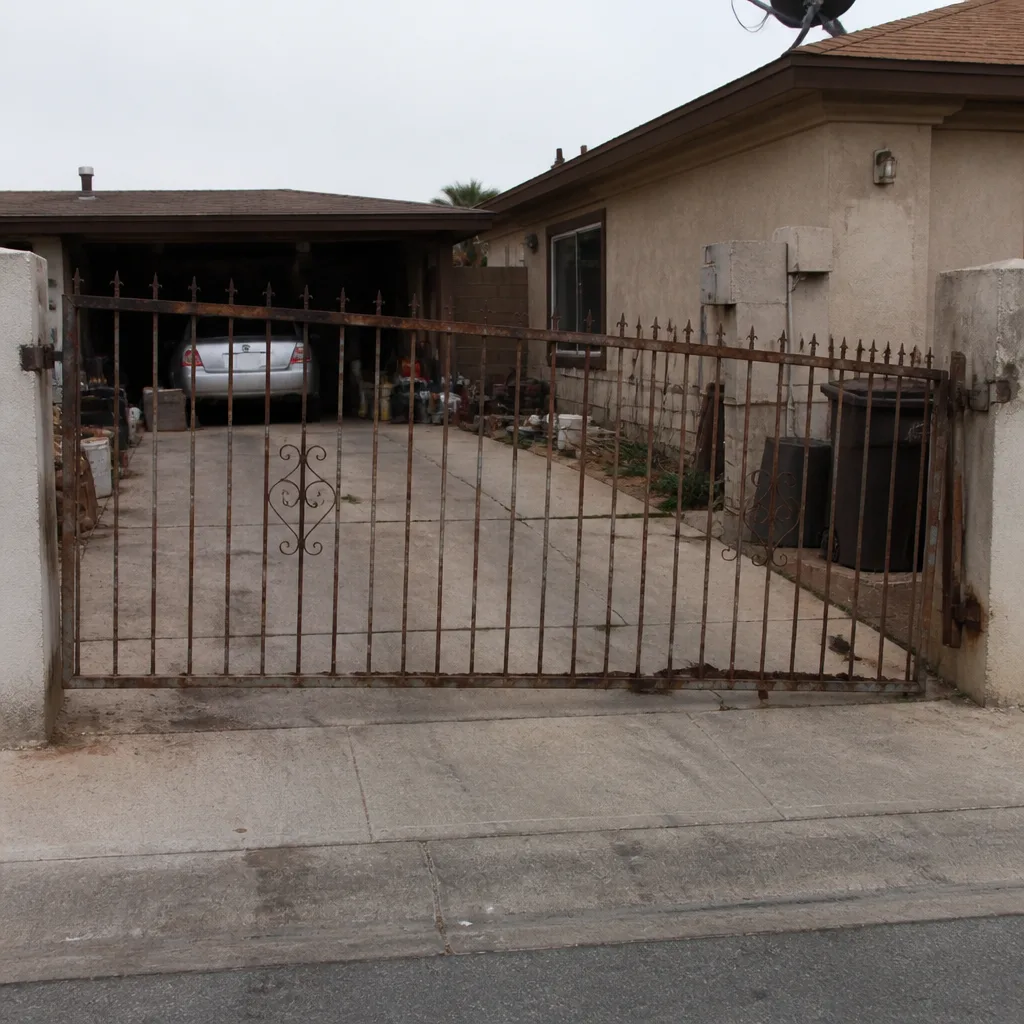 Before
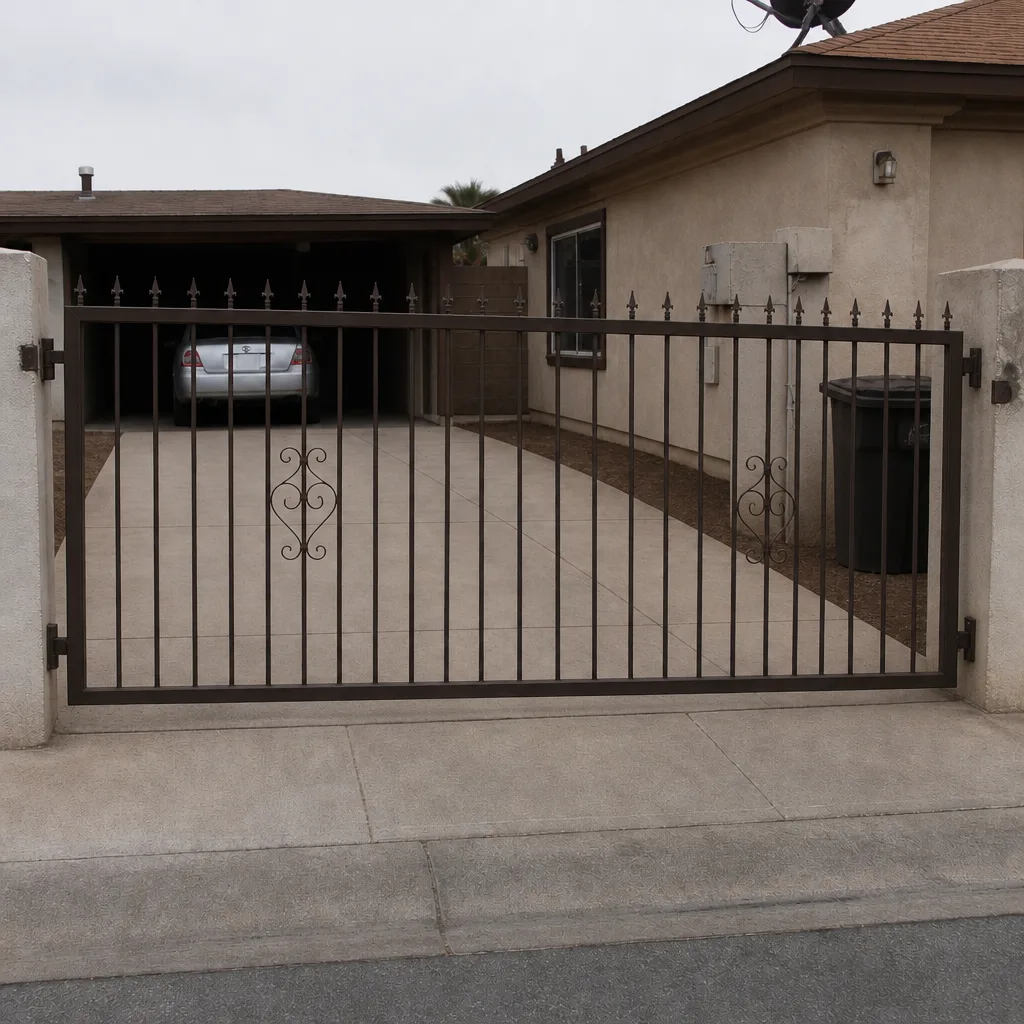 After
When to Call a Professional
Call when you’ve cleared power, sensors, limits, signal, and battery, and the gate still misbehaves. Call if the control board is dark with live power going in, if you hear grind or bind from inside the motor housing, or if the gate reverses for no reason after the eyes are clean and aligned. Call if the gate sags and drags, if the opener hums but doesn’t move, or if the backup battery goes flat after you replace it. And call if it’s a gate for a business, because a business gate that’s down is a liability, not an inconvenience. Gatewood Fence & Gate North Las Vegas offers free estimates in North Las Vegas. Call (844) 761-9351 and a live person will answer.
Frequently Asked Questions
A gate that reverses for no reason is almost always an obstruction sensor problem, not a motor problem. Dirty lenses, a spider web across the beam, or a misaligned eye all mimic an obstruction. Clean the lenses, check the LED on each eye, and trim any vegetation in the path. Call (844) 761-9351 if the eyes won’t hold alignment after you clean them, because loose or moving posts are a structural fix.
Because the backup battery is dead or sulfated, not the motor. Lead-acid batteries age faster in North Las Vegas heat, and a battery that’s a few years old in a hot garage often fails well before its rated life. Kill the breaker and test the gate on backup to confirm. Call us for an honest battery-versus-charger diagnosis, and the estimate is free.
We don’t recommend it. The board carries live AC wiring, and a slipped probe or reversed connector can destroy the board and the transformer along with it, plus there’s a real shock risk. A board replacement is a diagnosis-then-part job. Call (844) 761-9351 and we’ll test the whole system and swap it in one visit.
A dragging gate sounds labored: the motor whines and strains, and the gate moves slowly or stalls. A failing motor sounds dead or erratic: it hums and doesn’t move, clicks once, or runs briefly and shuts off. Push the gate by hand with the opener disengaged. If it’s stiff, it’s drag, and if it’s easy and the motor still won’t move it, it’s electrical. Call us, and the free estimate will tell you which repair your North Las Vegas gate actually needs.
It’s usually a lever, key, or handle on the motor housing that disengages the drive so you can open the gate by hand. Find it before you need it, in daylight, with the manual in hand. If you don’t know where it is, that’s the first problem, and our crew can show you on your next service call.
You have a signal problem, not a motor problem. The motor is doing exactly what it’s told. Replace the remote battery first, then re-pair the remote, then check that the receiver antenna isn’t curled up inside the housing. Range issues in newer North Las Vegas subdivisions often come down to antenna placement. Call (844) 761-9351 if re-pairing won’t take.
The Bottom Line
Start simple and work outward. Power first, then sensors, then limits, then signal, then mechanical load. That order catches most problems in ten minutes, and it keeps you from replacing a motor that was never broken. Fix what’s actually failing, and know when to stop. Control boards and gearboxes get a professional, and the rest you can handle yourself. If you’re in North Las Vegas and the gate has you stumped, we’re down the road, a live person answers at (844) 761-9351, and the estimate is free. Our Gatewood Fence & Gate North Las Vegas home page has the whole picture, and if you’re thinking about a new system, see Gate Installation in North Las Vegas.
Written by the team at Gatewood Fence & Gate North Las Vegas.